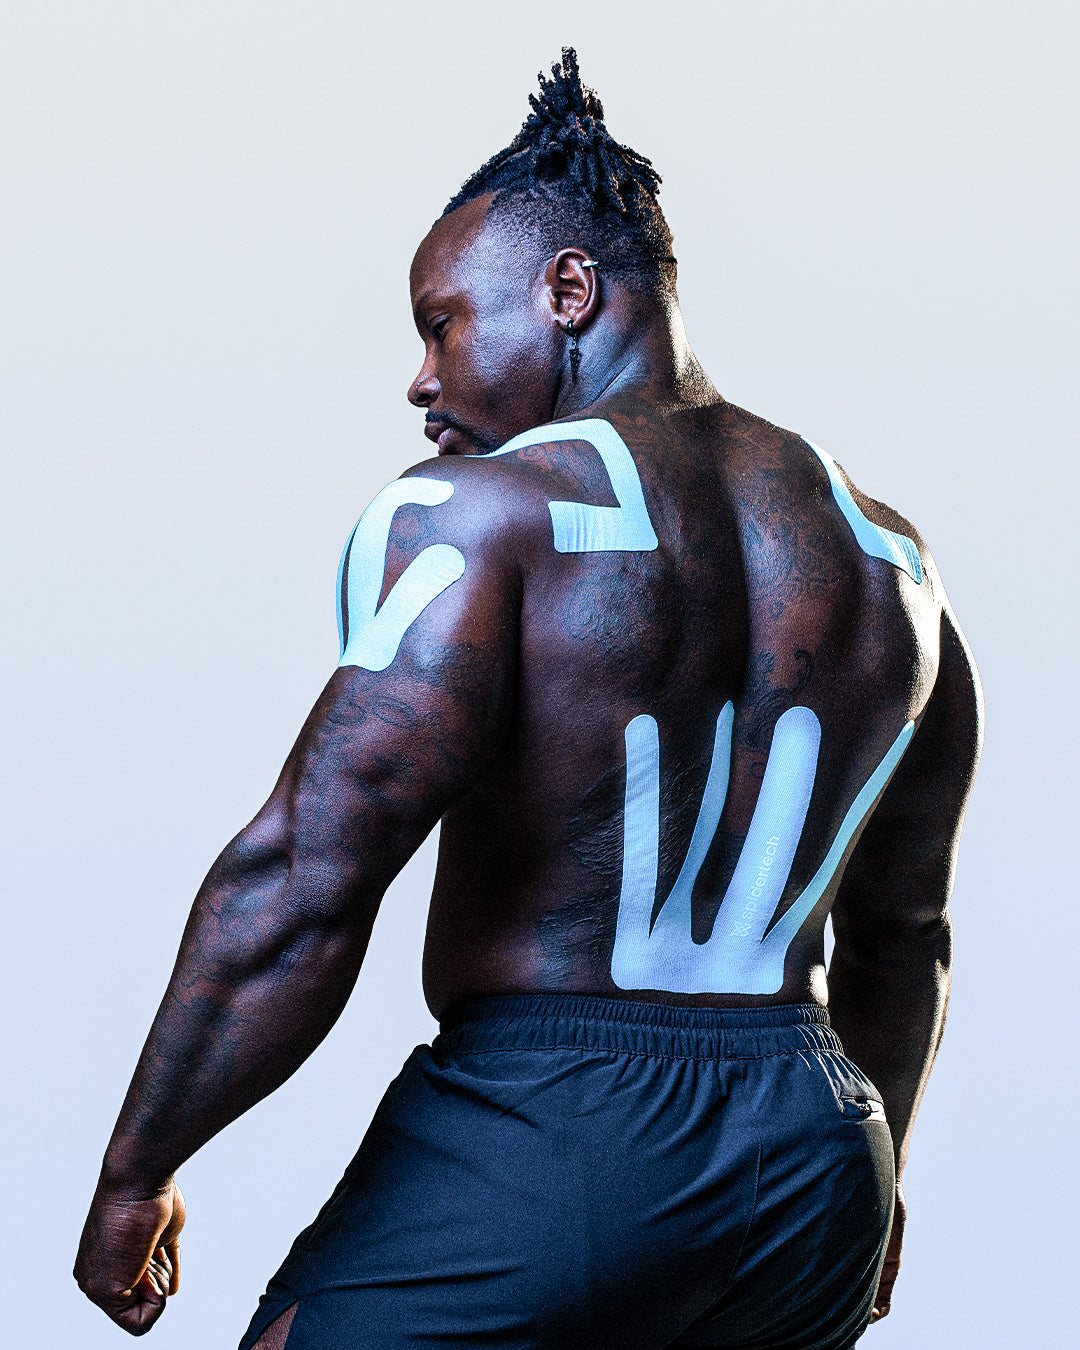
Pro Shoulder Application
Learn how to best apply our Pro Shoulder pre-cut. We've provided two resources to assist you:
1. Watch our detailed application video by Dr. Tony Diab.
2. Follow our illustrated guide below
Right Shoulder Application Guide - Step-by-Step
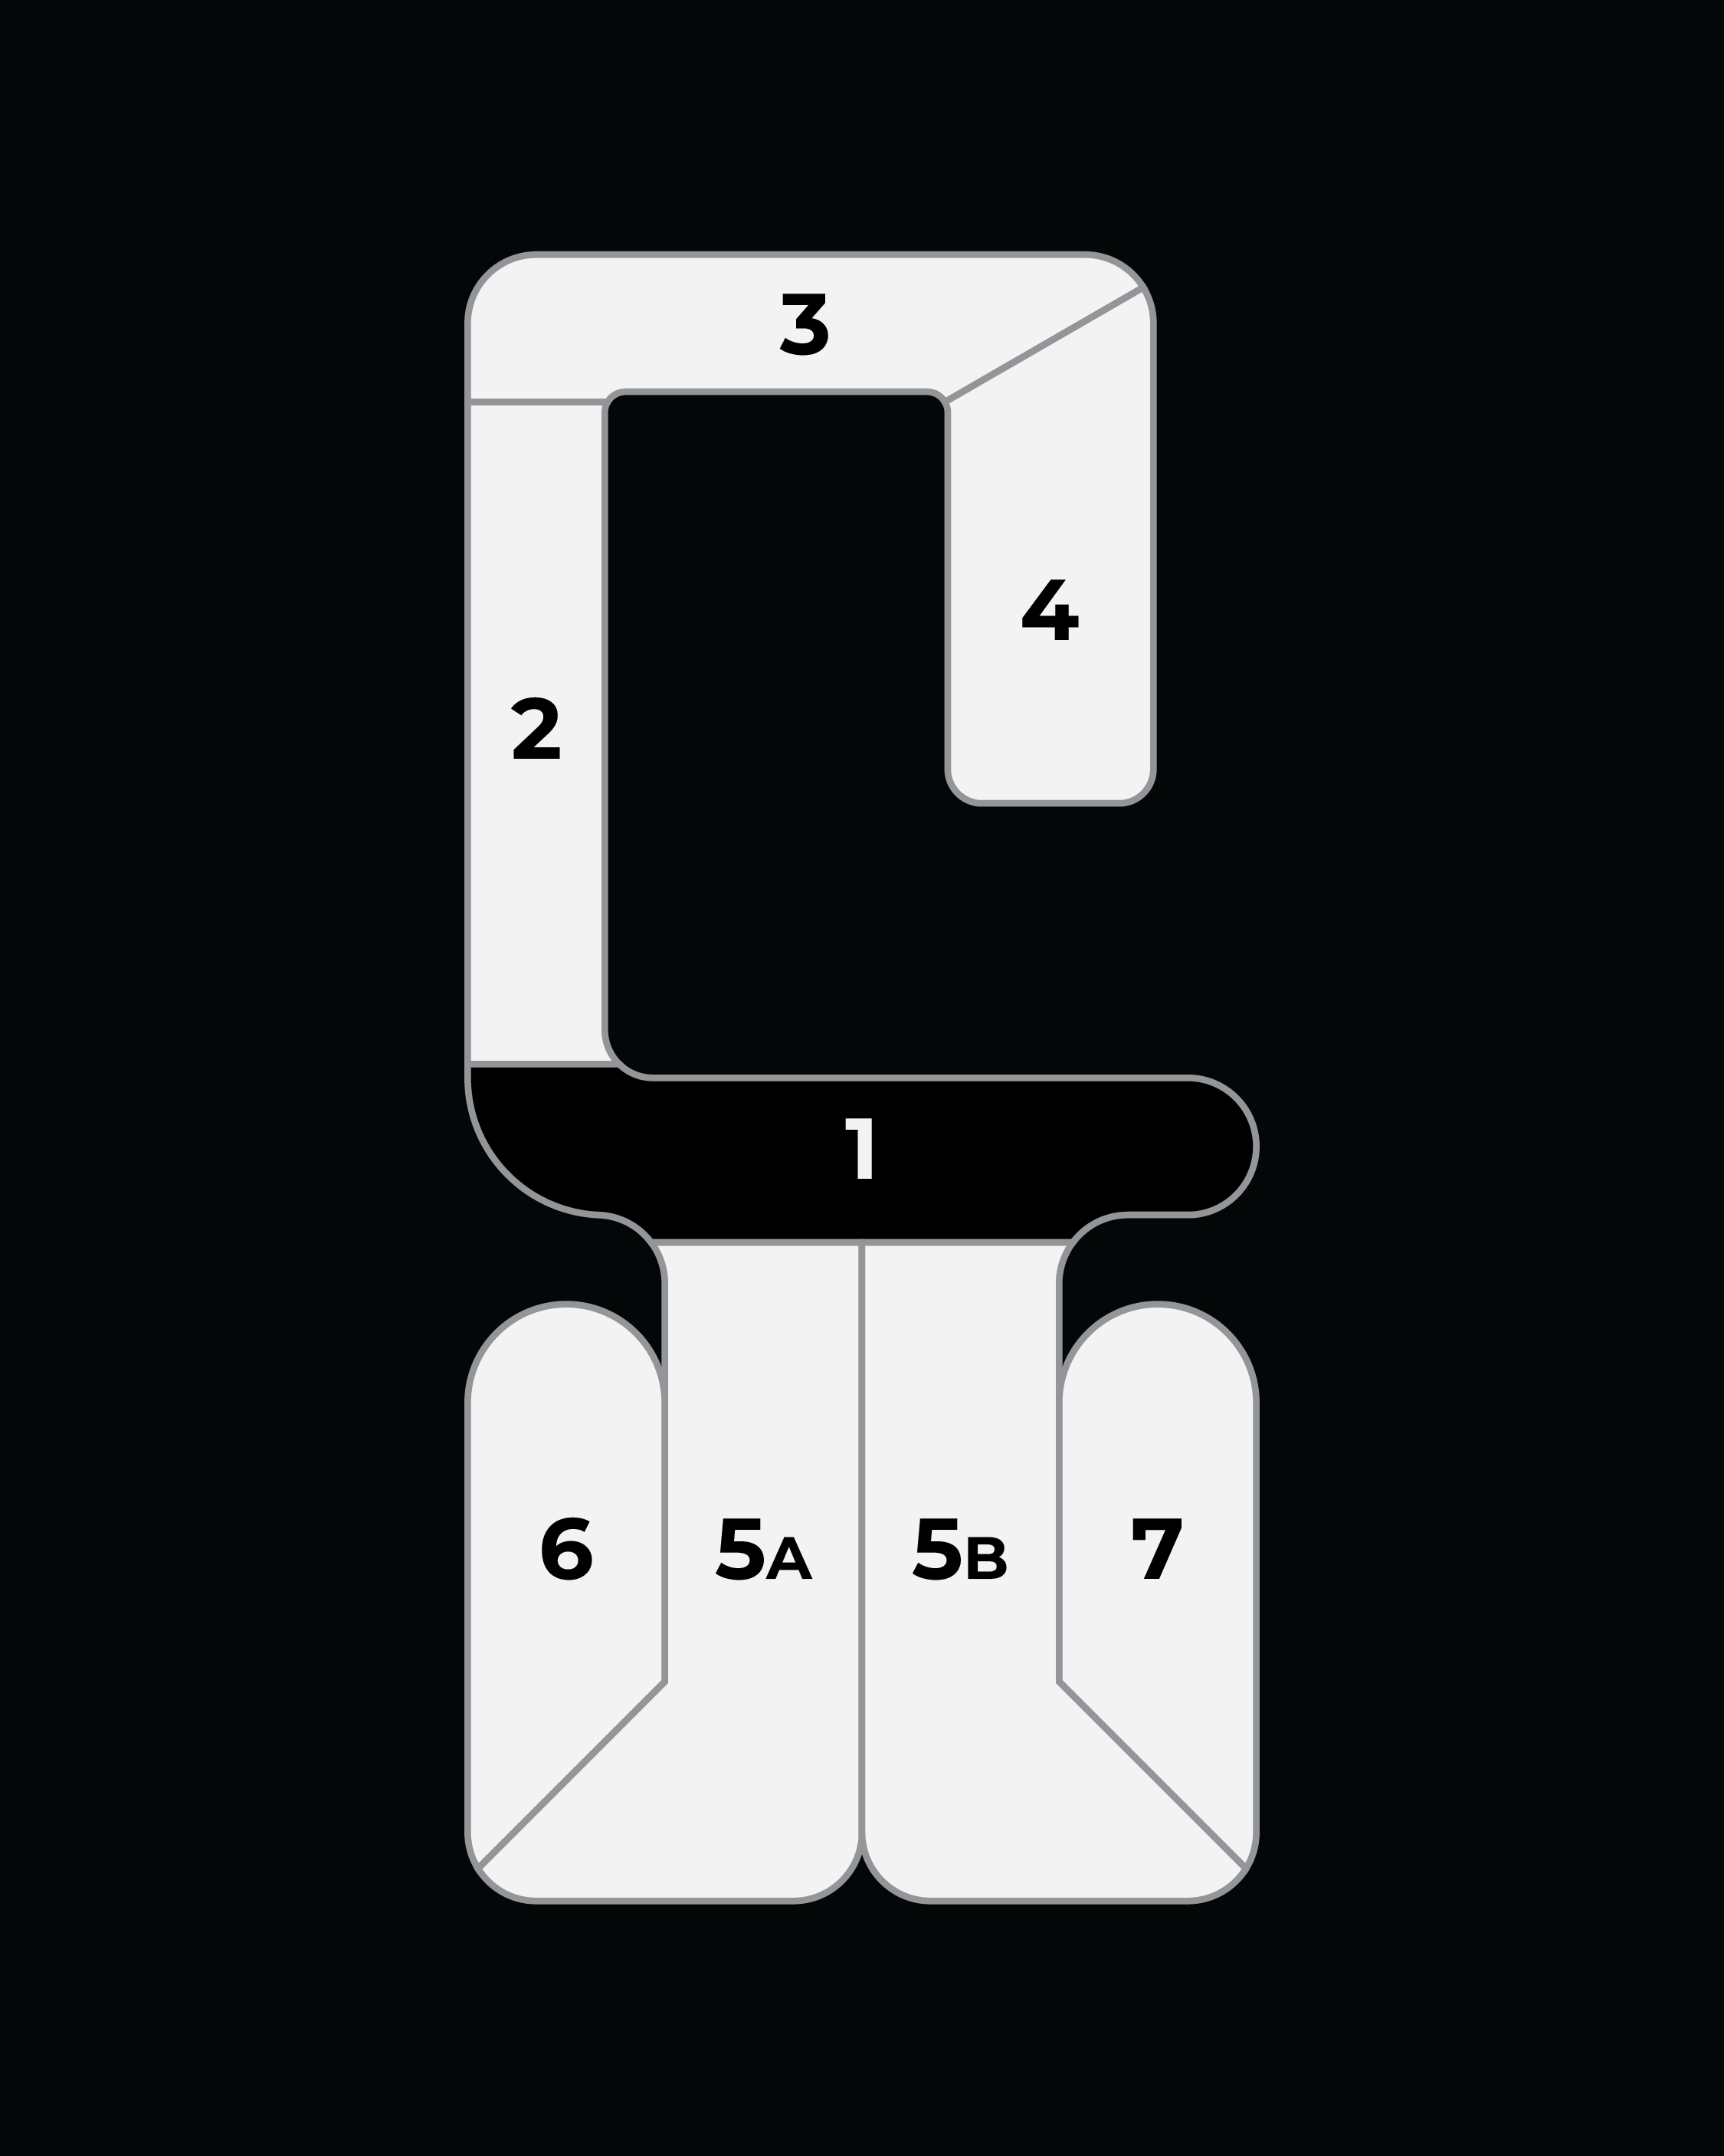
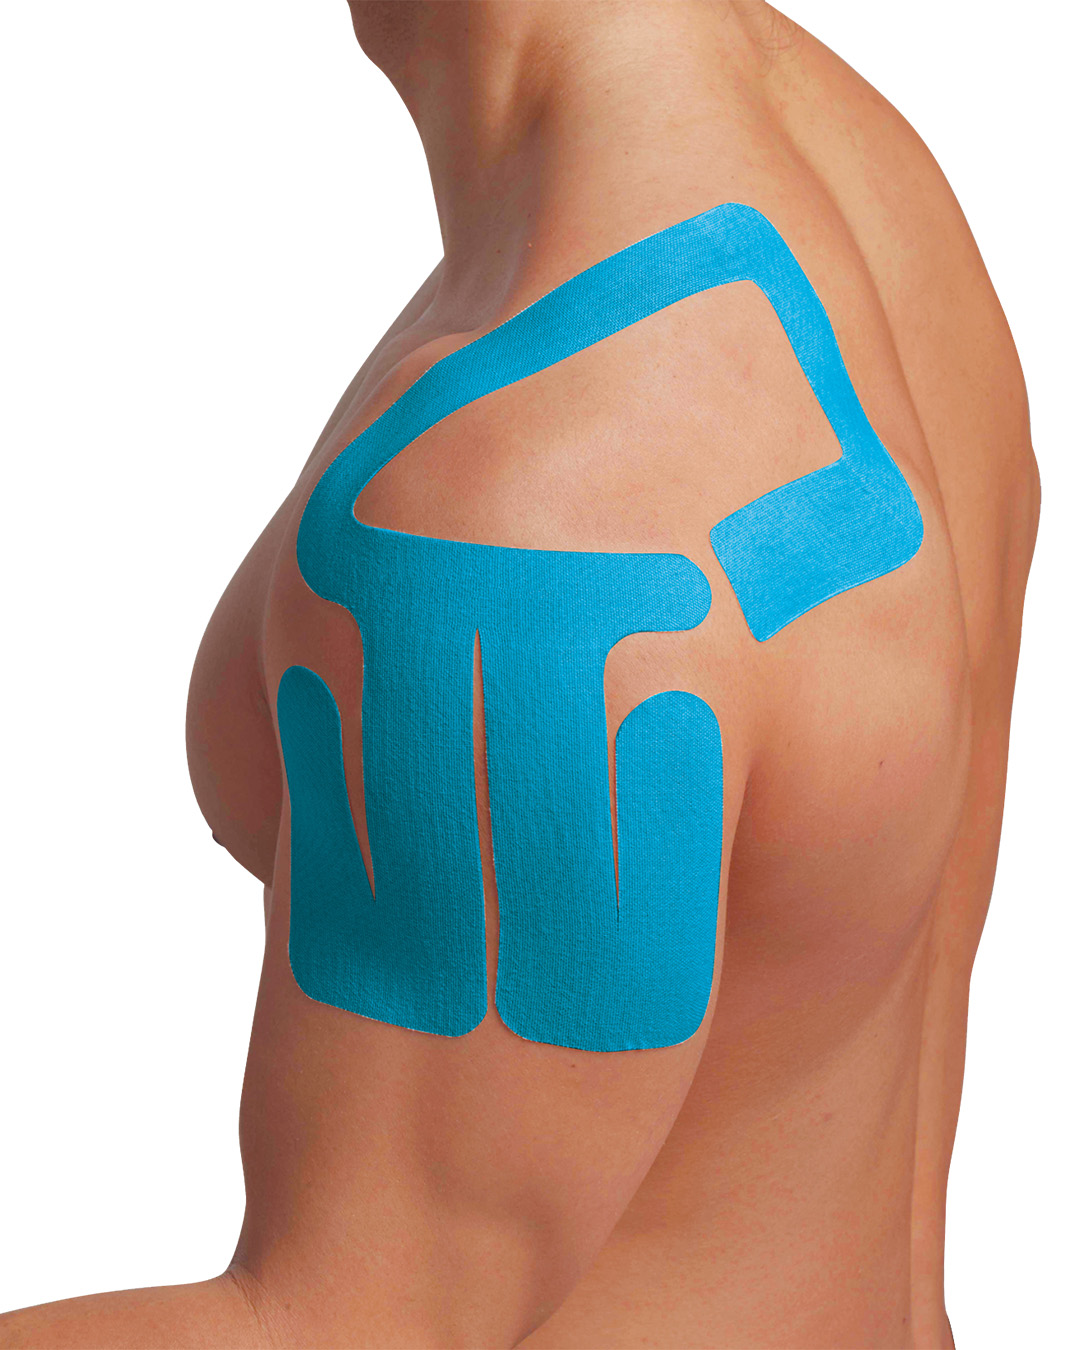
Right Pro Shoulder Application
Follow the steps in order to achieve a perfect application.
Slide to the right for next steps.
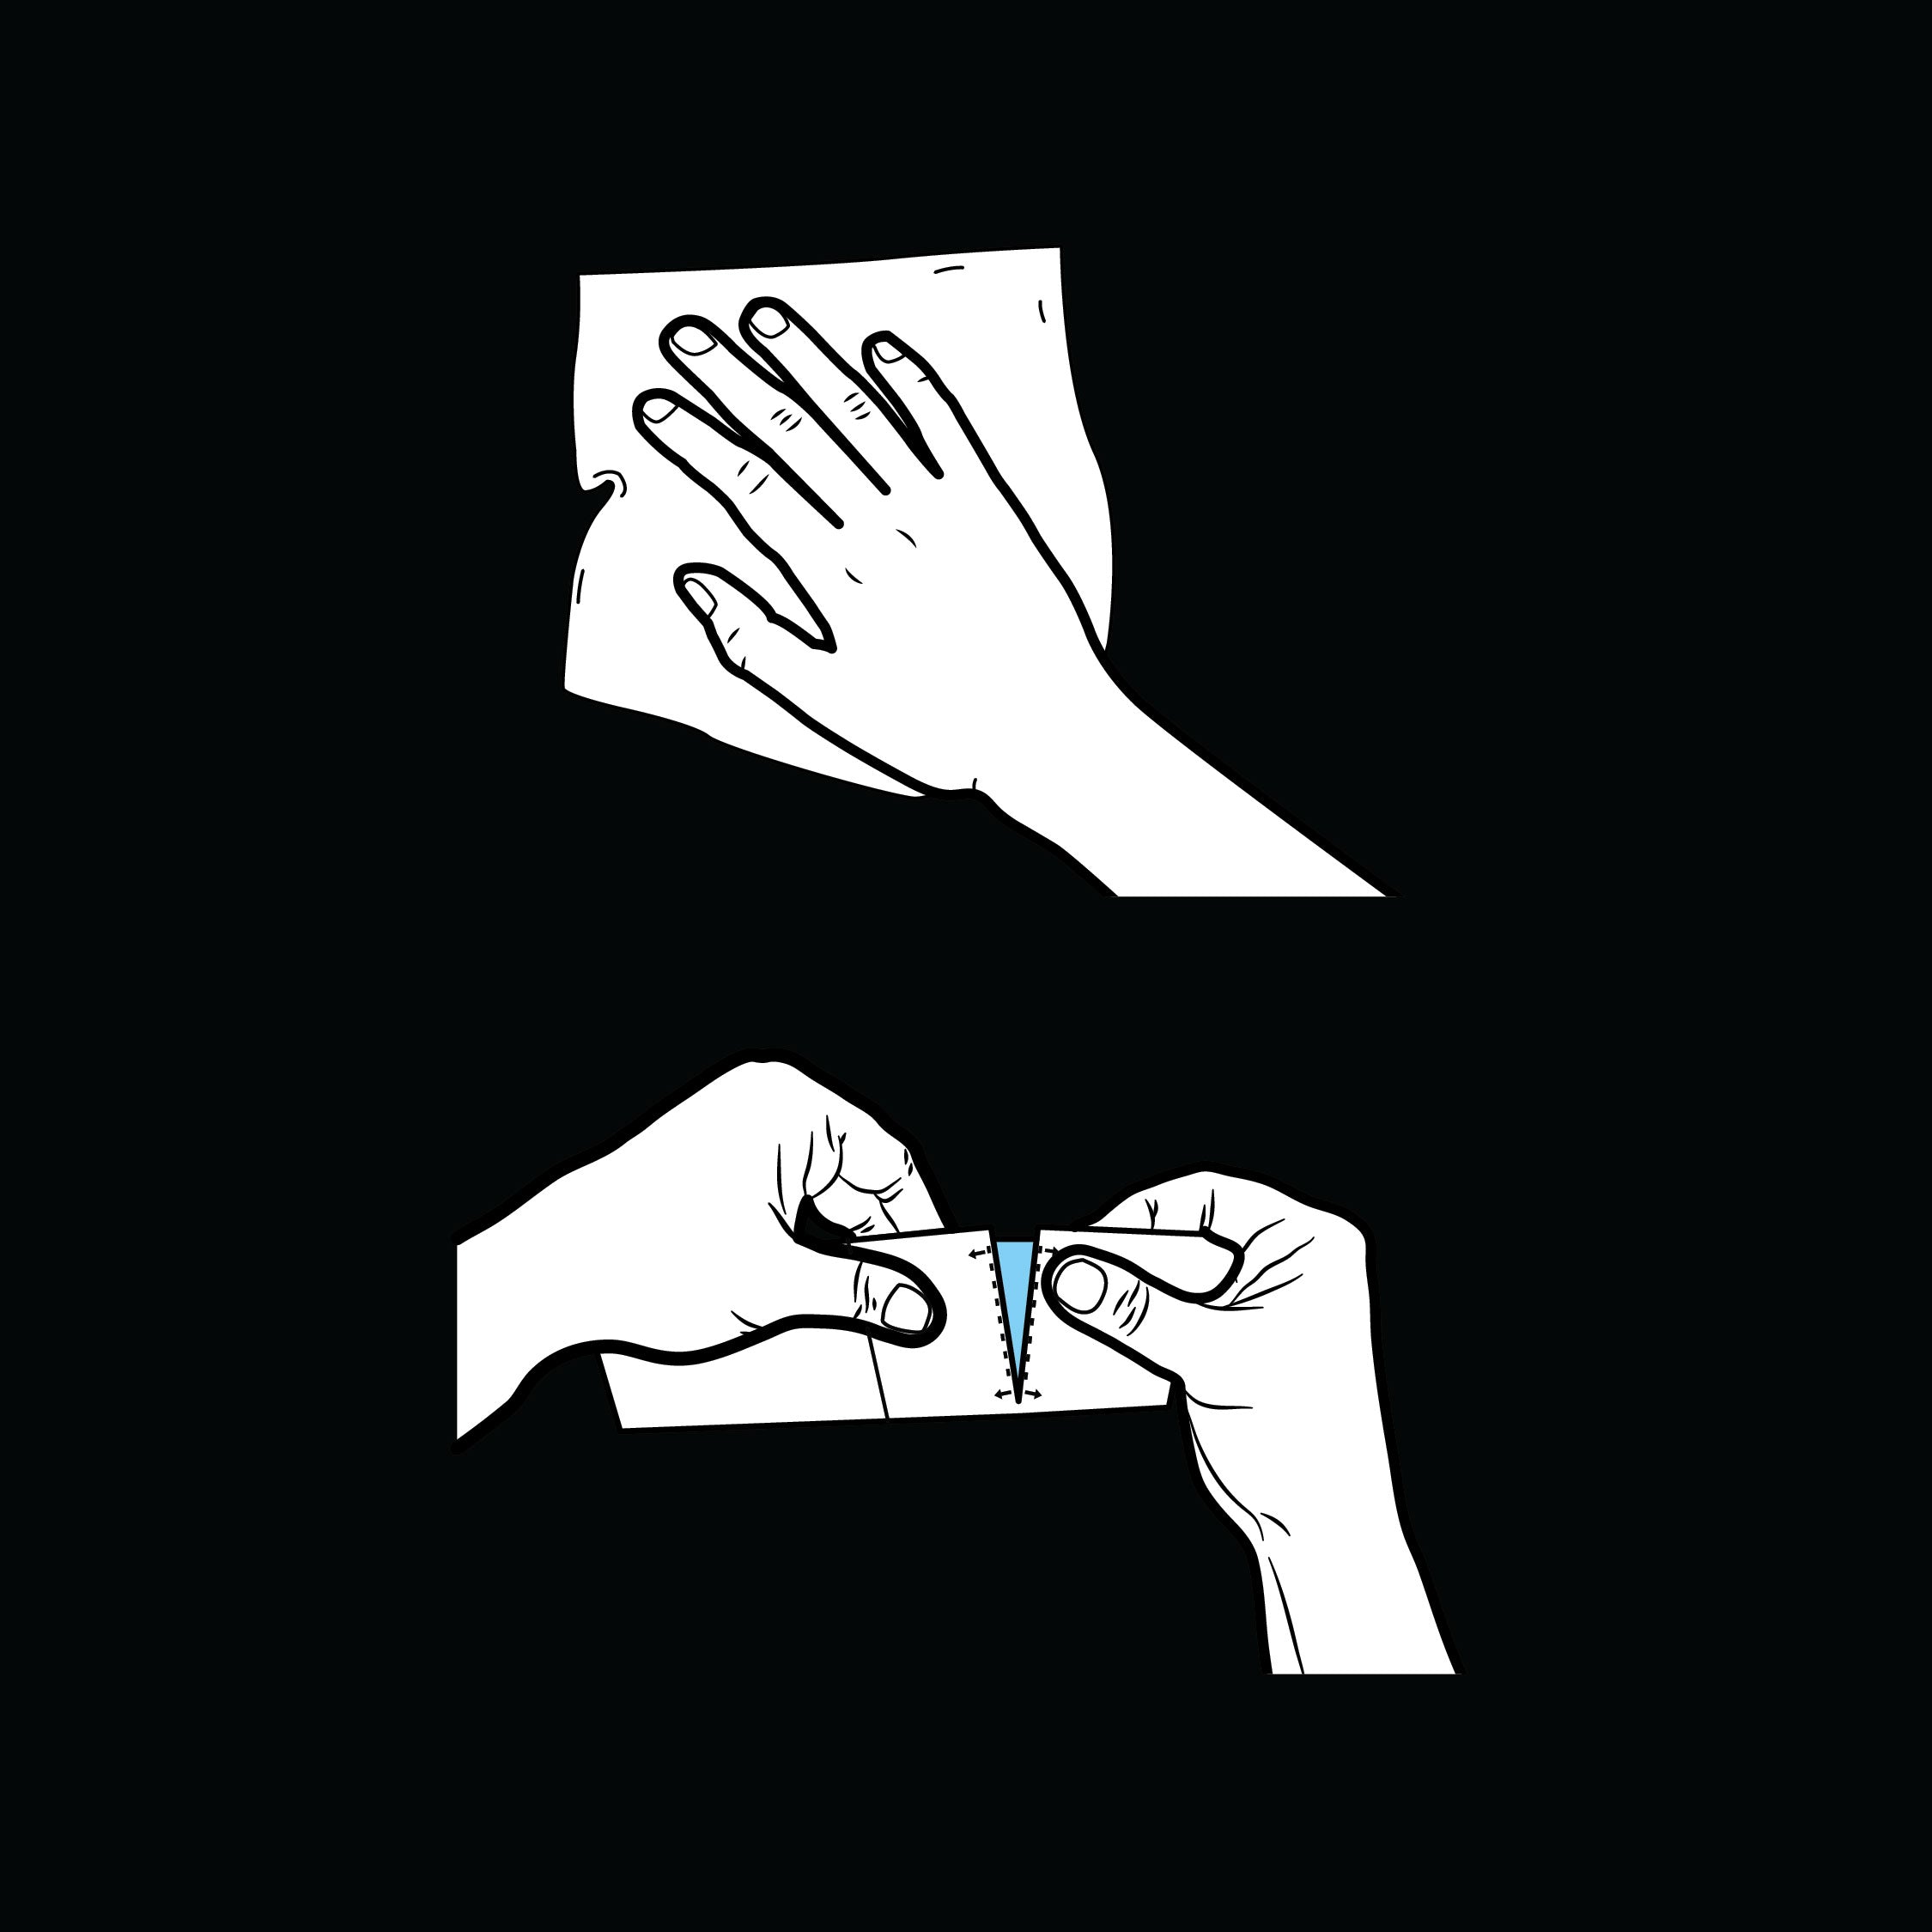
Before you begin
To ensure the best results:
Clean skin, remove any sweat, oil, creams and hair.
Prepare tape before application and tear all perforations.
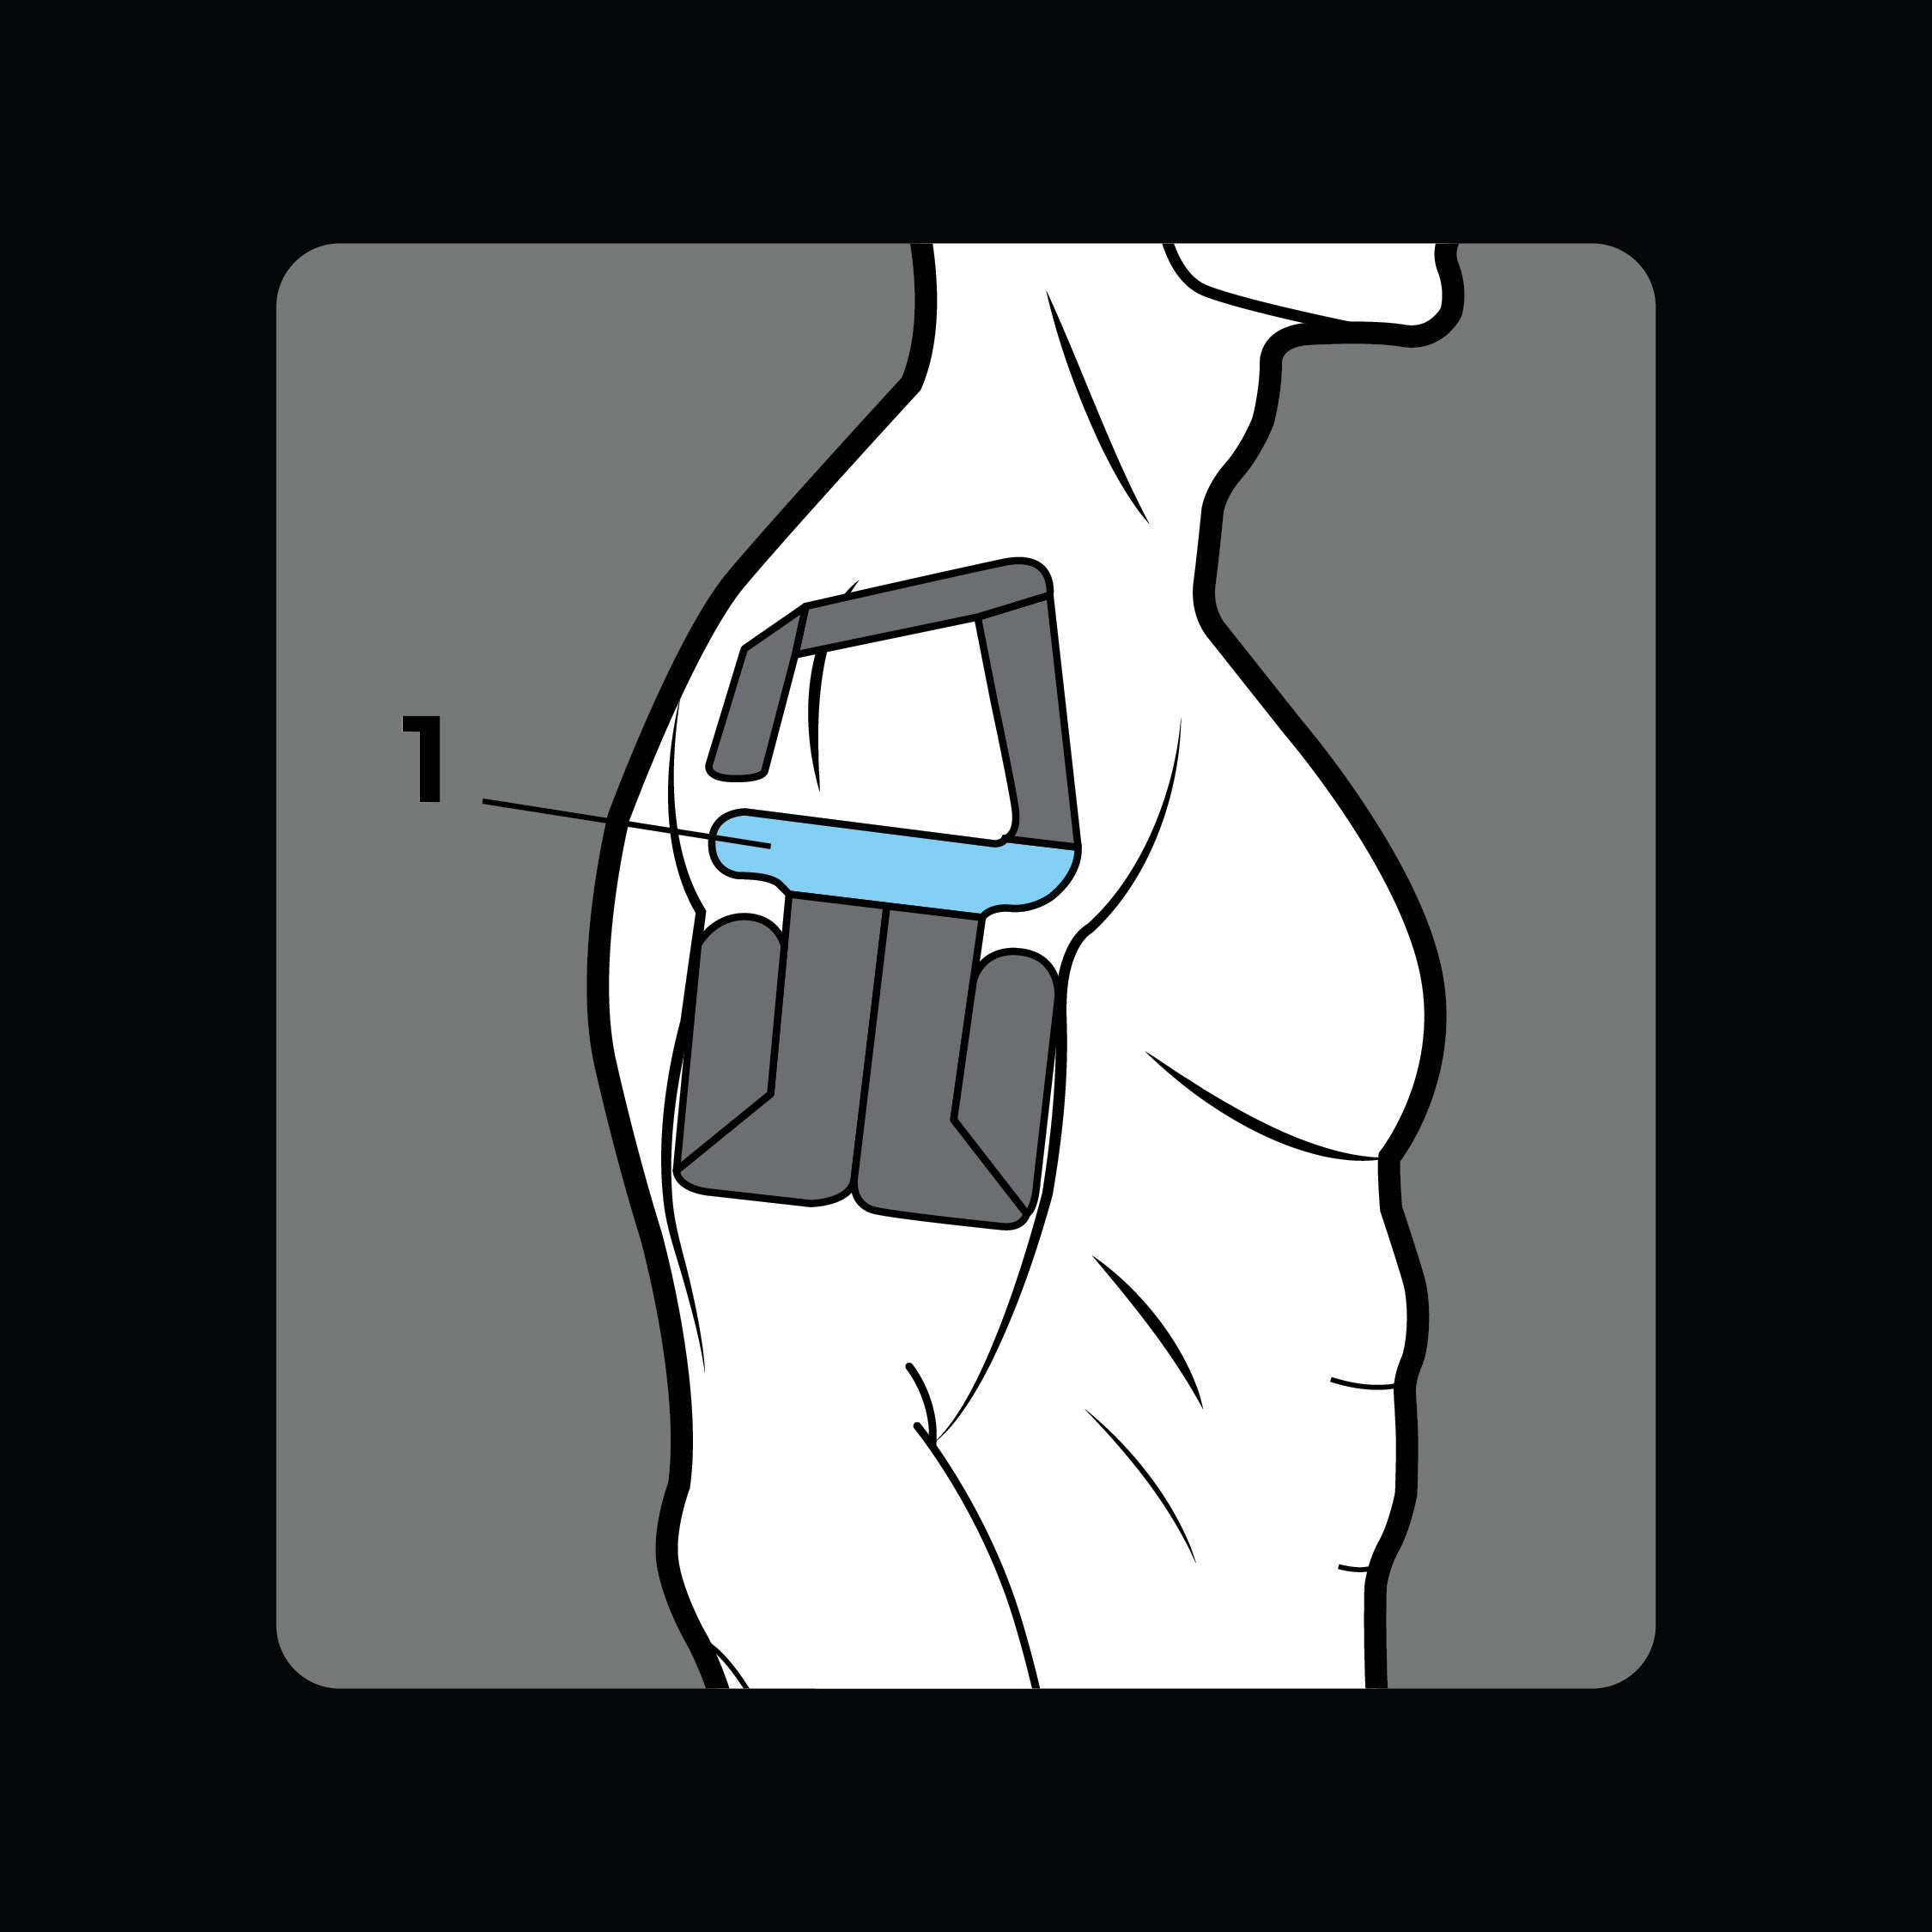
Step 1
With arm relaxed to your side, apply section 1 below the shoulder joint.
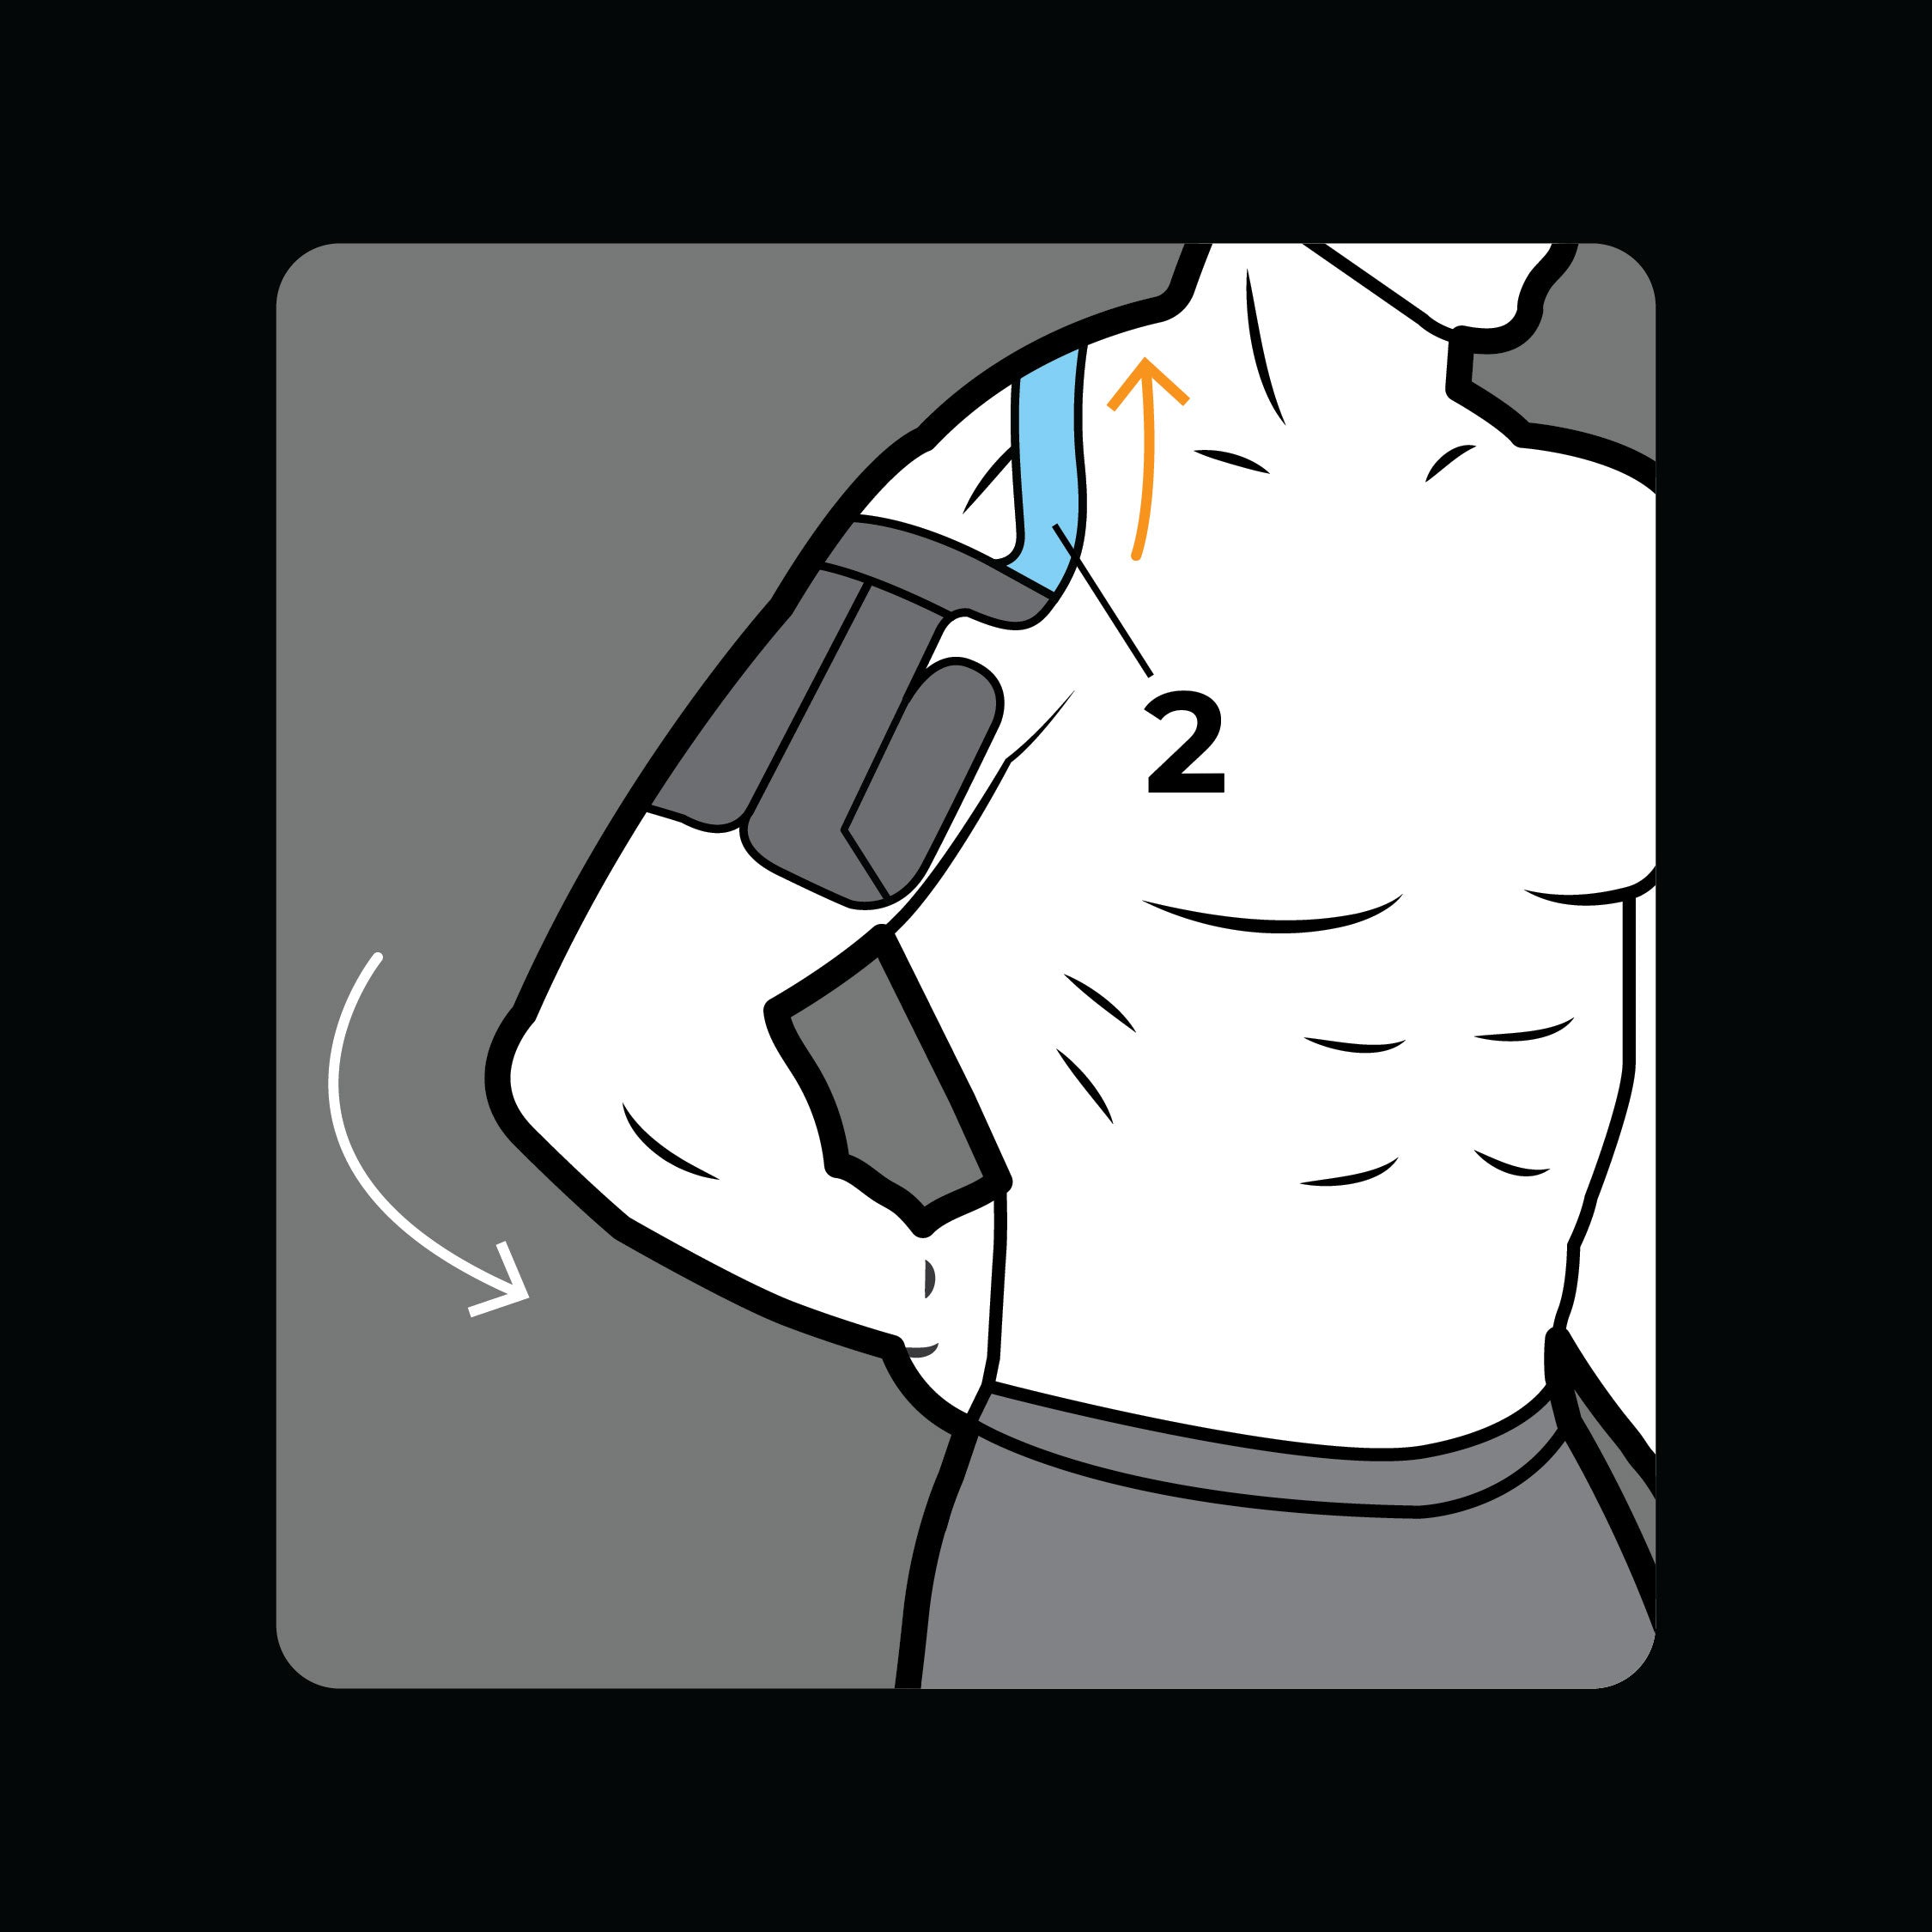
Step 2
Place back of hand on low back. Apply section 2 across collarbone, towards neck.
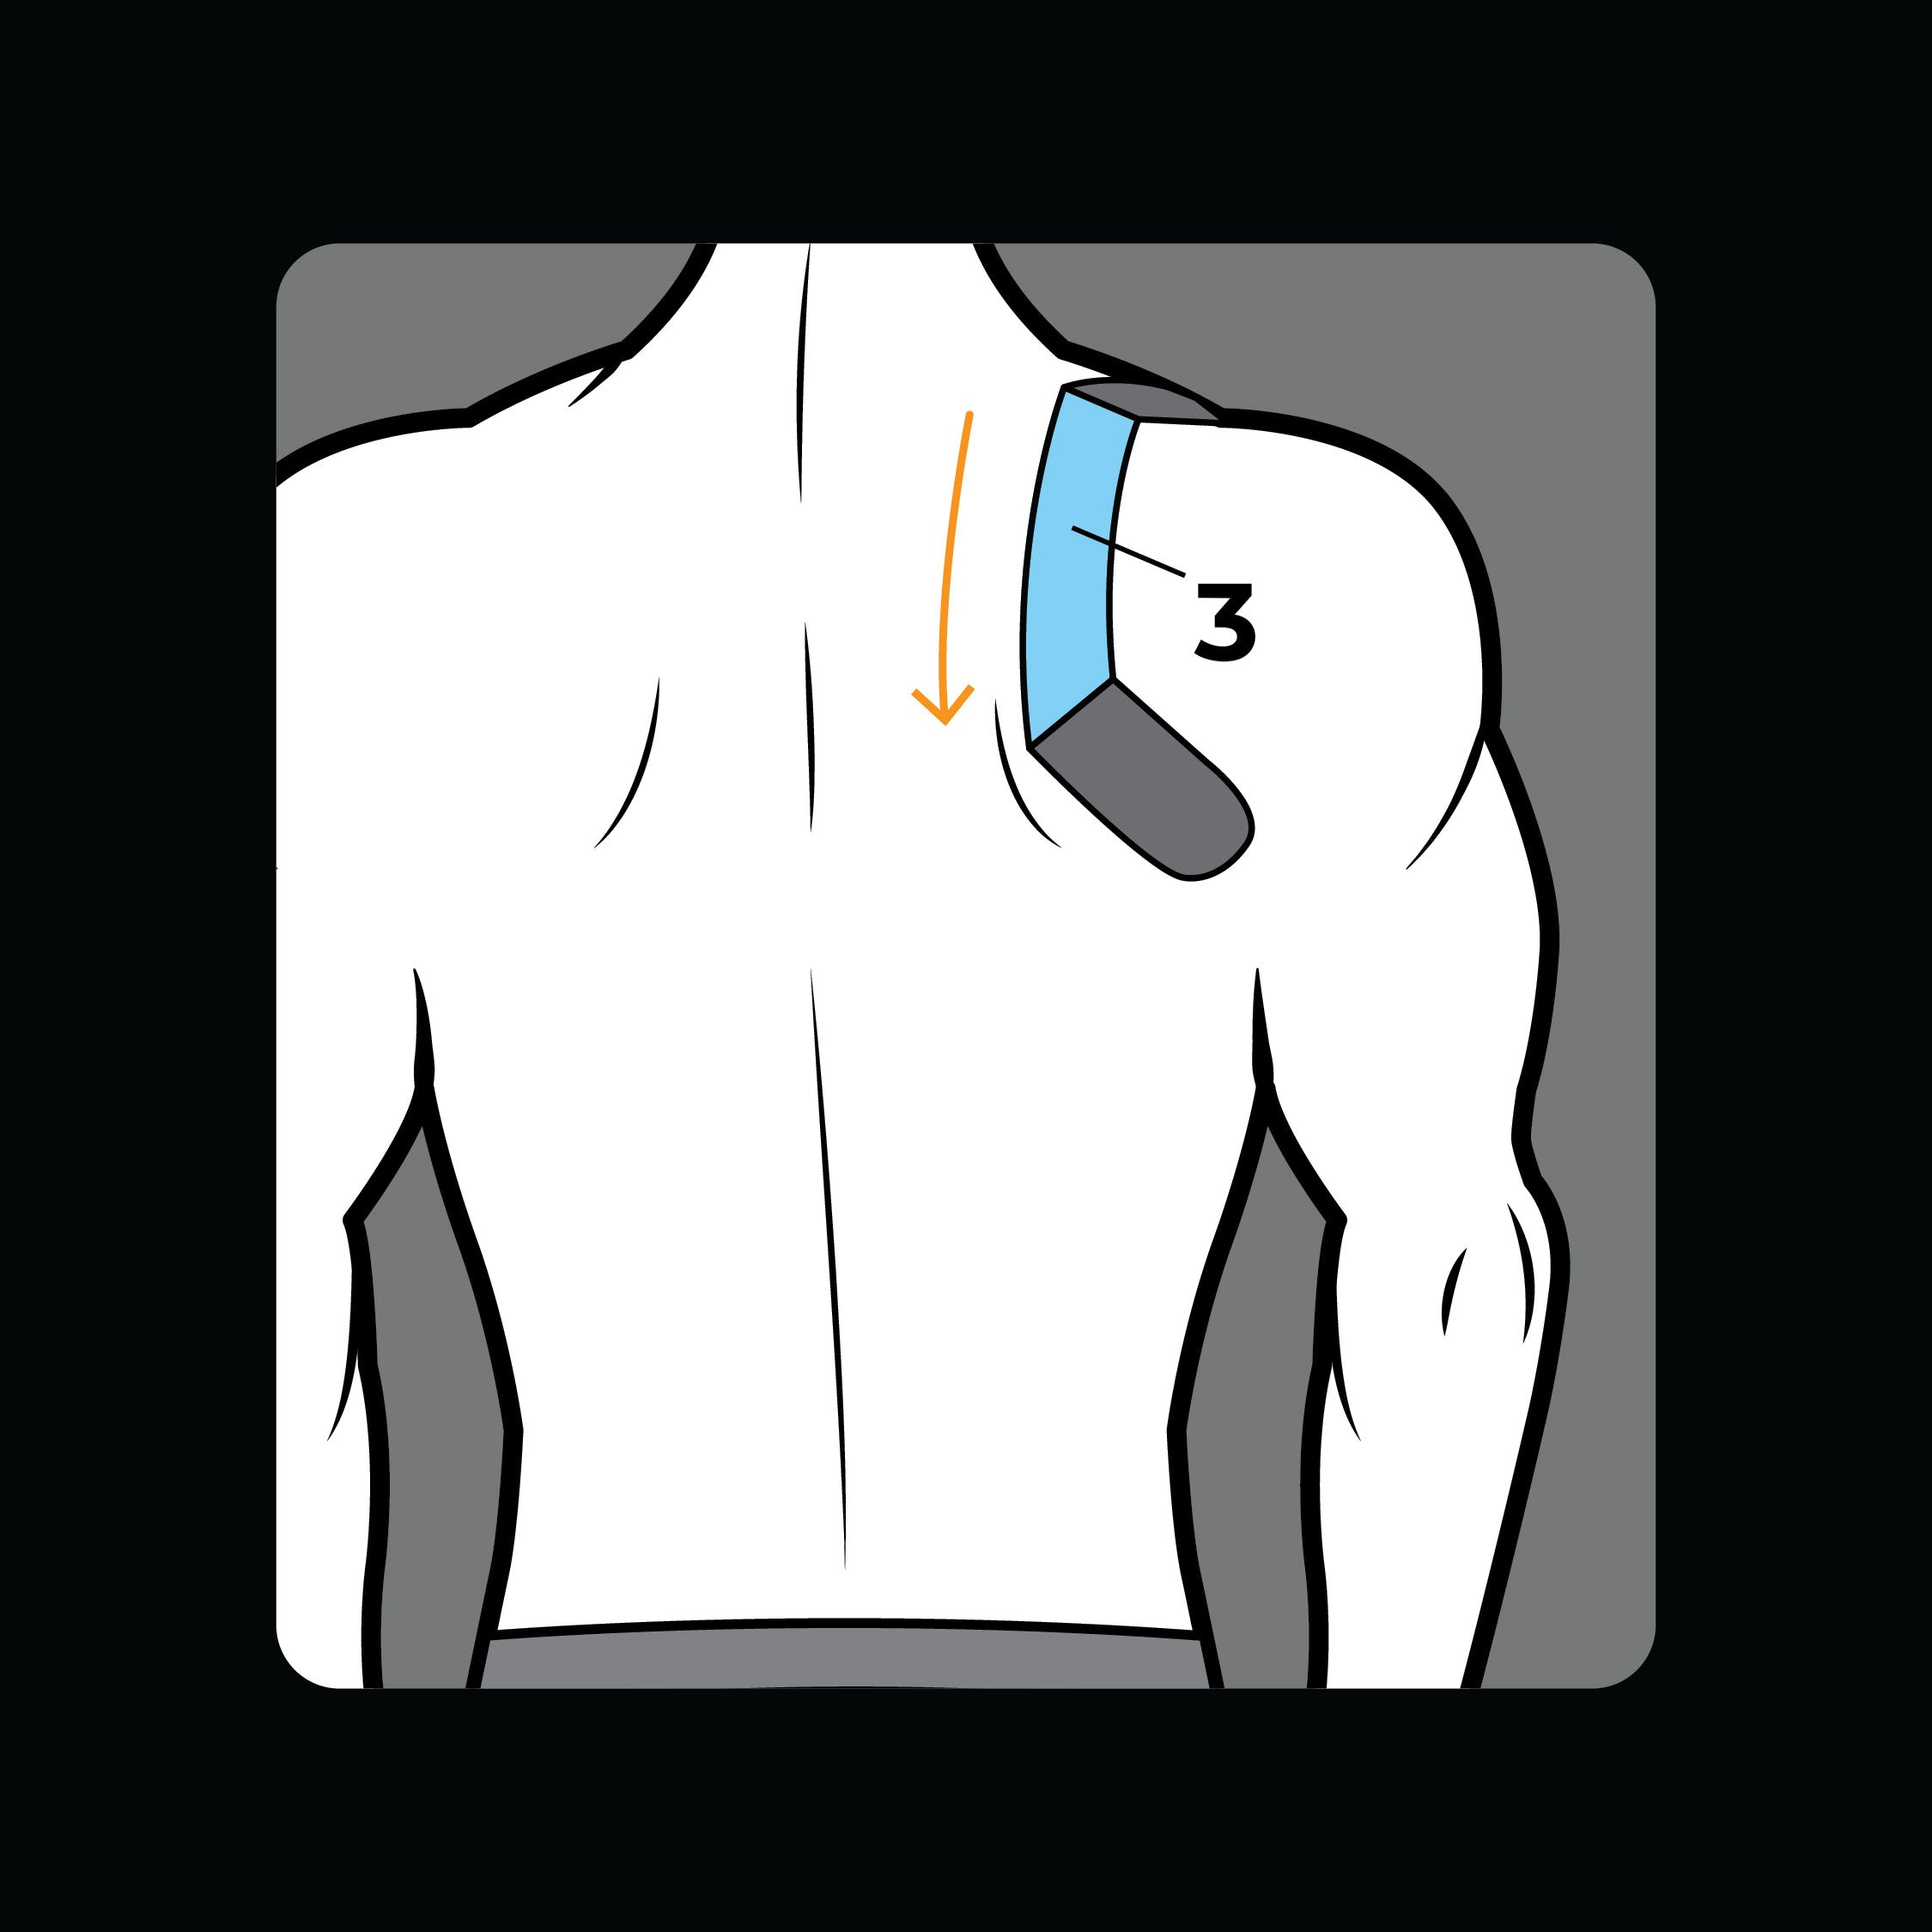
Step 3
With arms relaxed to your side, apply section 3 parallel to spine.
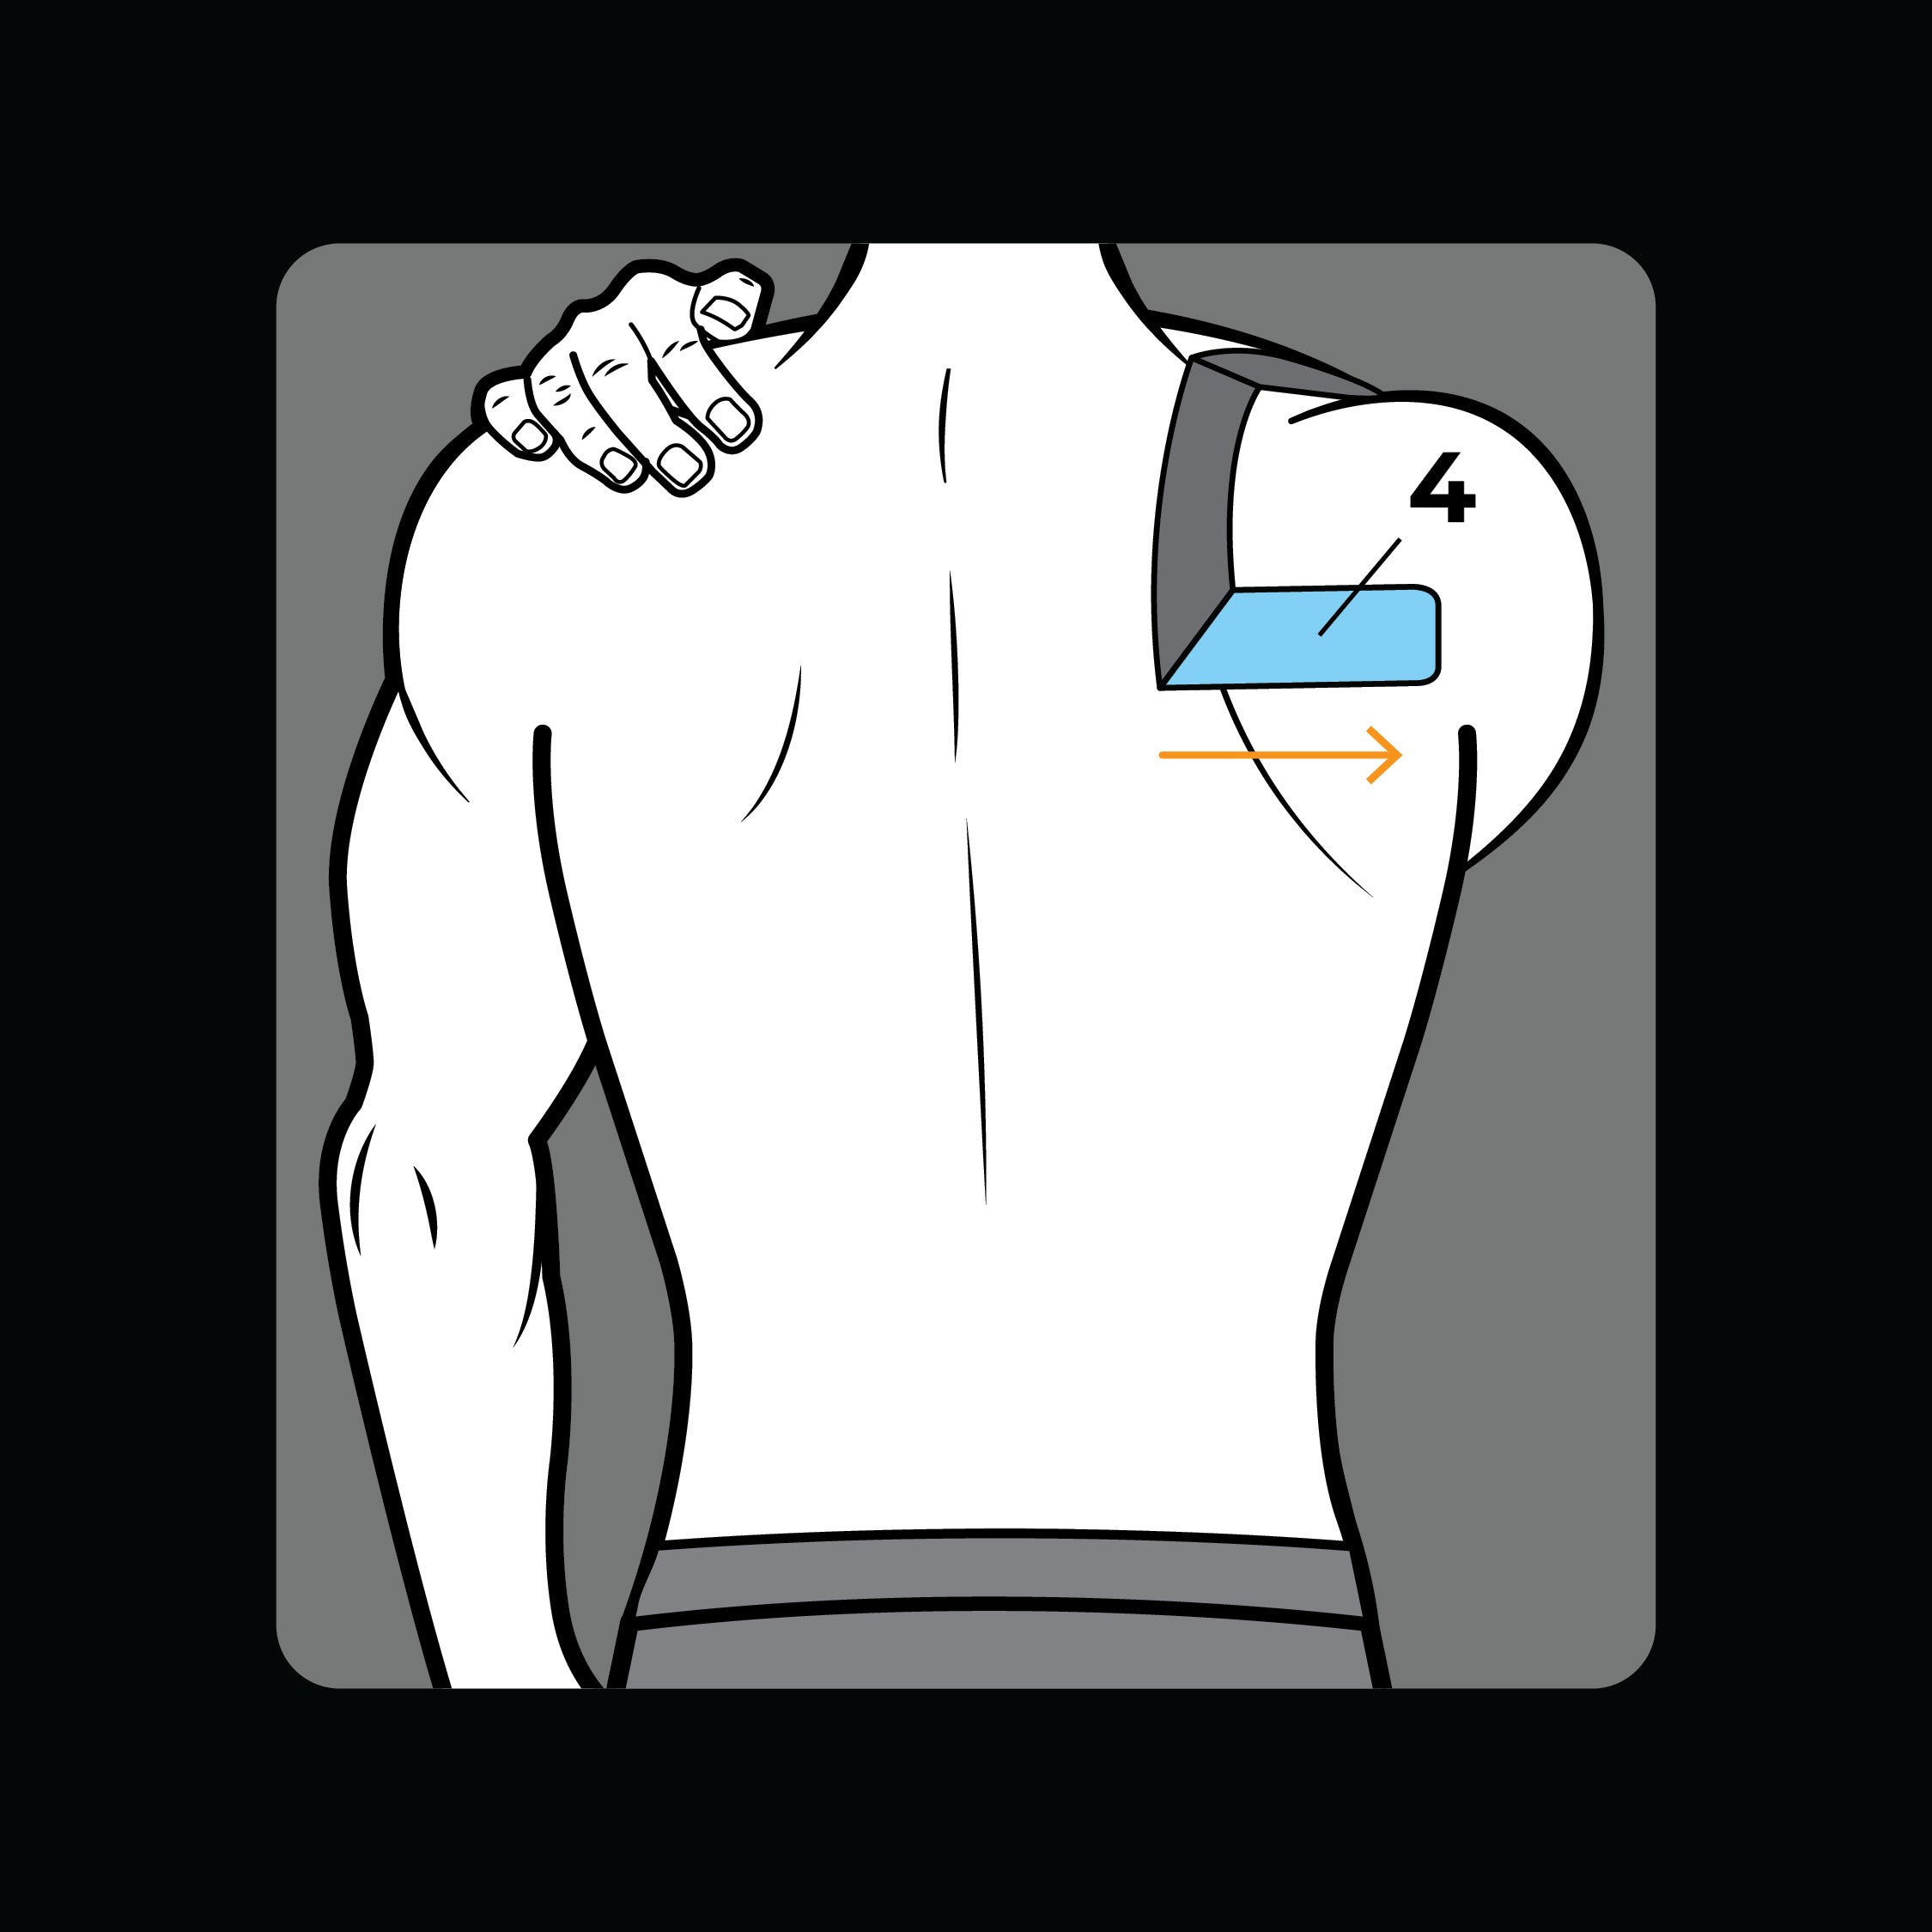
Step 4
Place left hand on opposite shoulder and apply section 4 across shoulder blade.
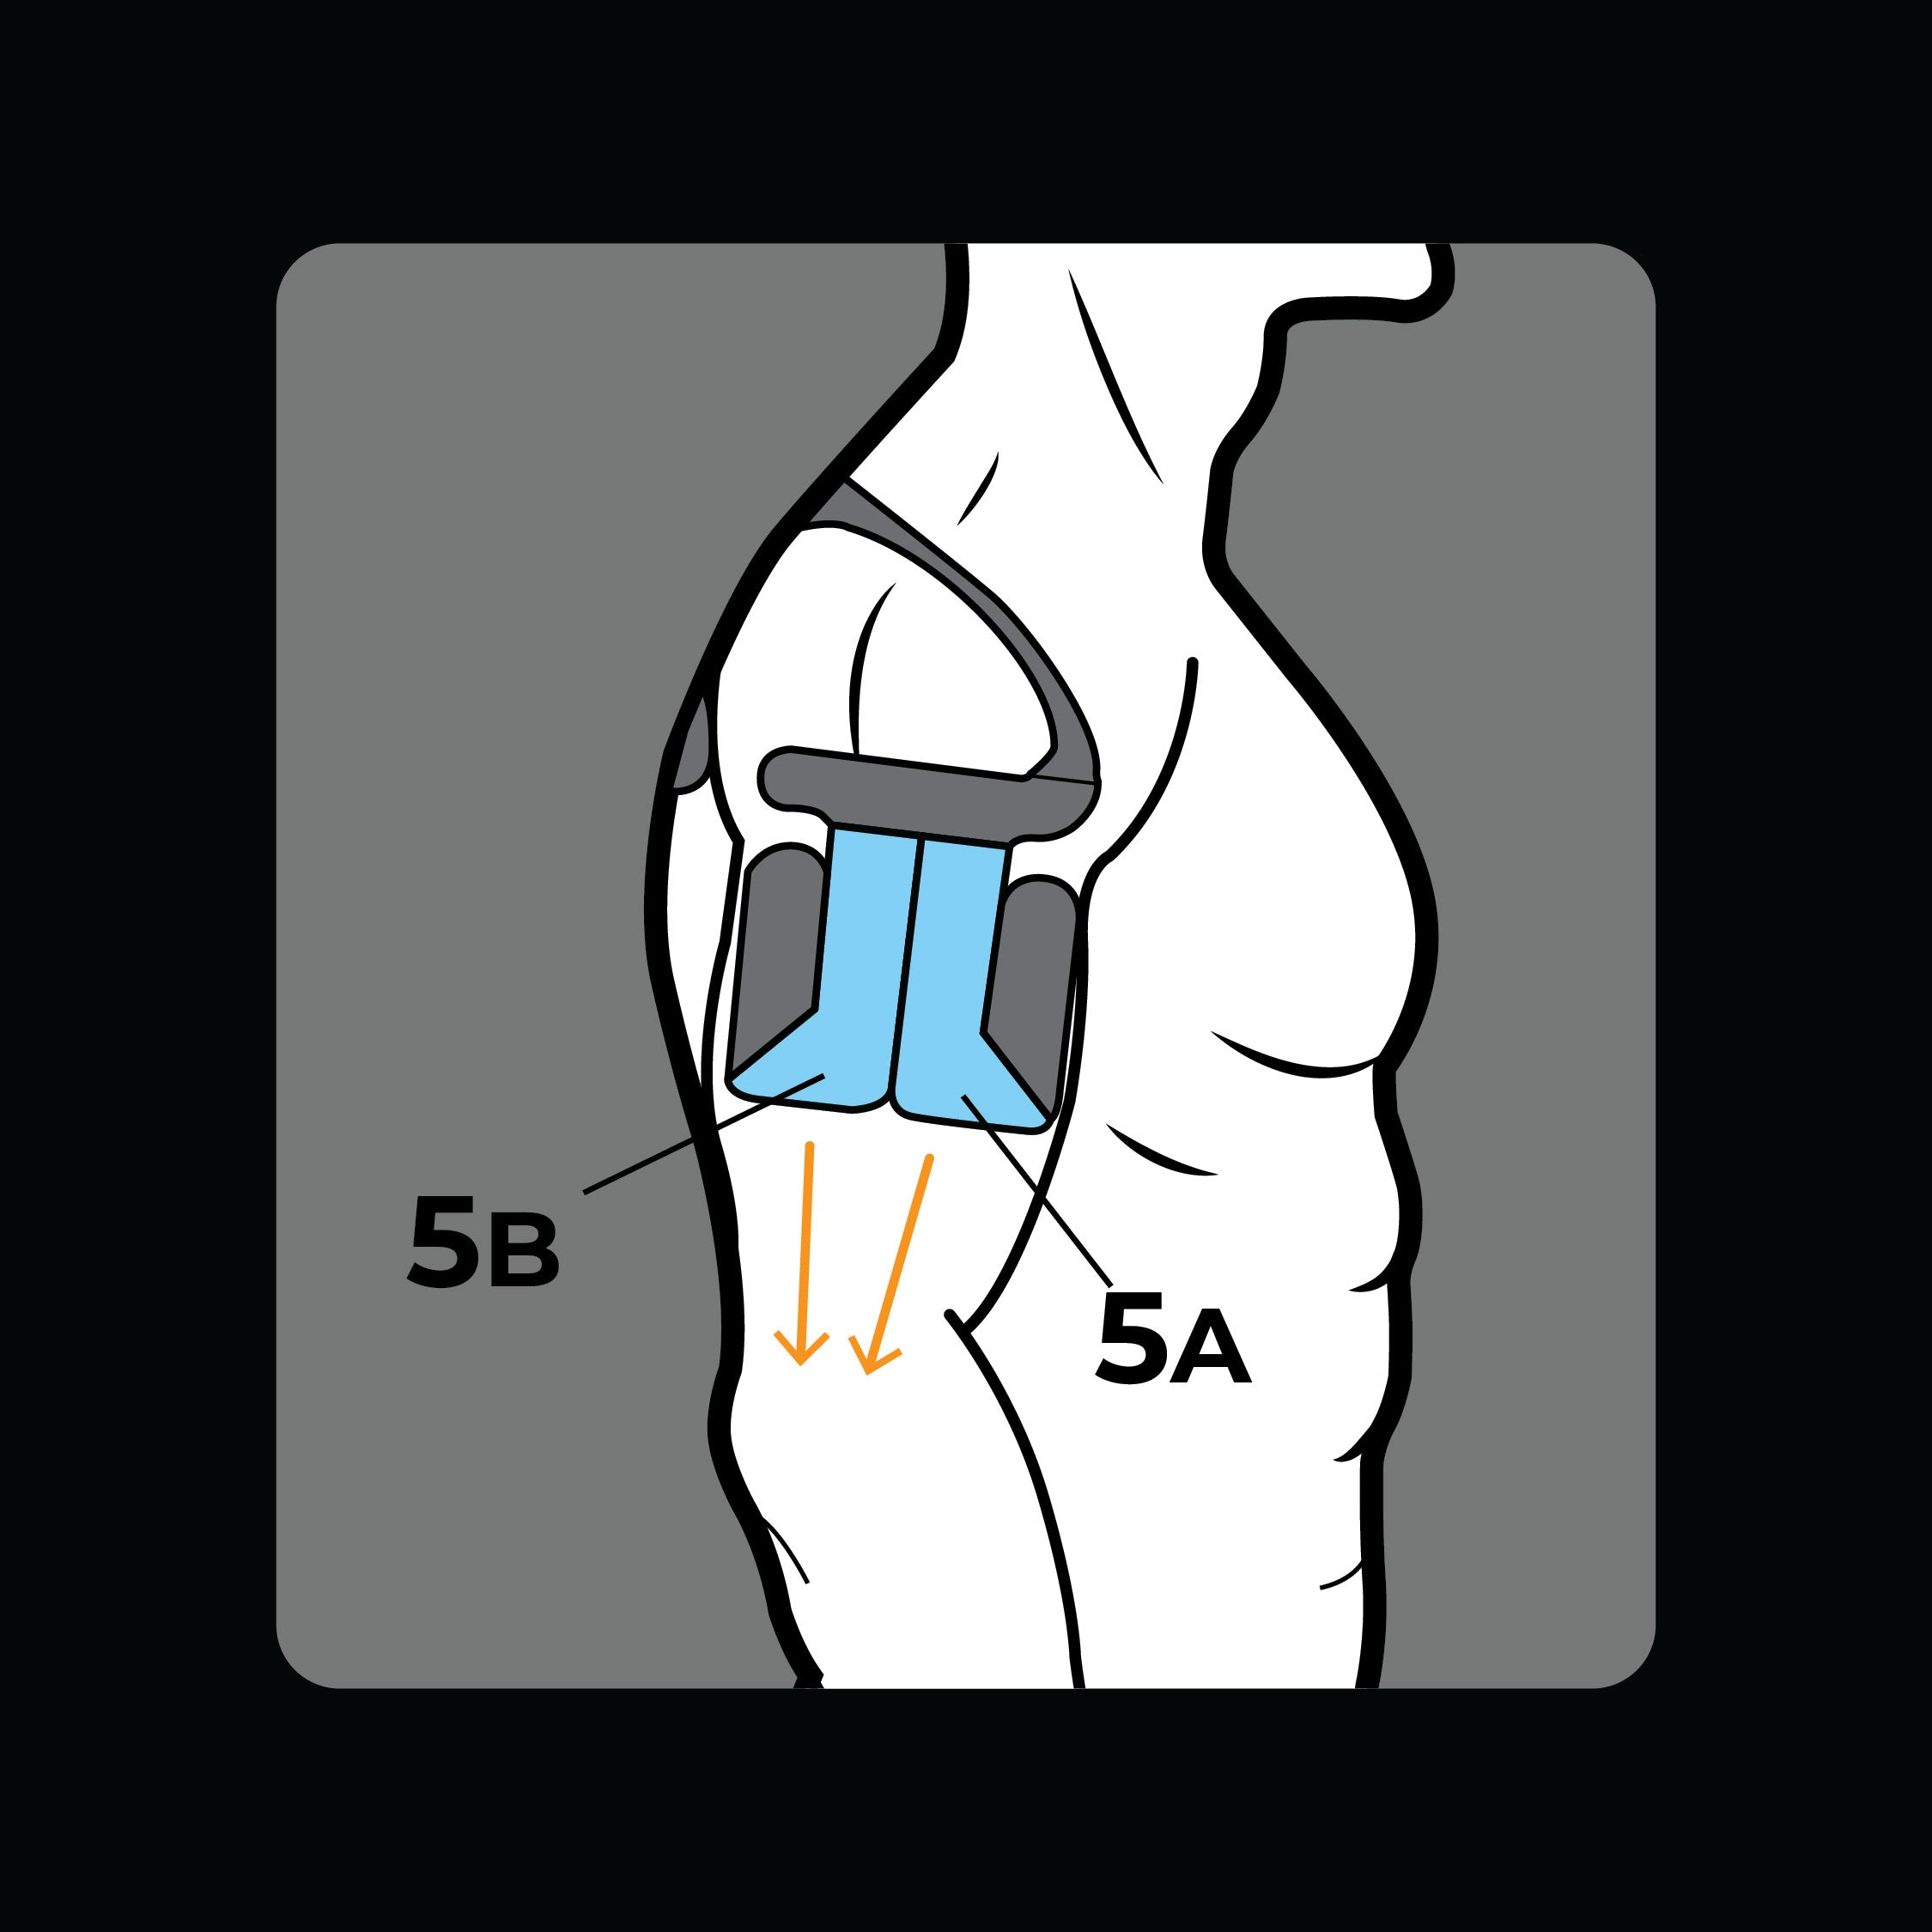
Step 5
Place arm relaxed at side of body. Apple section 5A and 5B towards elbow.
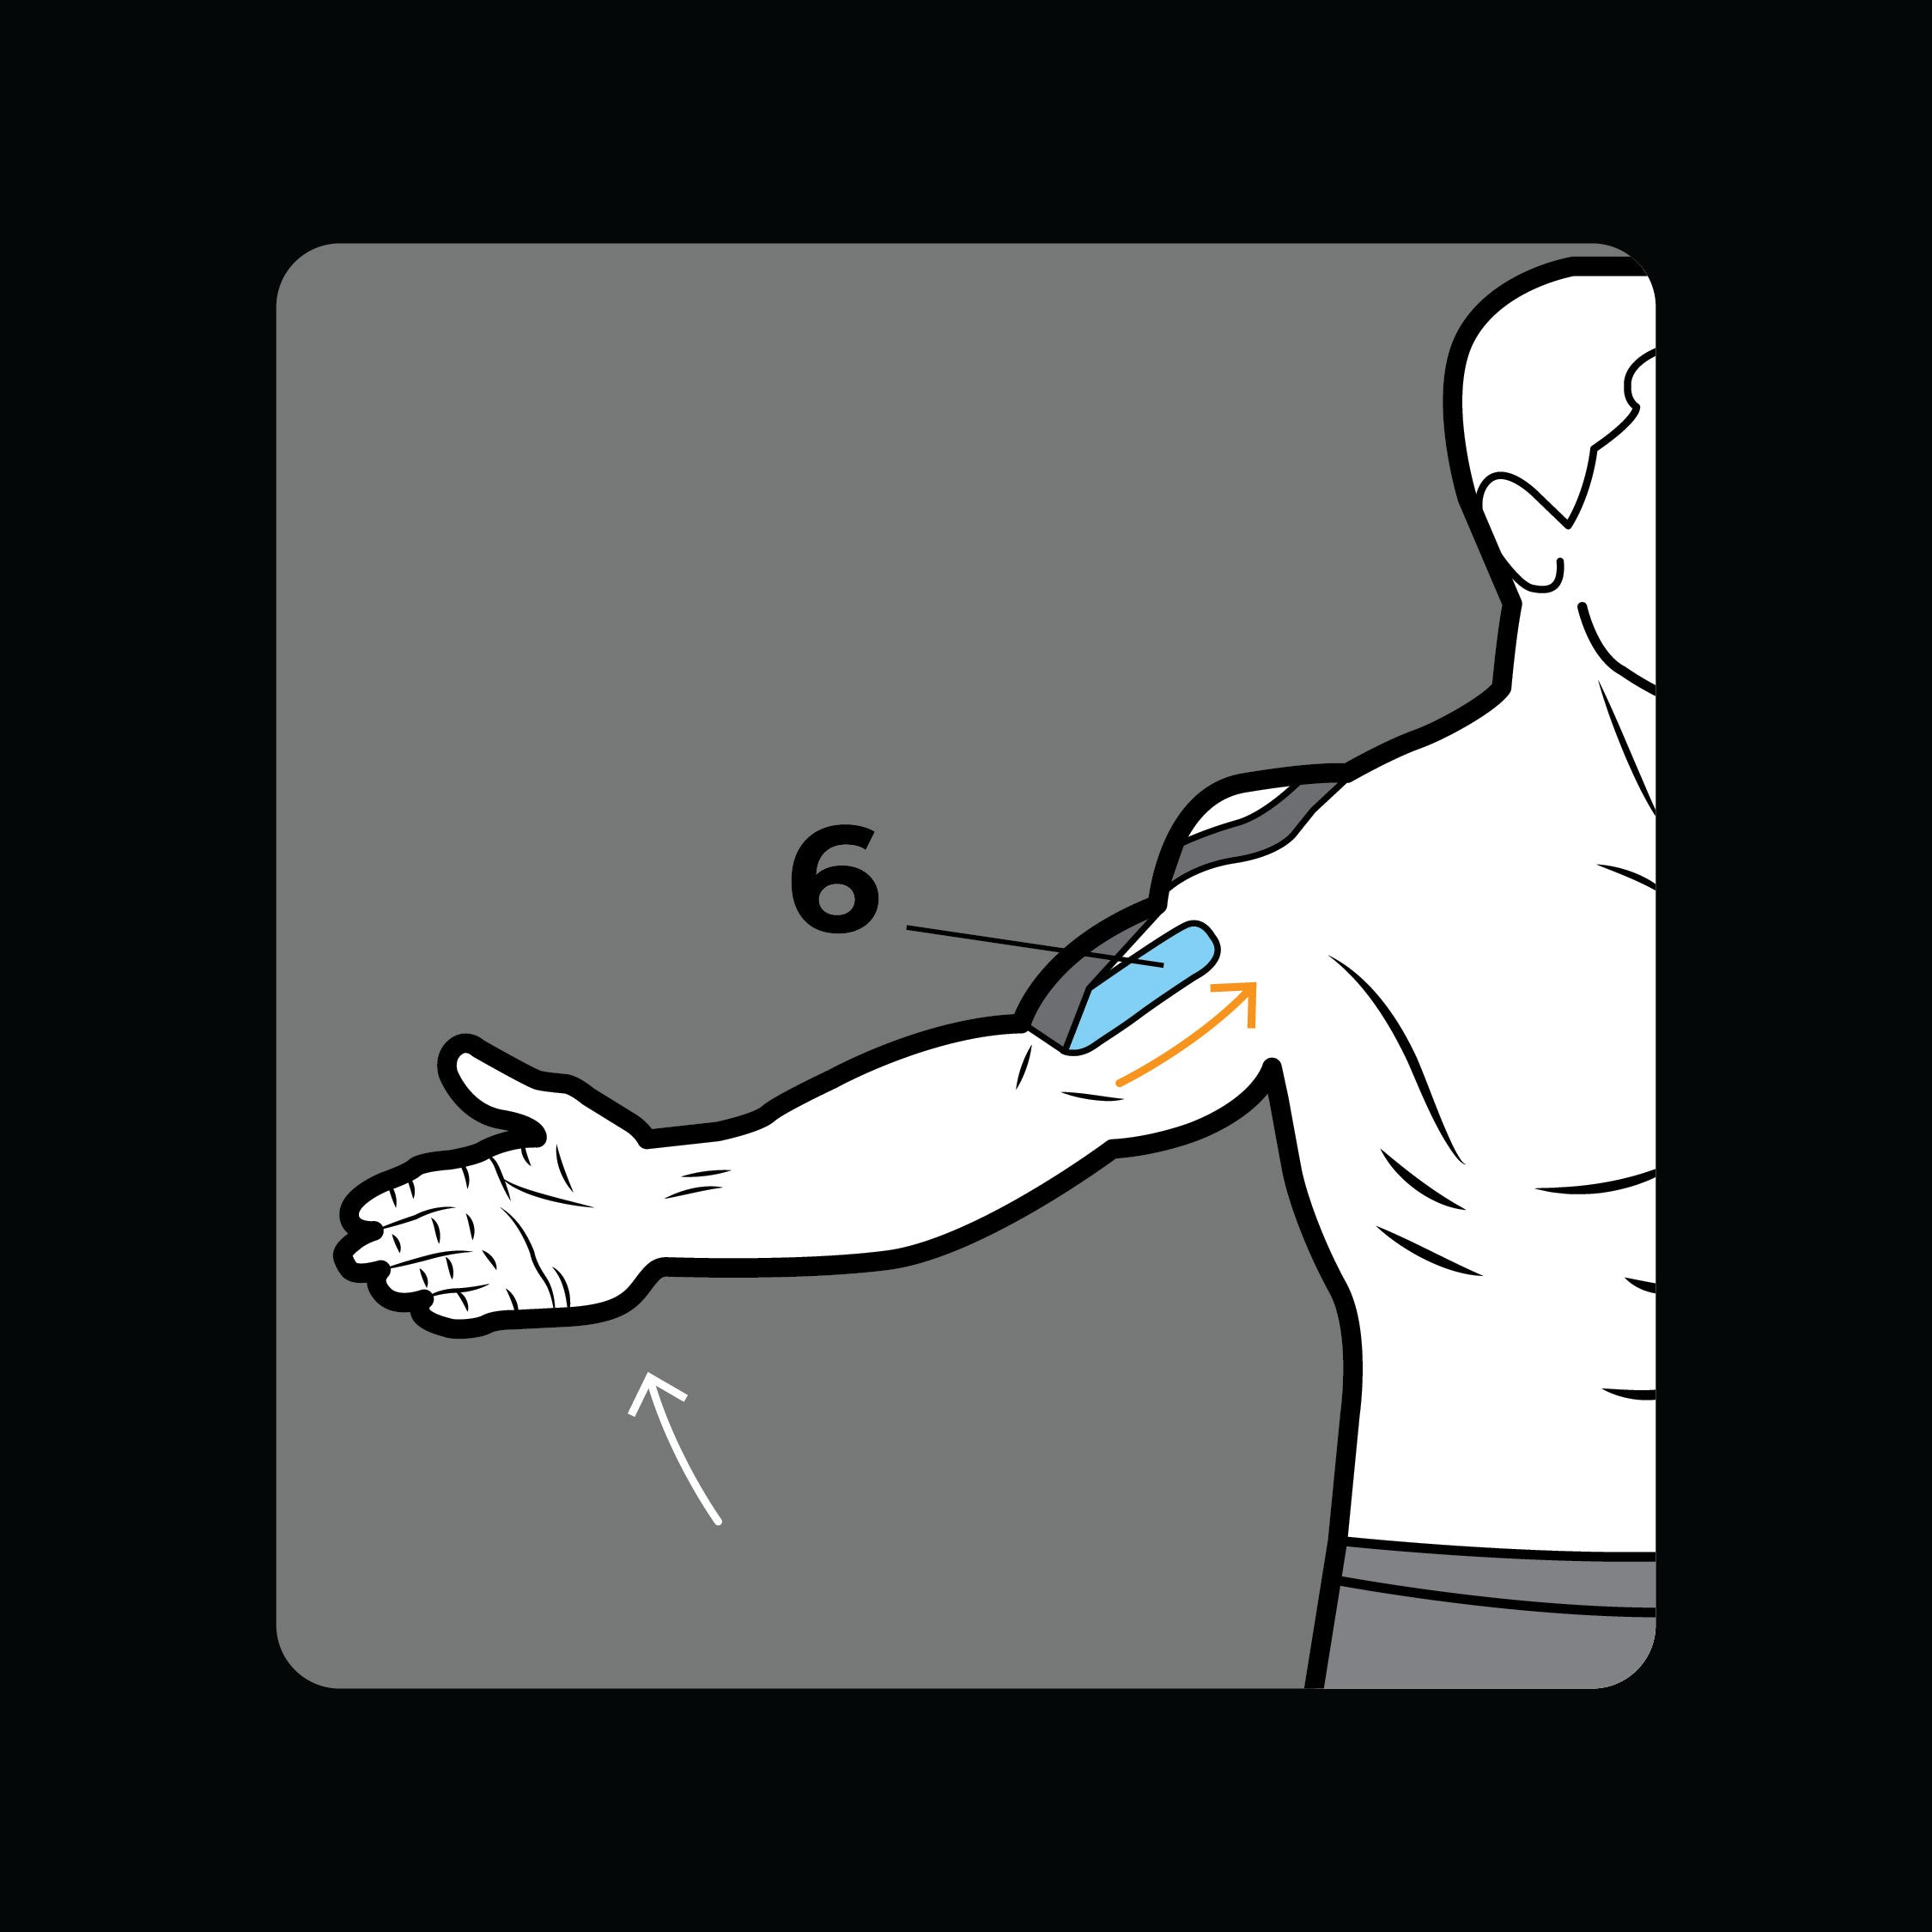
Step 6
Have arm at shoulder height, with palm forward. Apply section 6 towards shoulder.
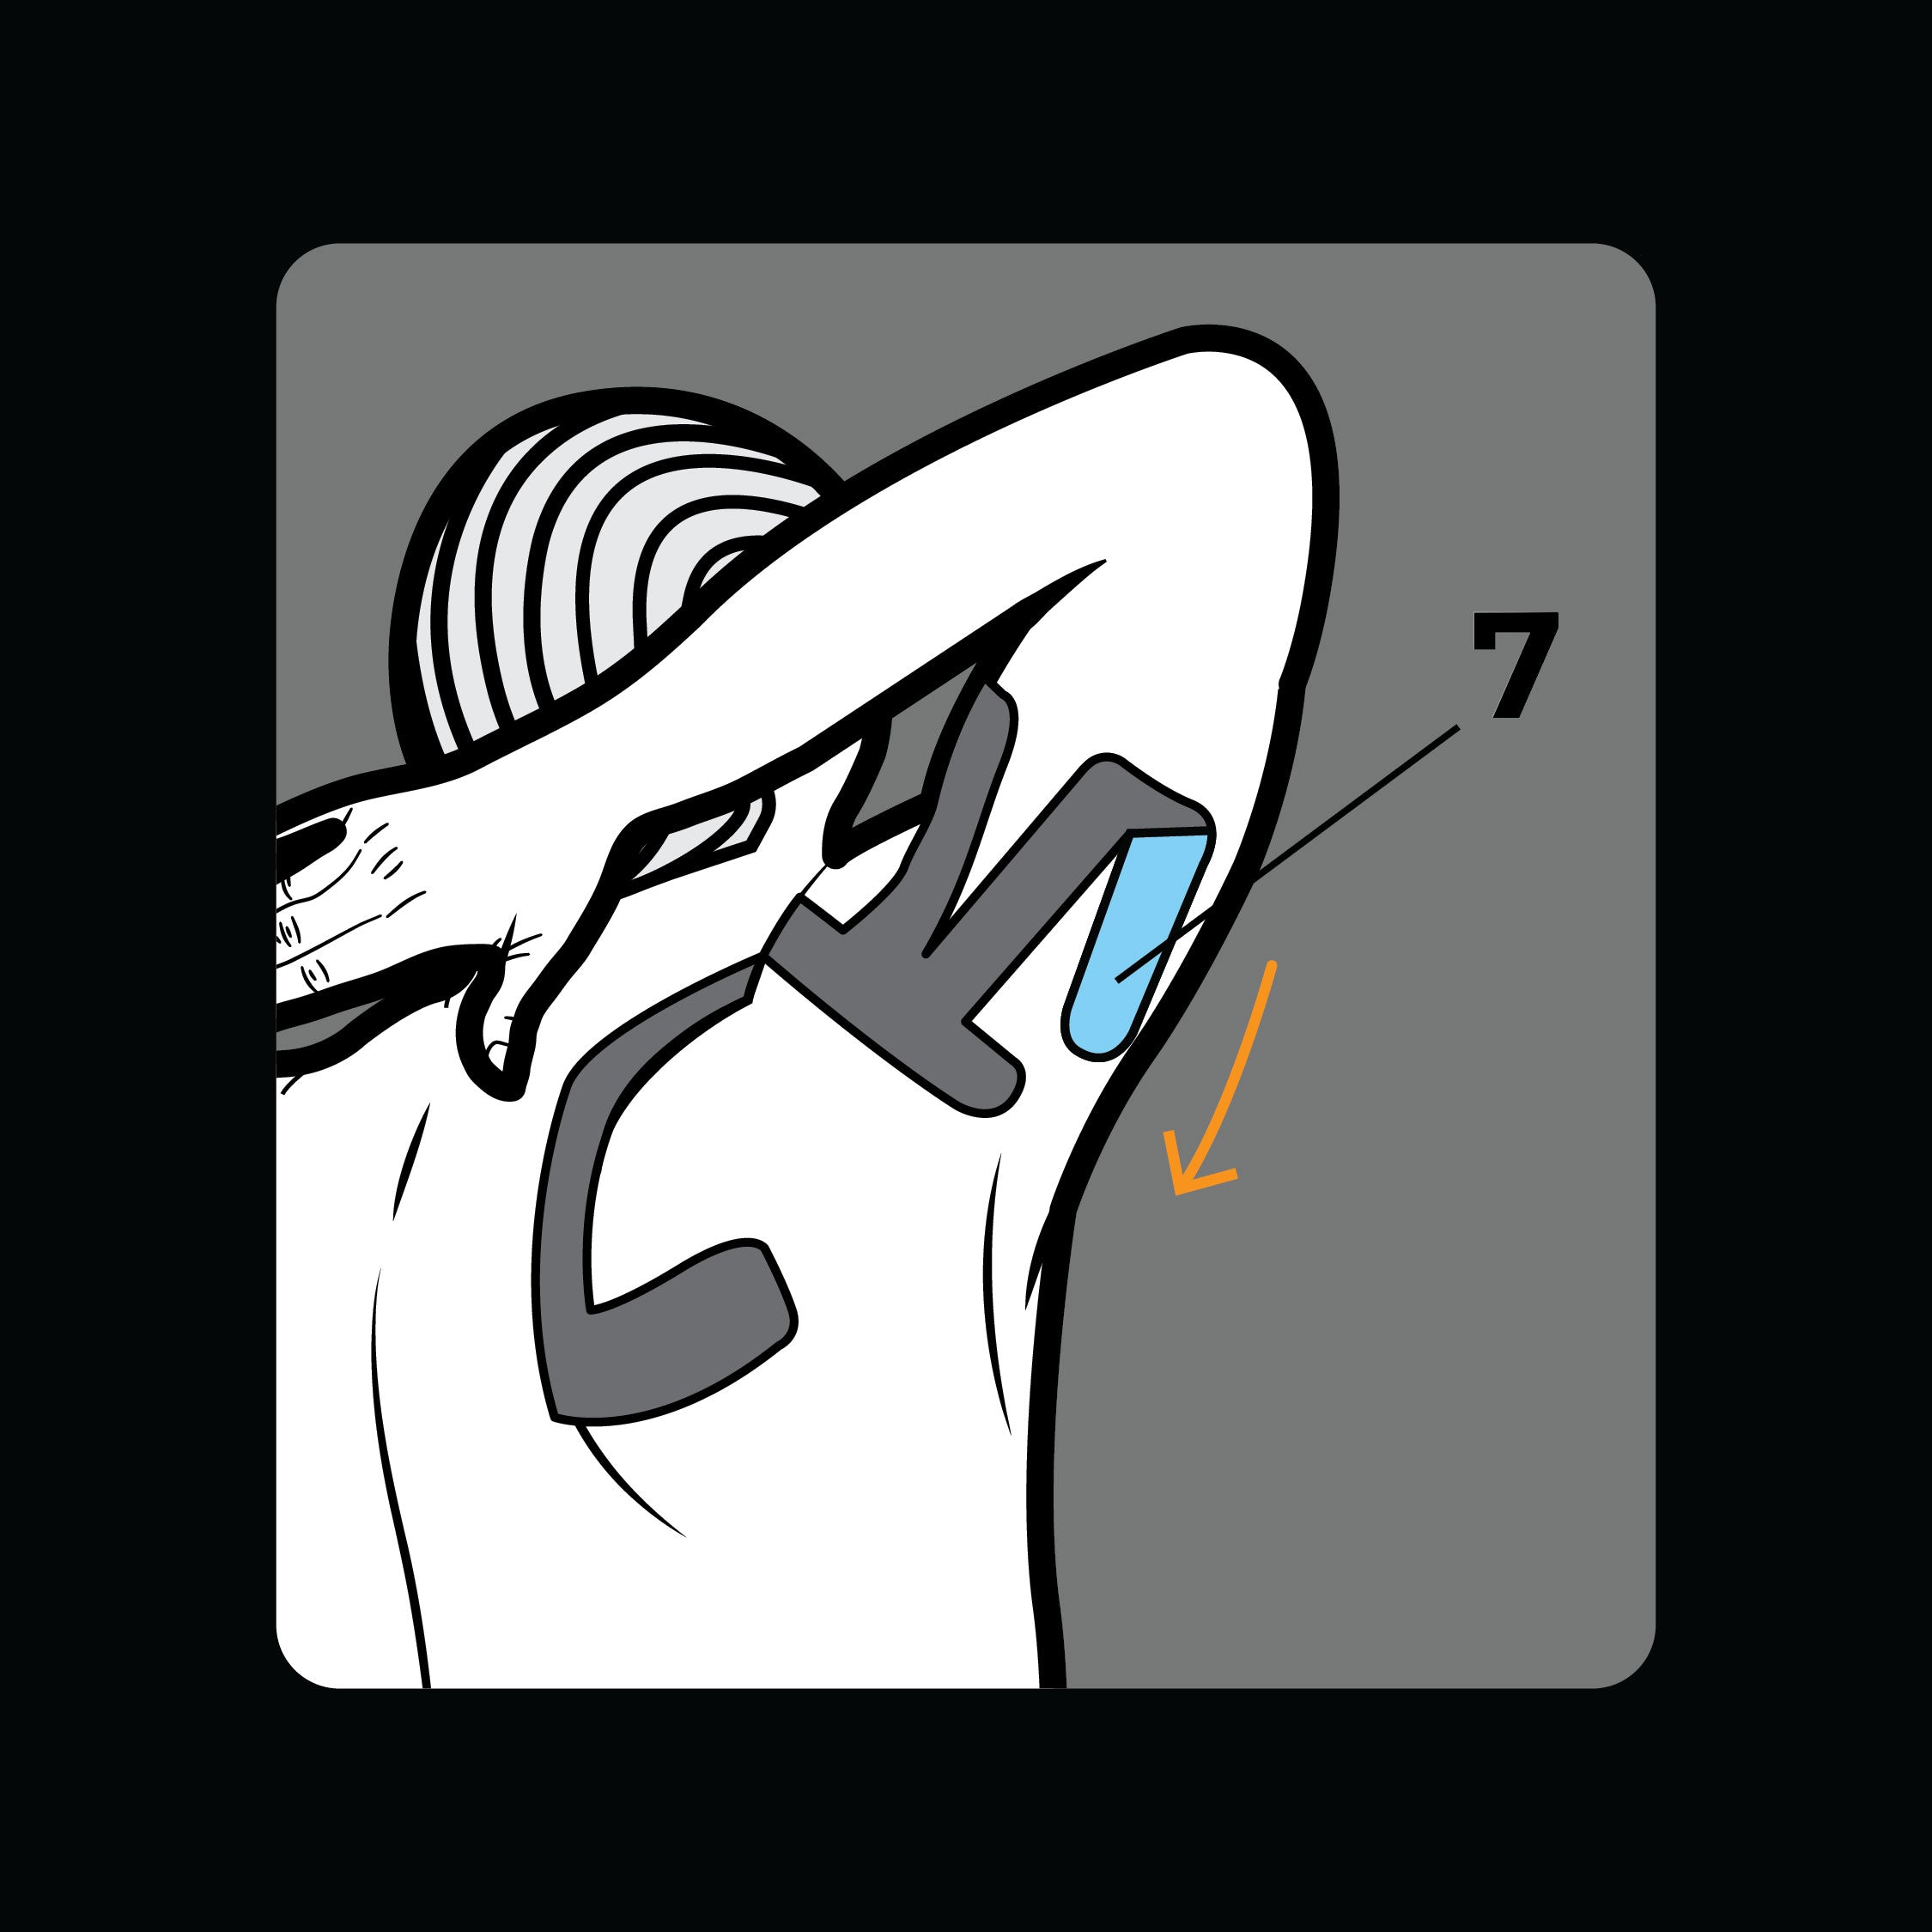
Step 7
Lift hand above head and bend elbow. Apply section 7 towards shoulder.
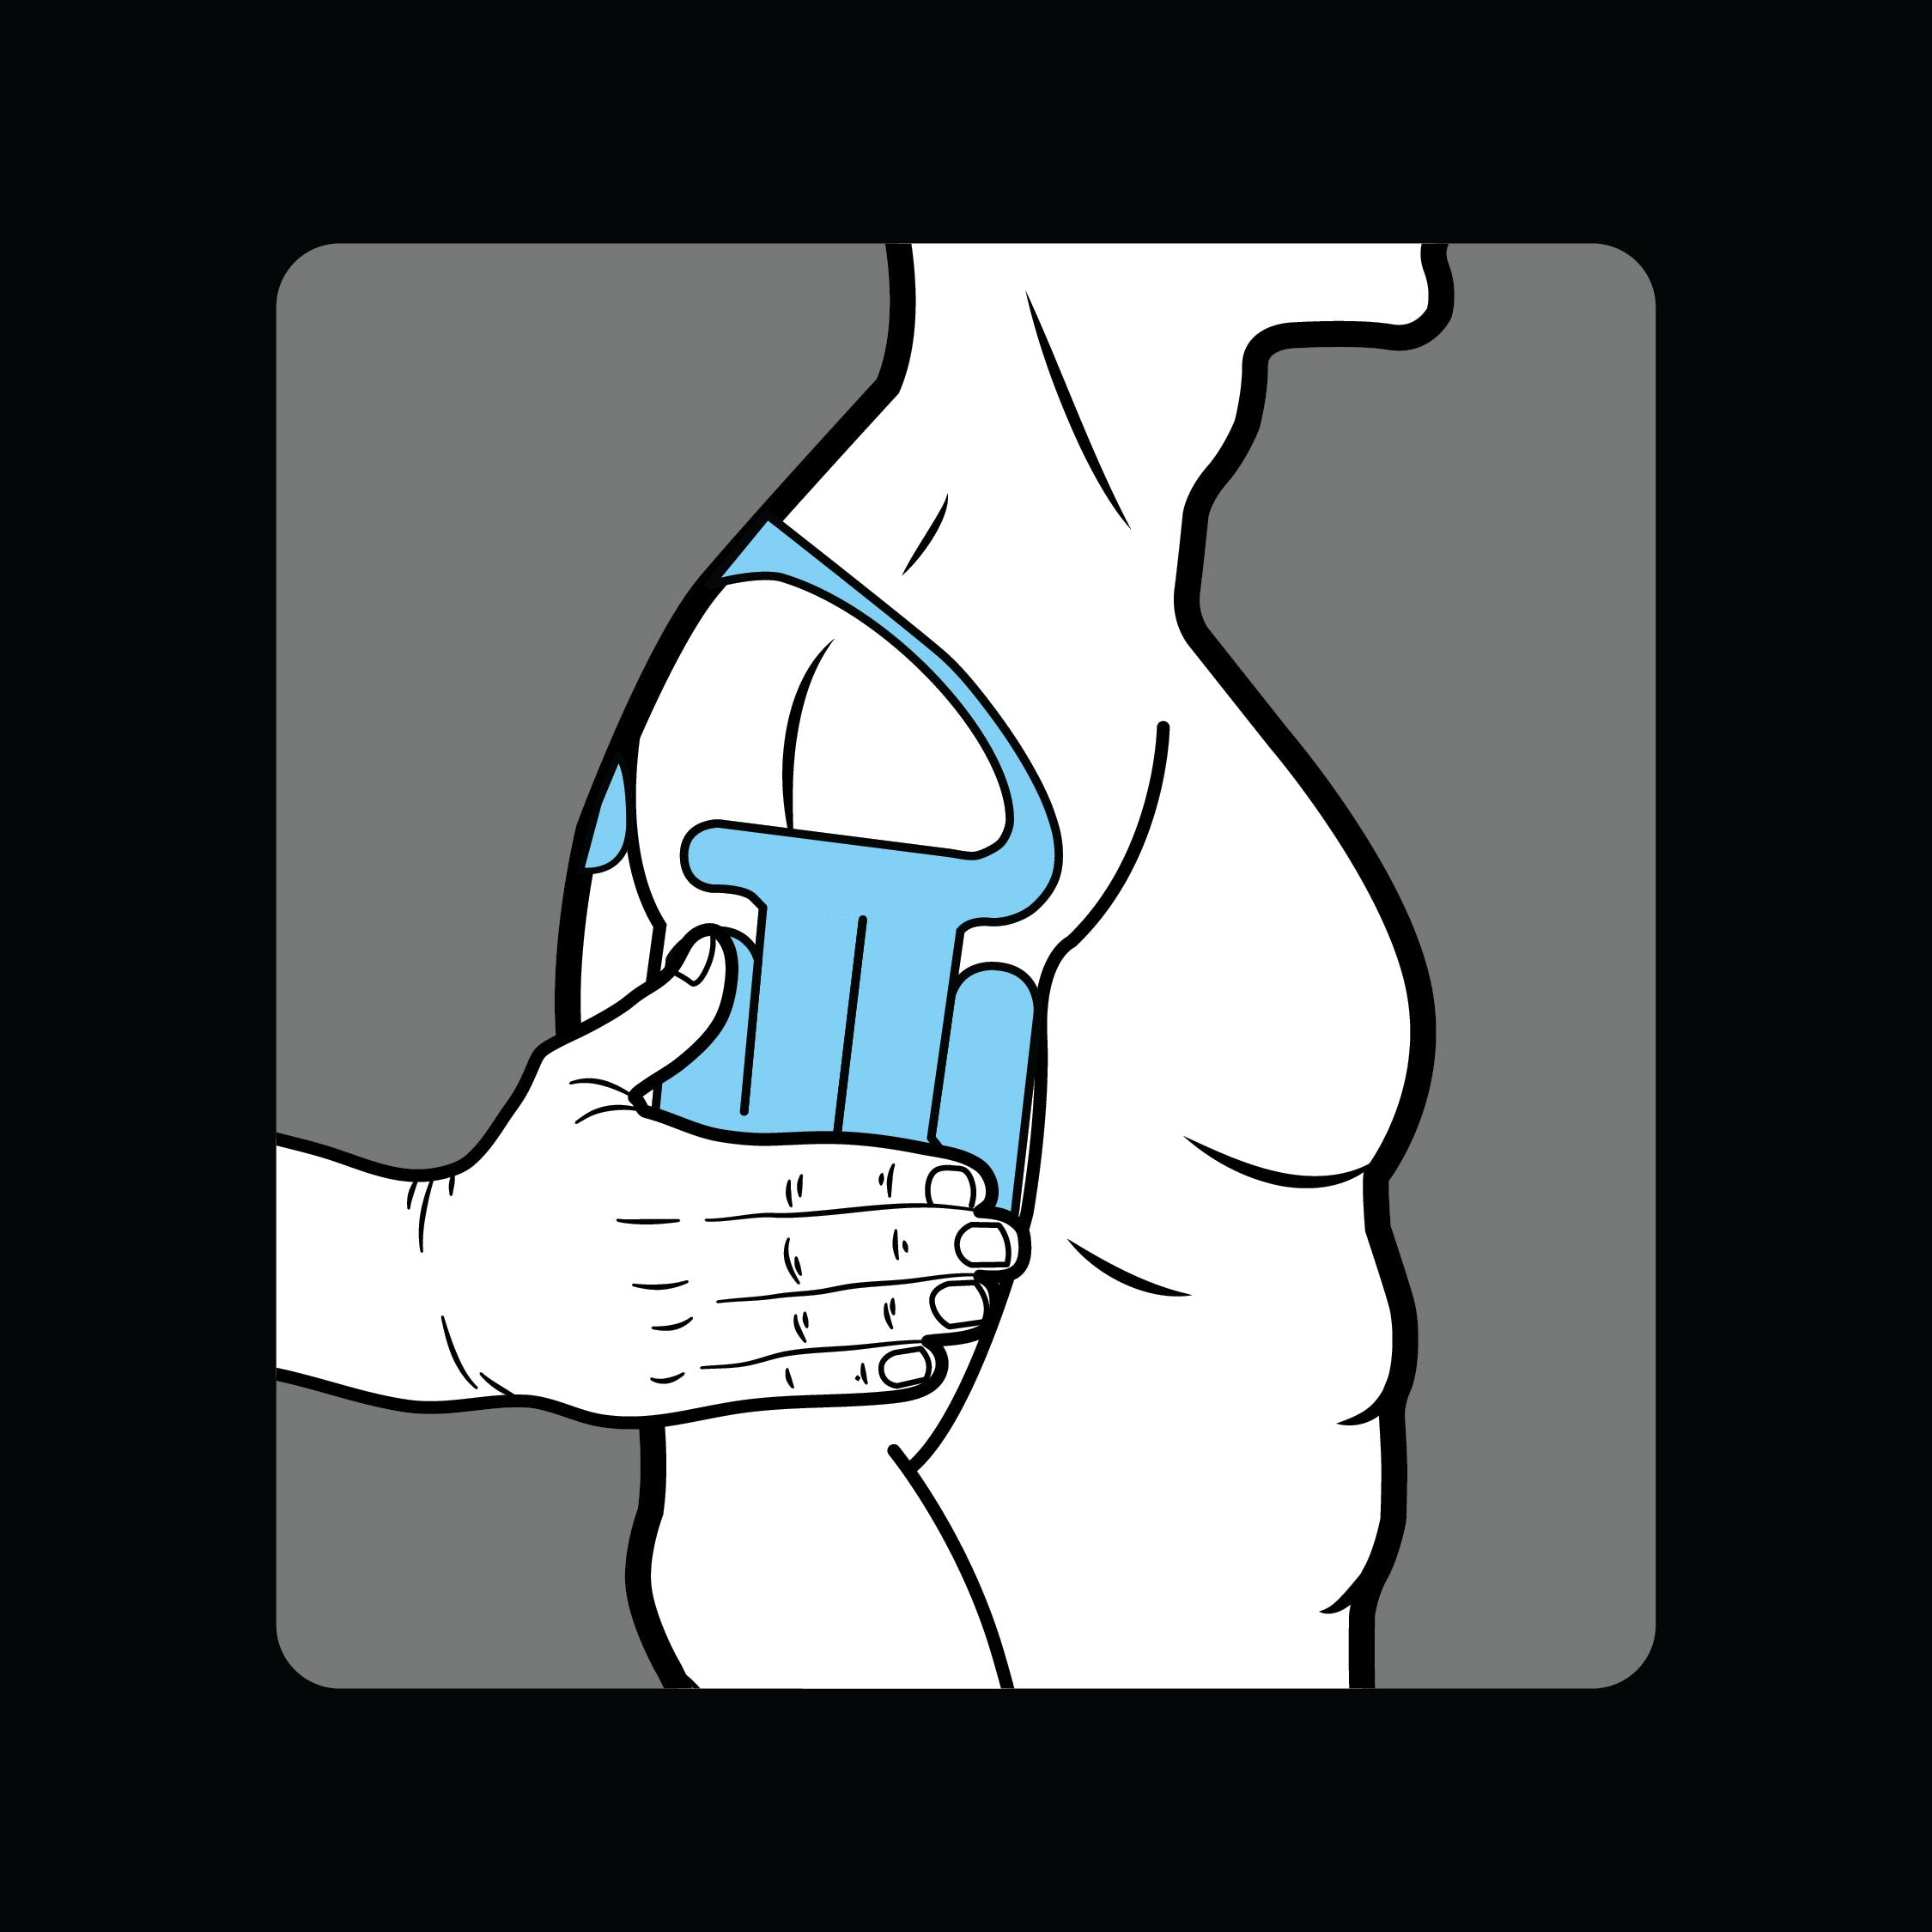
Step 8
Go back to relaxed position. Gently rub to activate adhesive.
Left Shoulder Application Guide - Step-by-Step
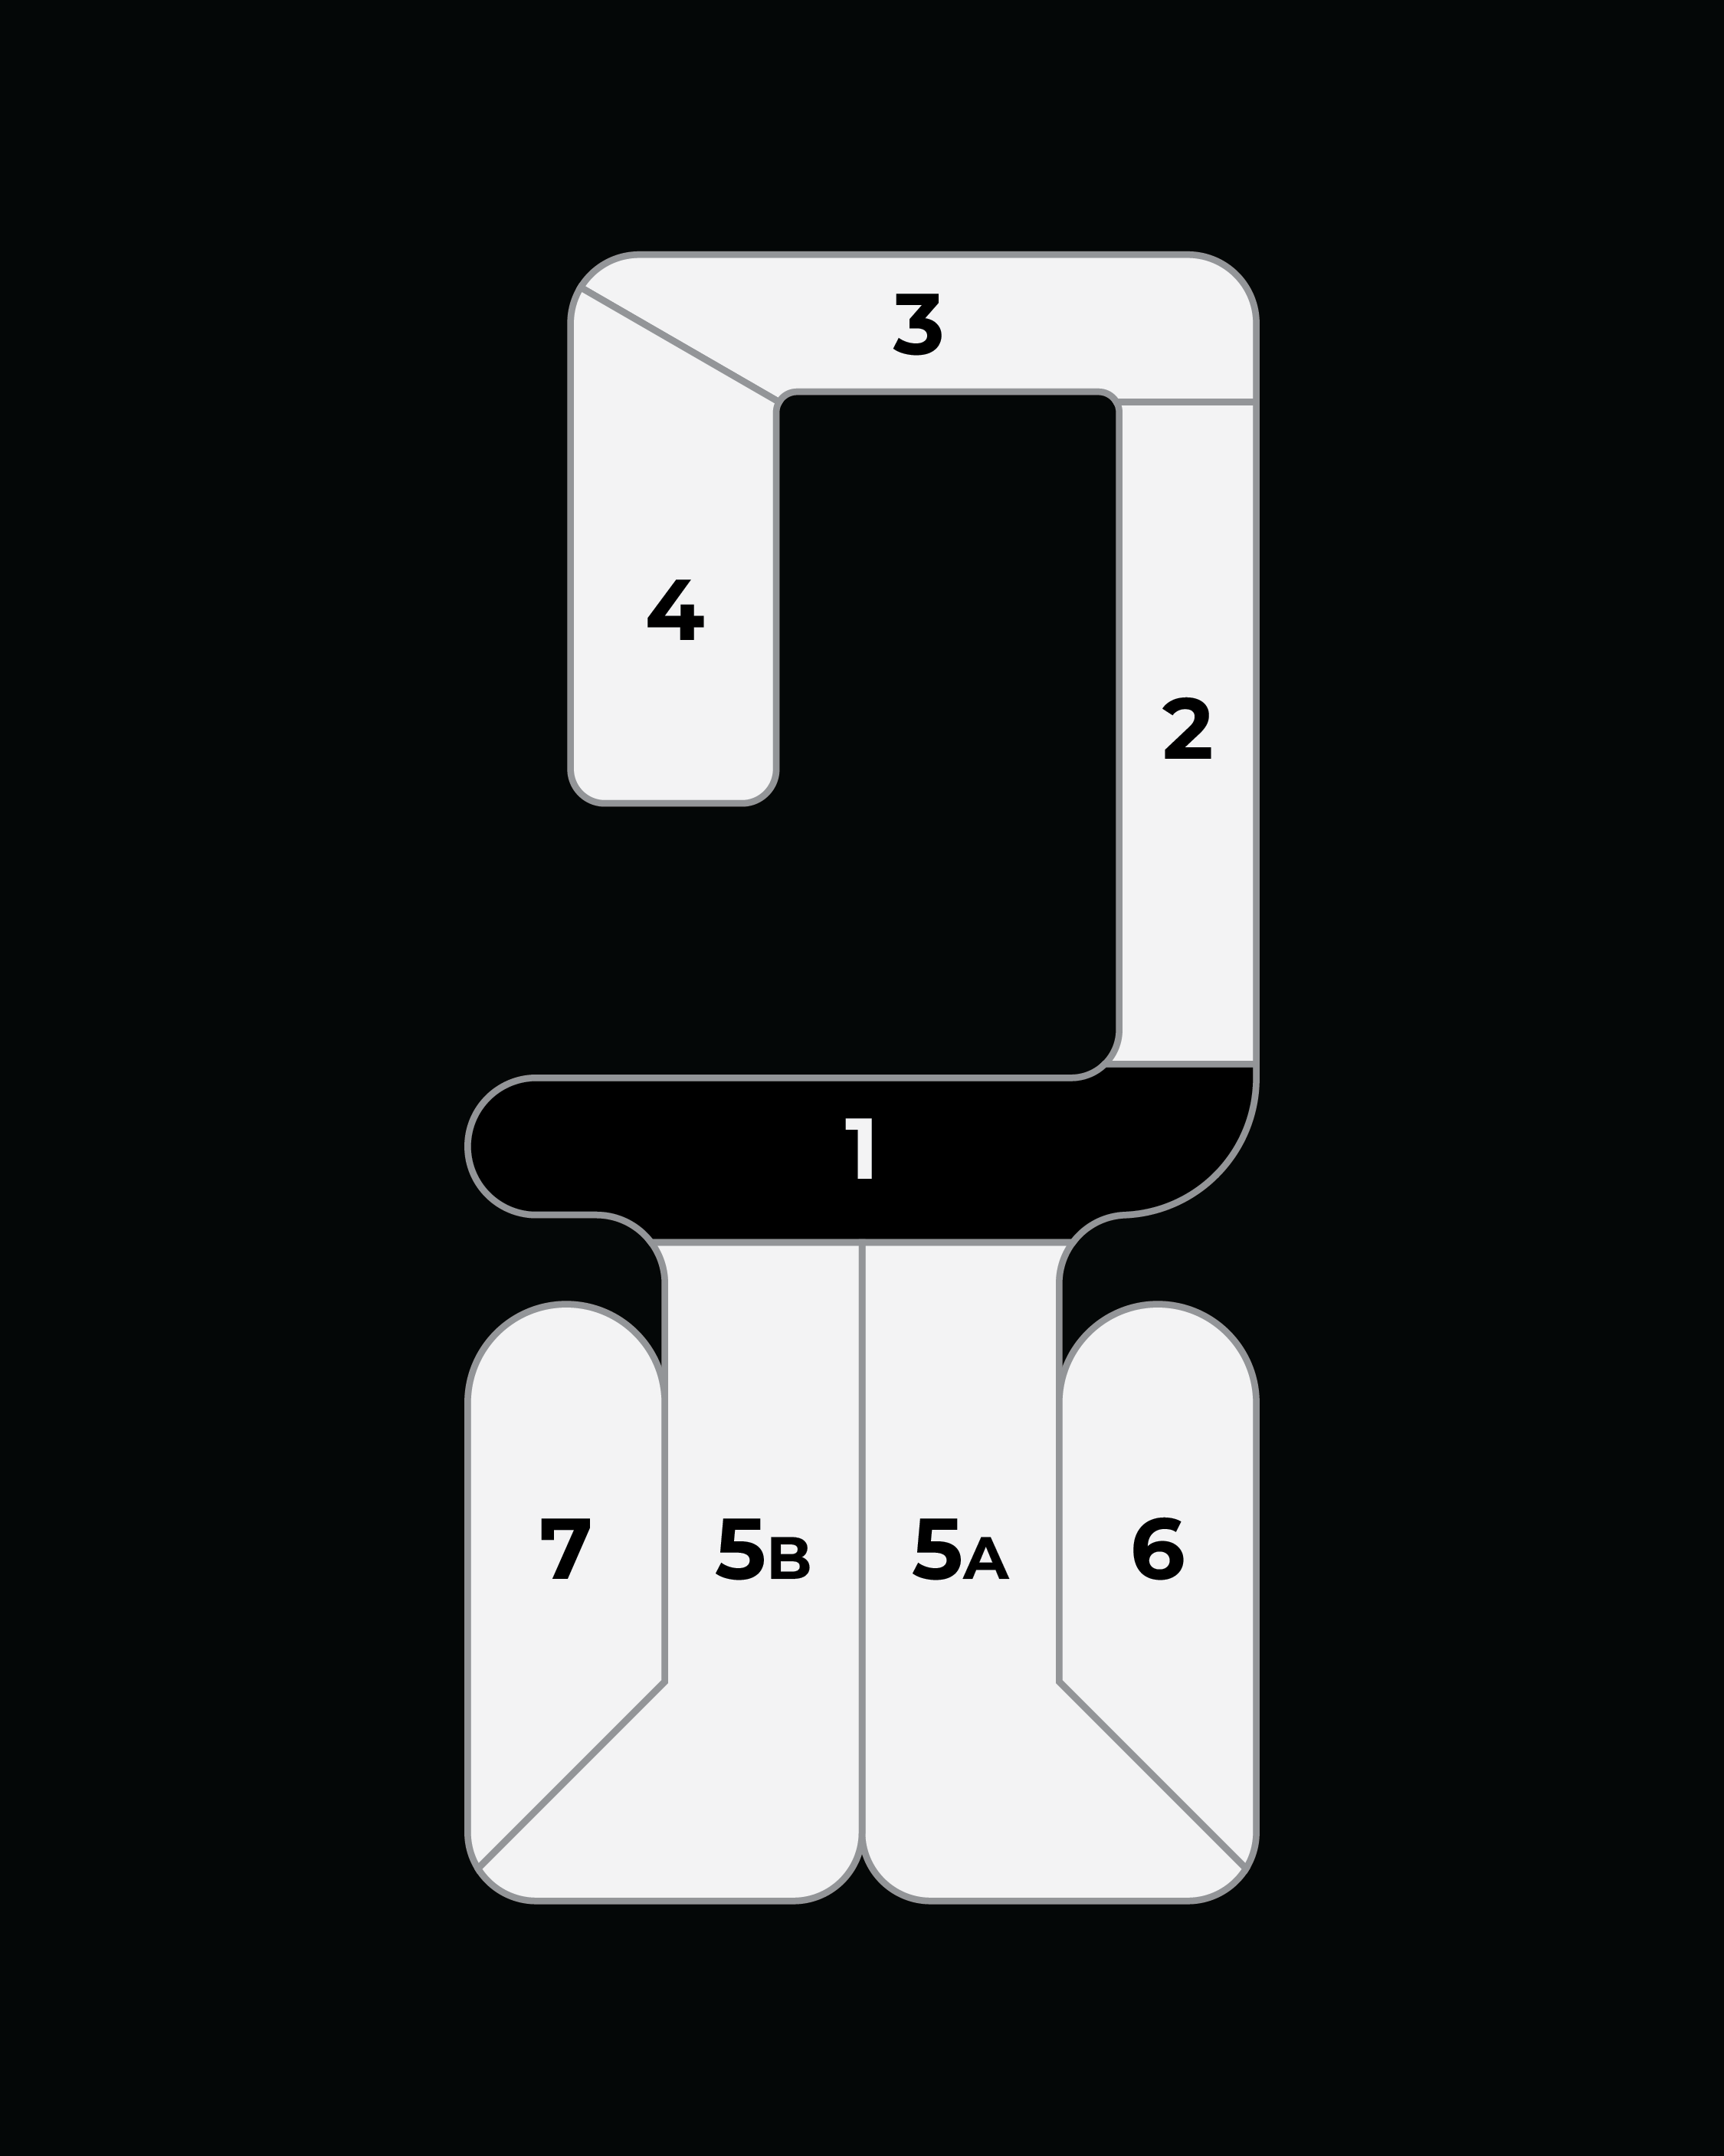
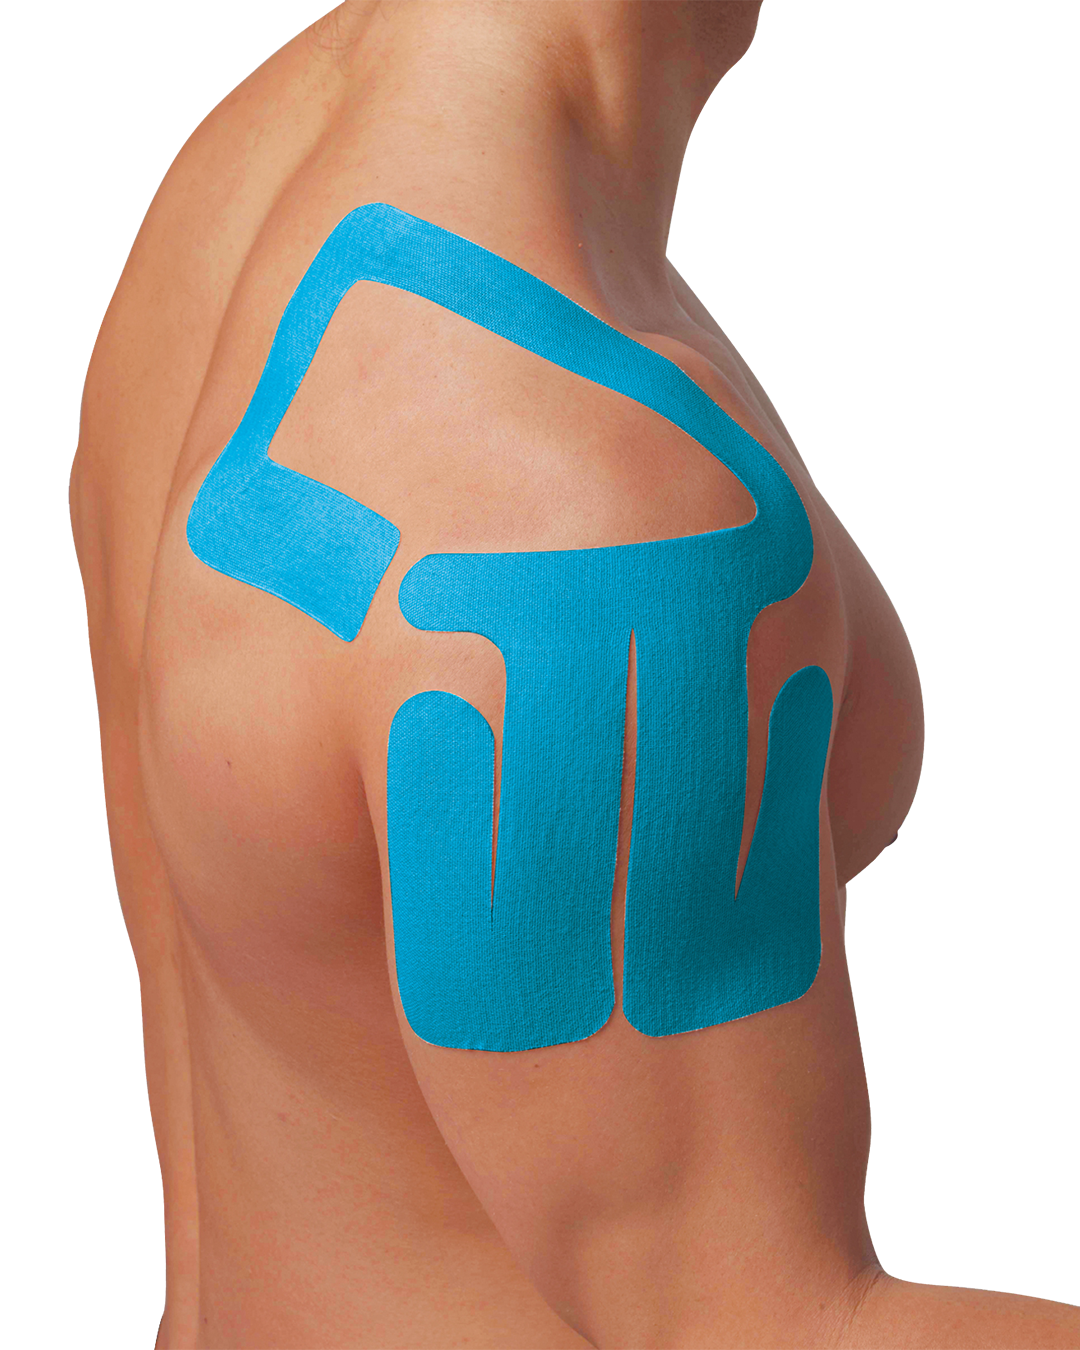
Left Pro Shoulder Application
Follow the steps in order to achieve a perfect application.
Slide to the right for next steps.

Before you begin
To ensure the best results:
Clean skin, remove any sweat, oil, creams and hair.
Prepare tape before application and tear all perforations.
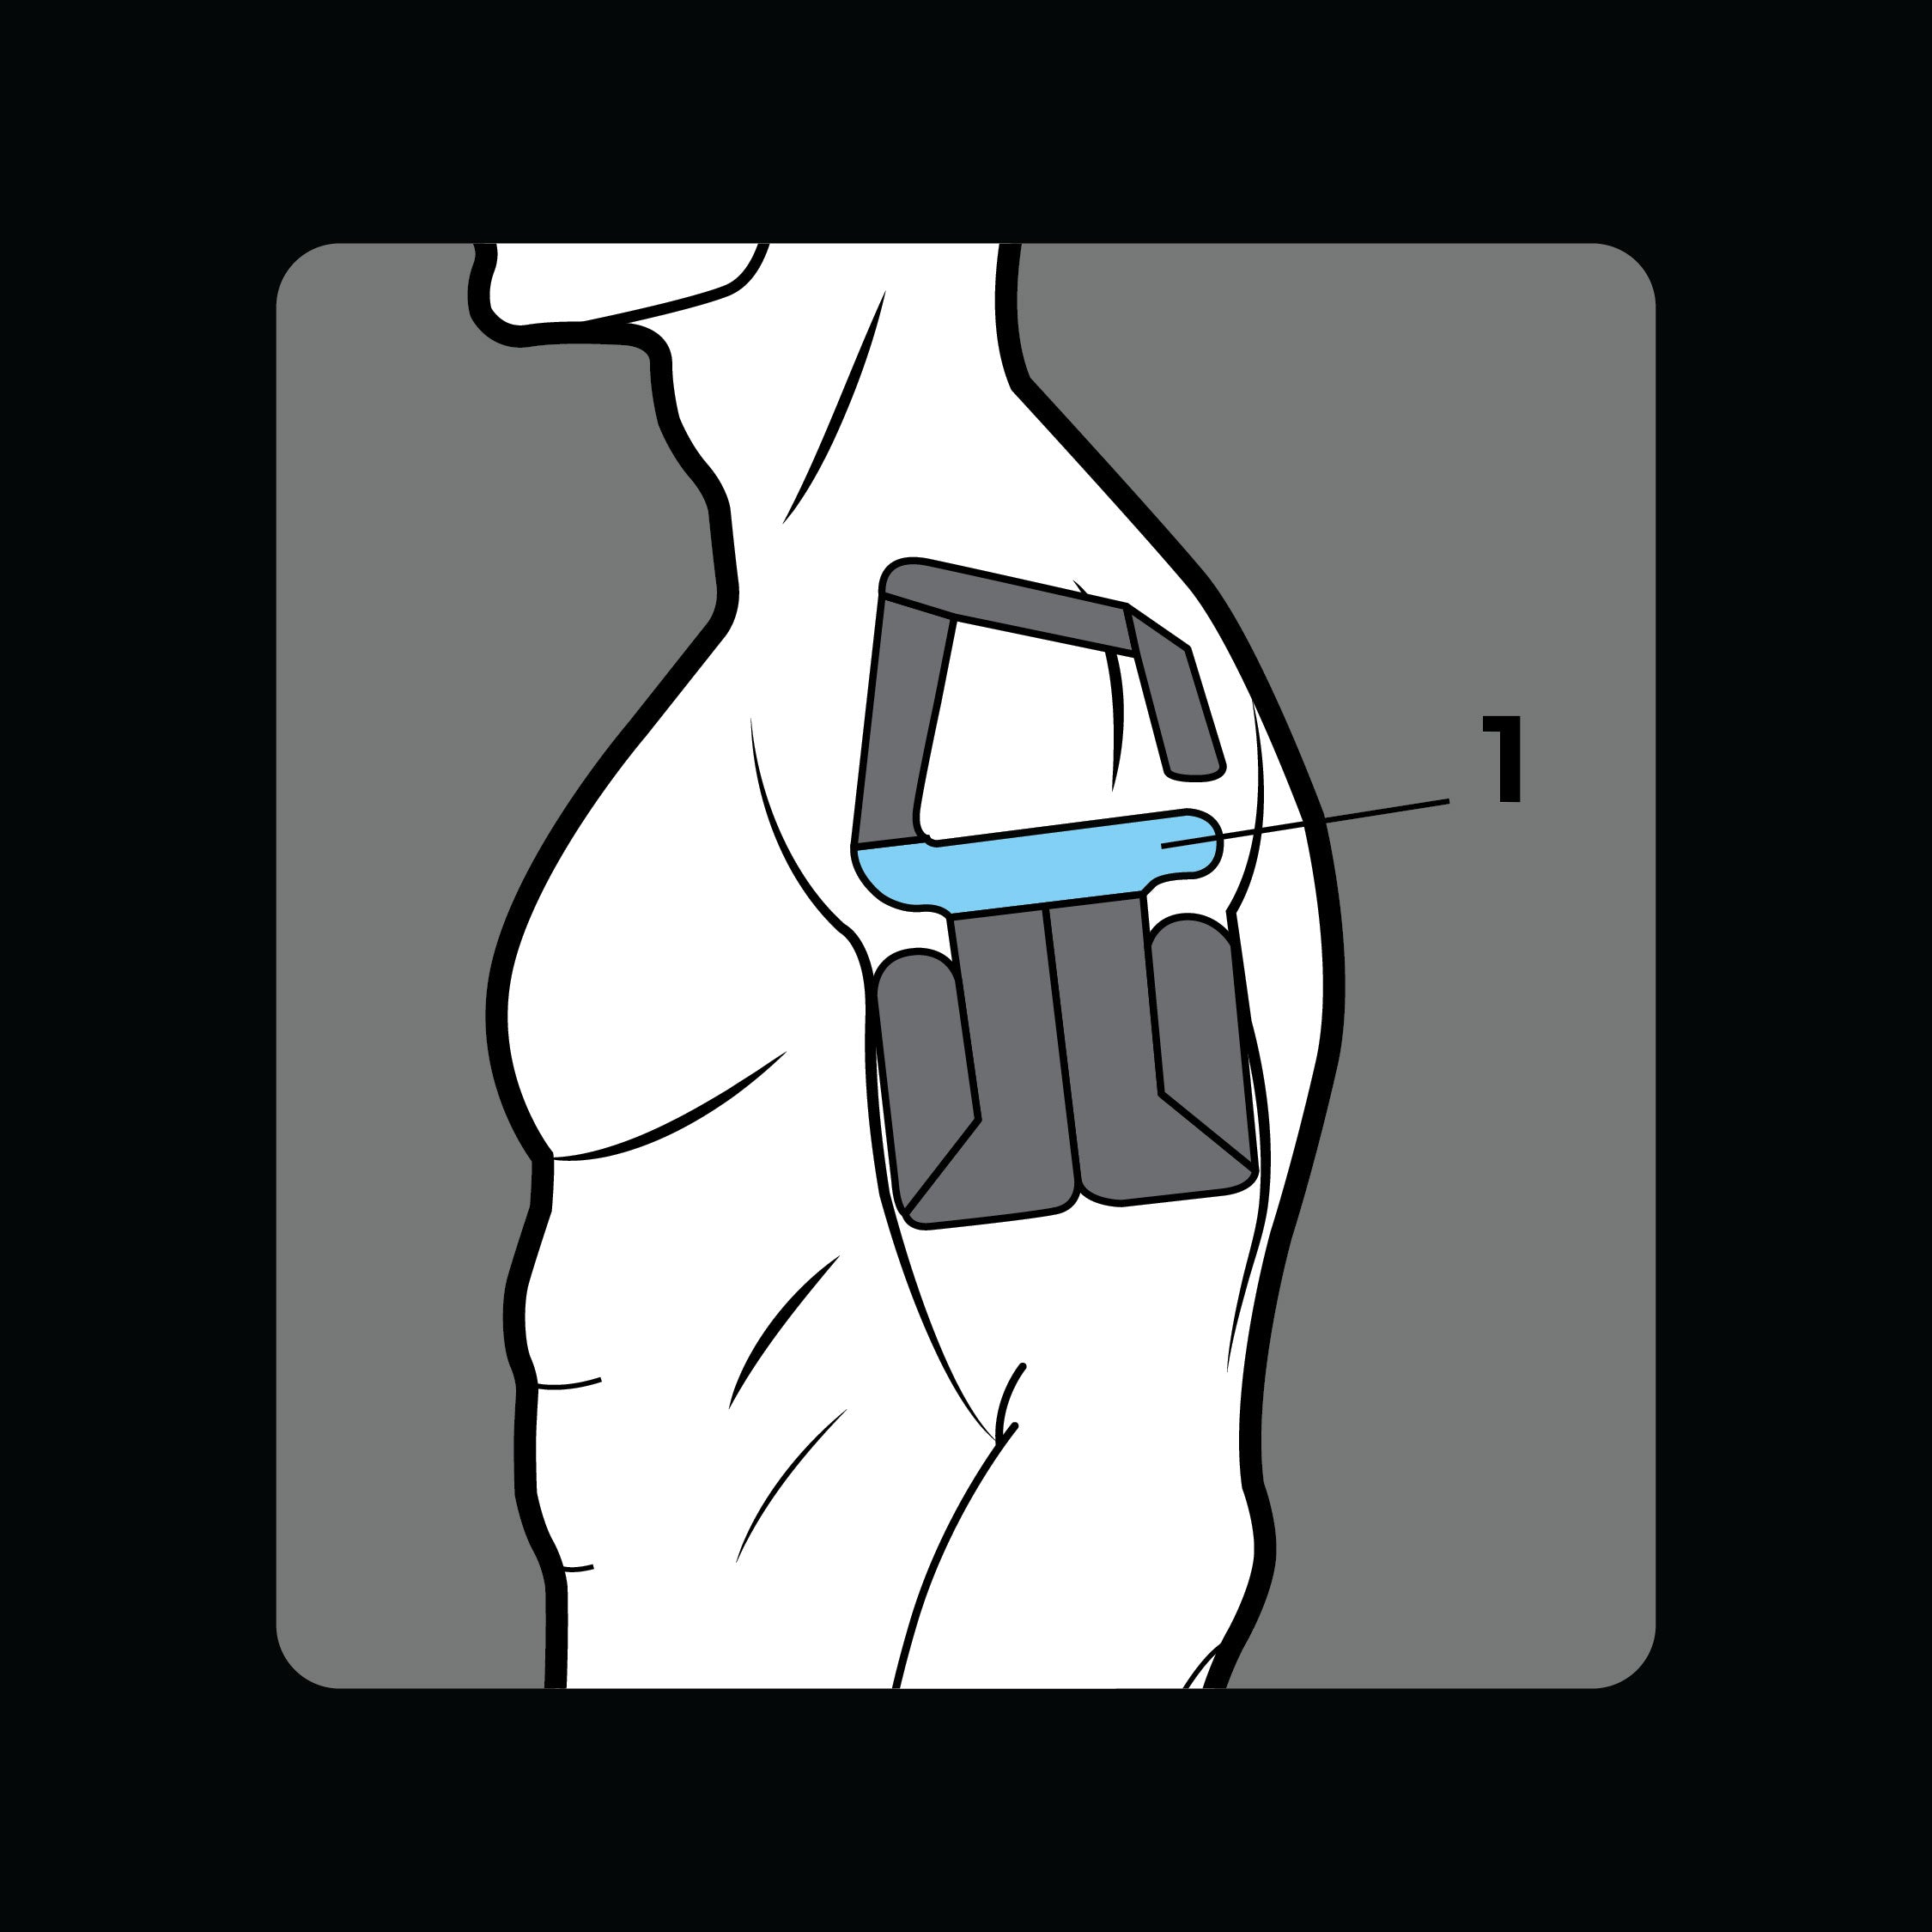
Step 1
With arm relaxed to your side, apply section 1 below the shoulder joint.
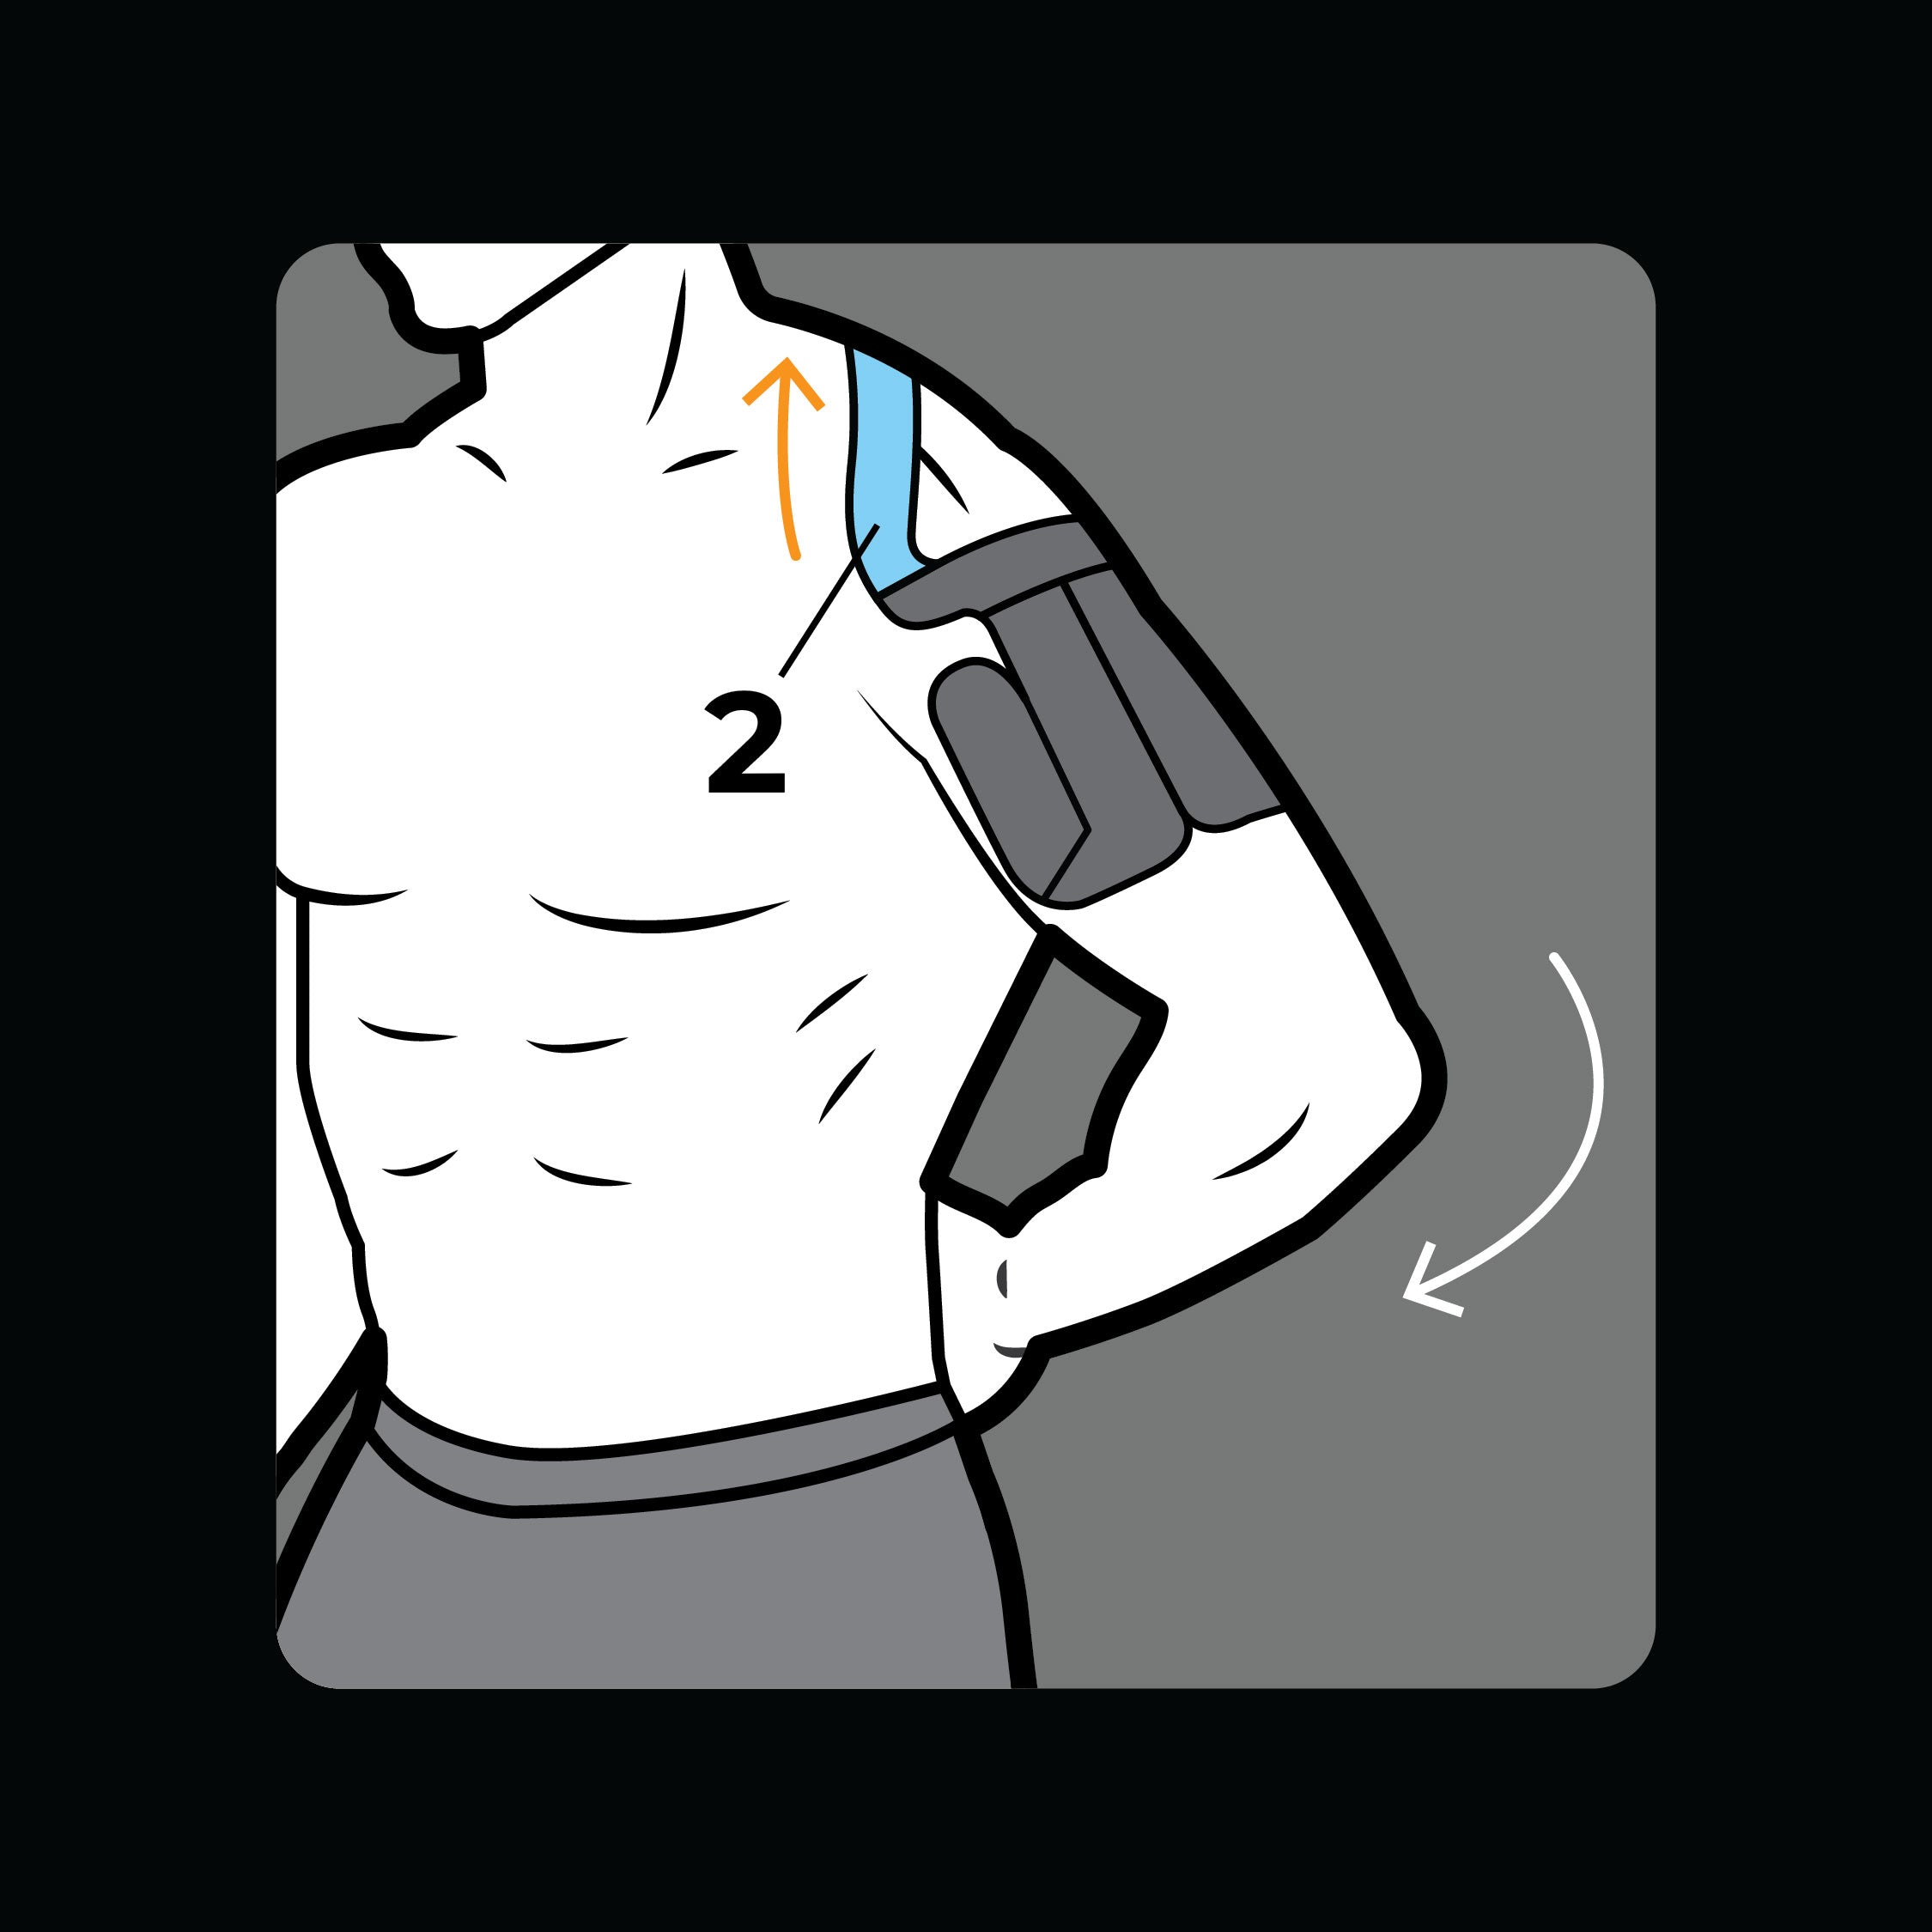
Step 2
Place back of hand on low back. Apply section 2 across collarbone, towards neck.
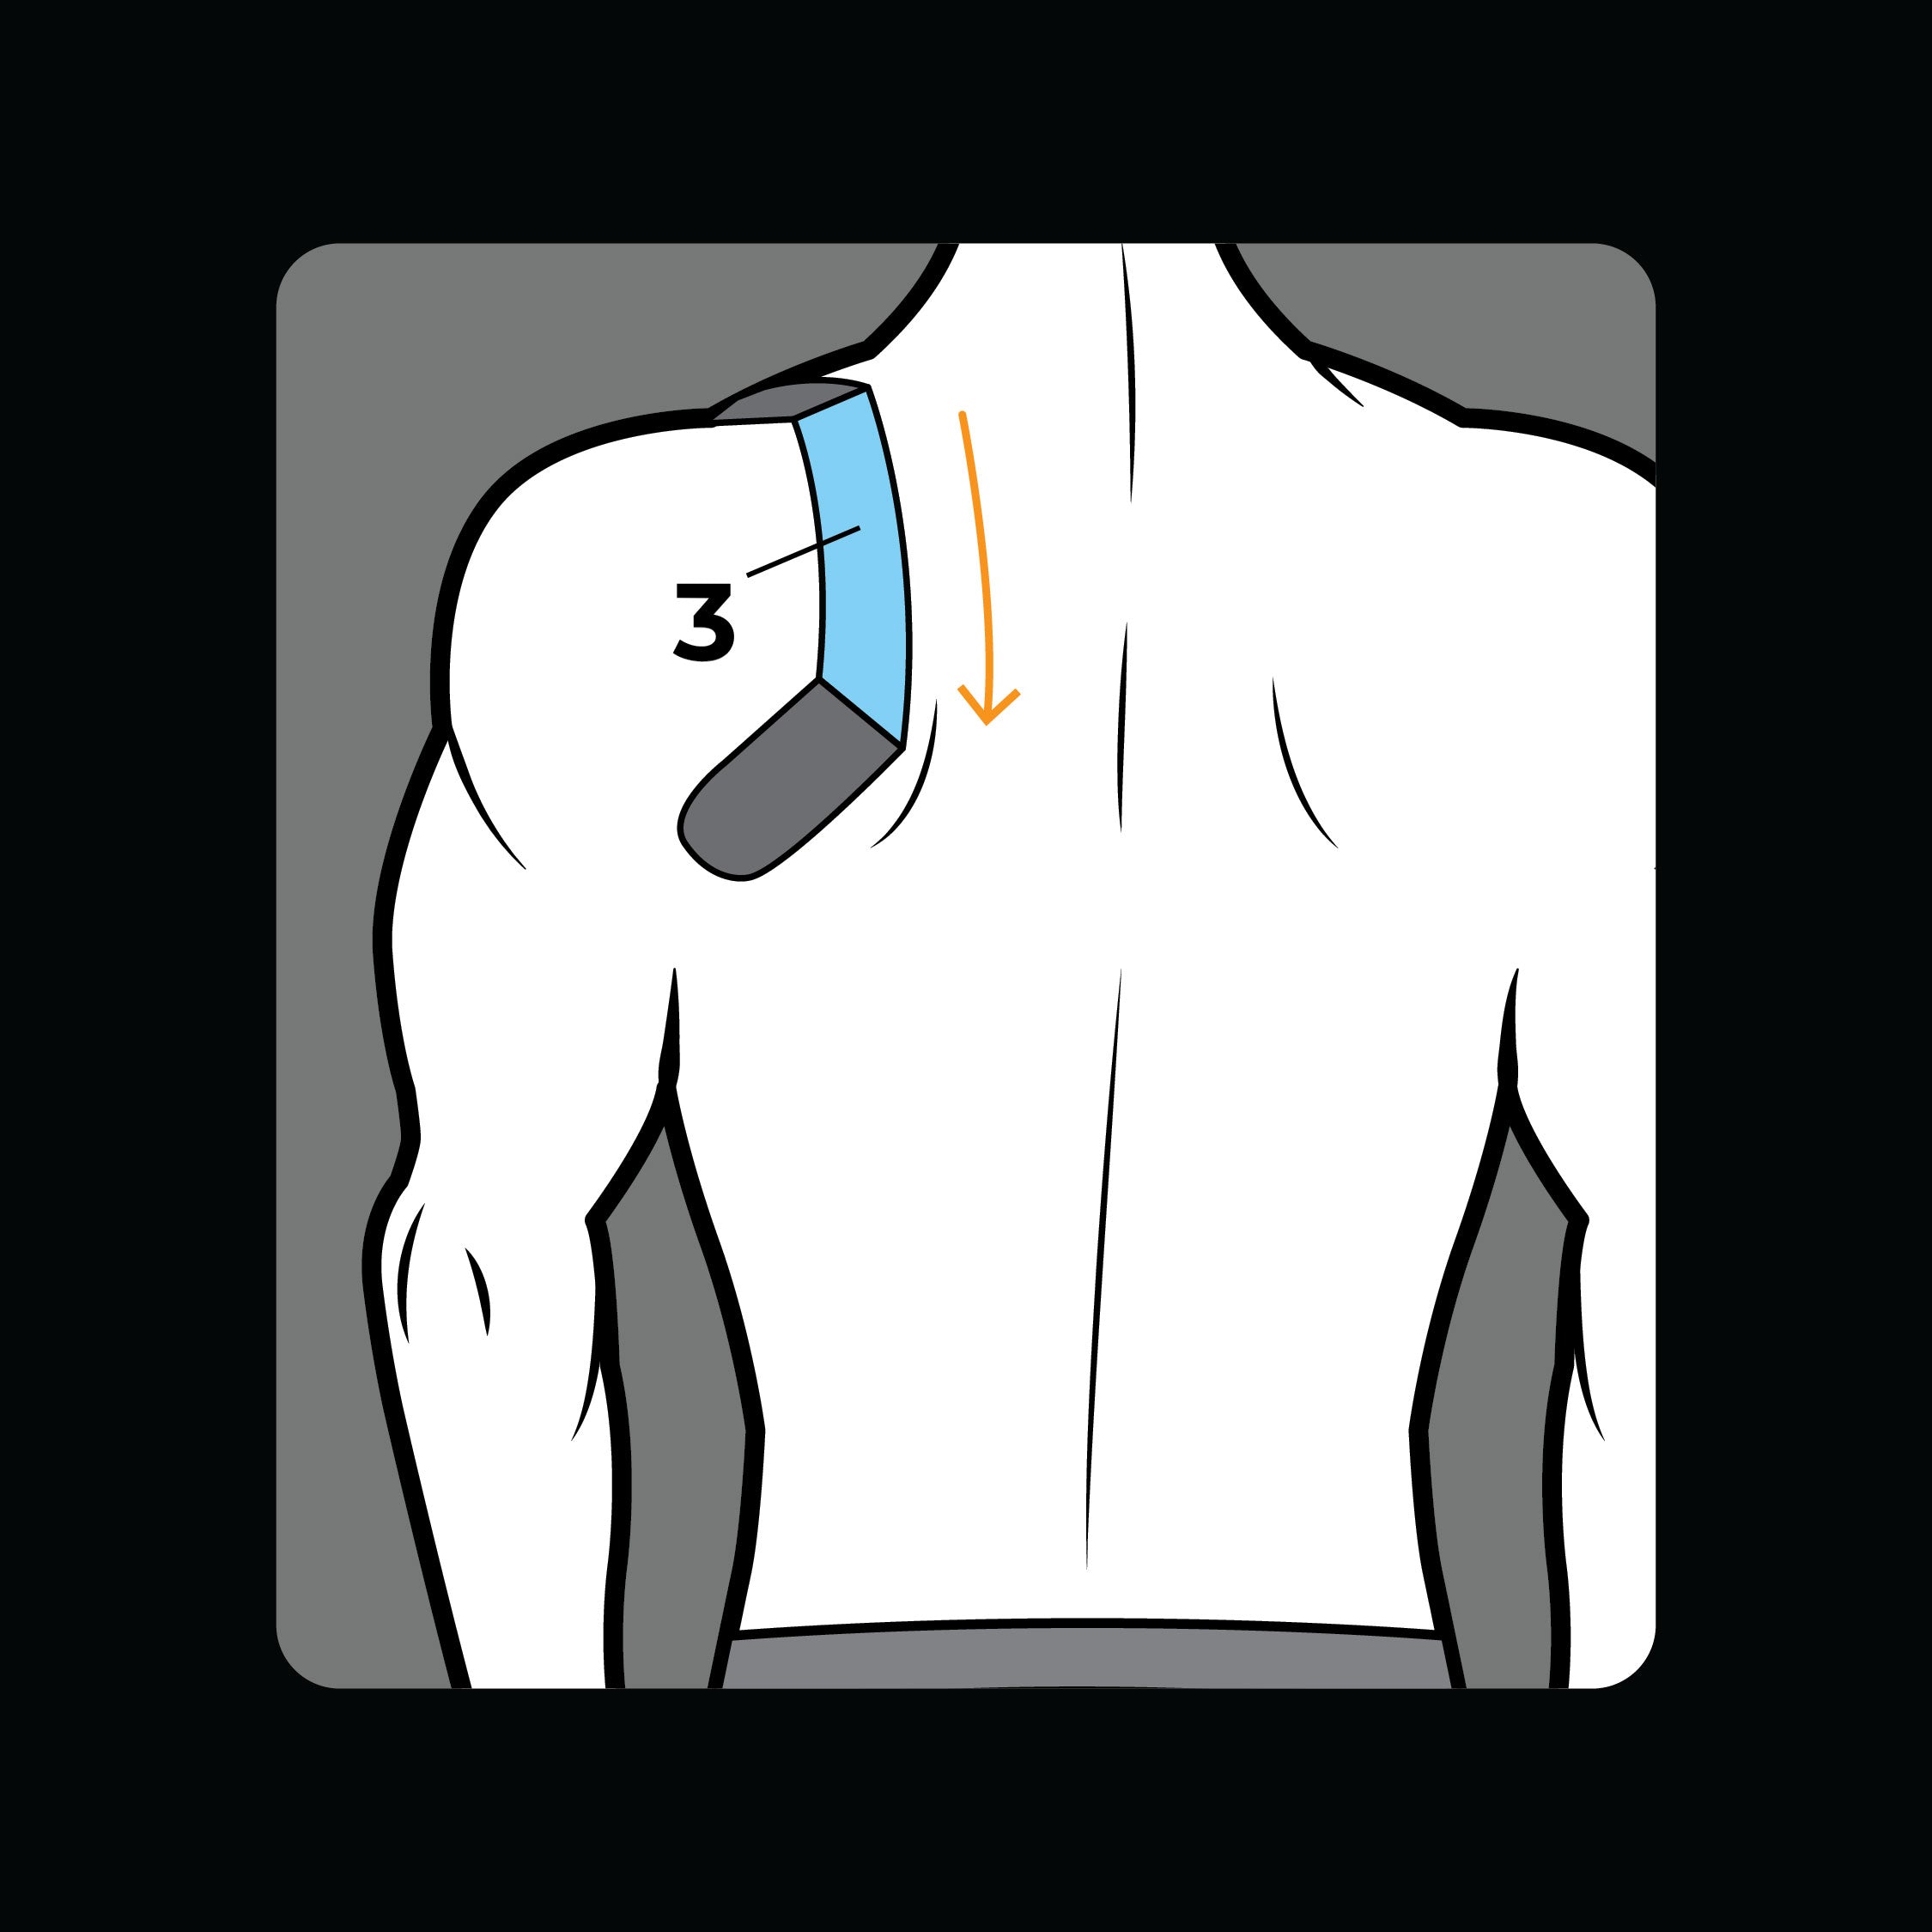
Step 3
With arms relaxed to your side, apply section 3 parallel to spine.
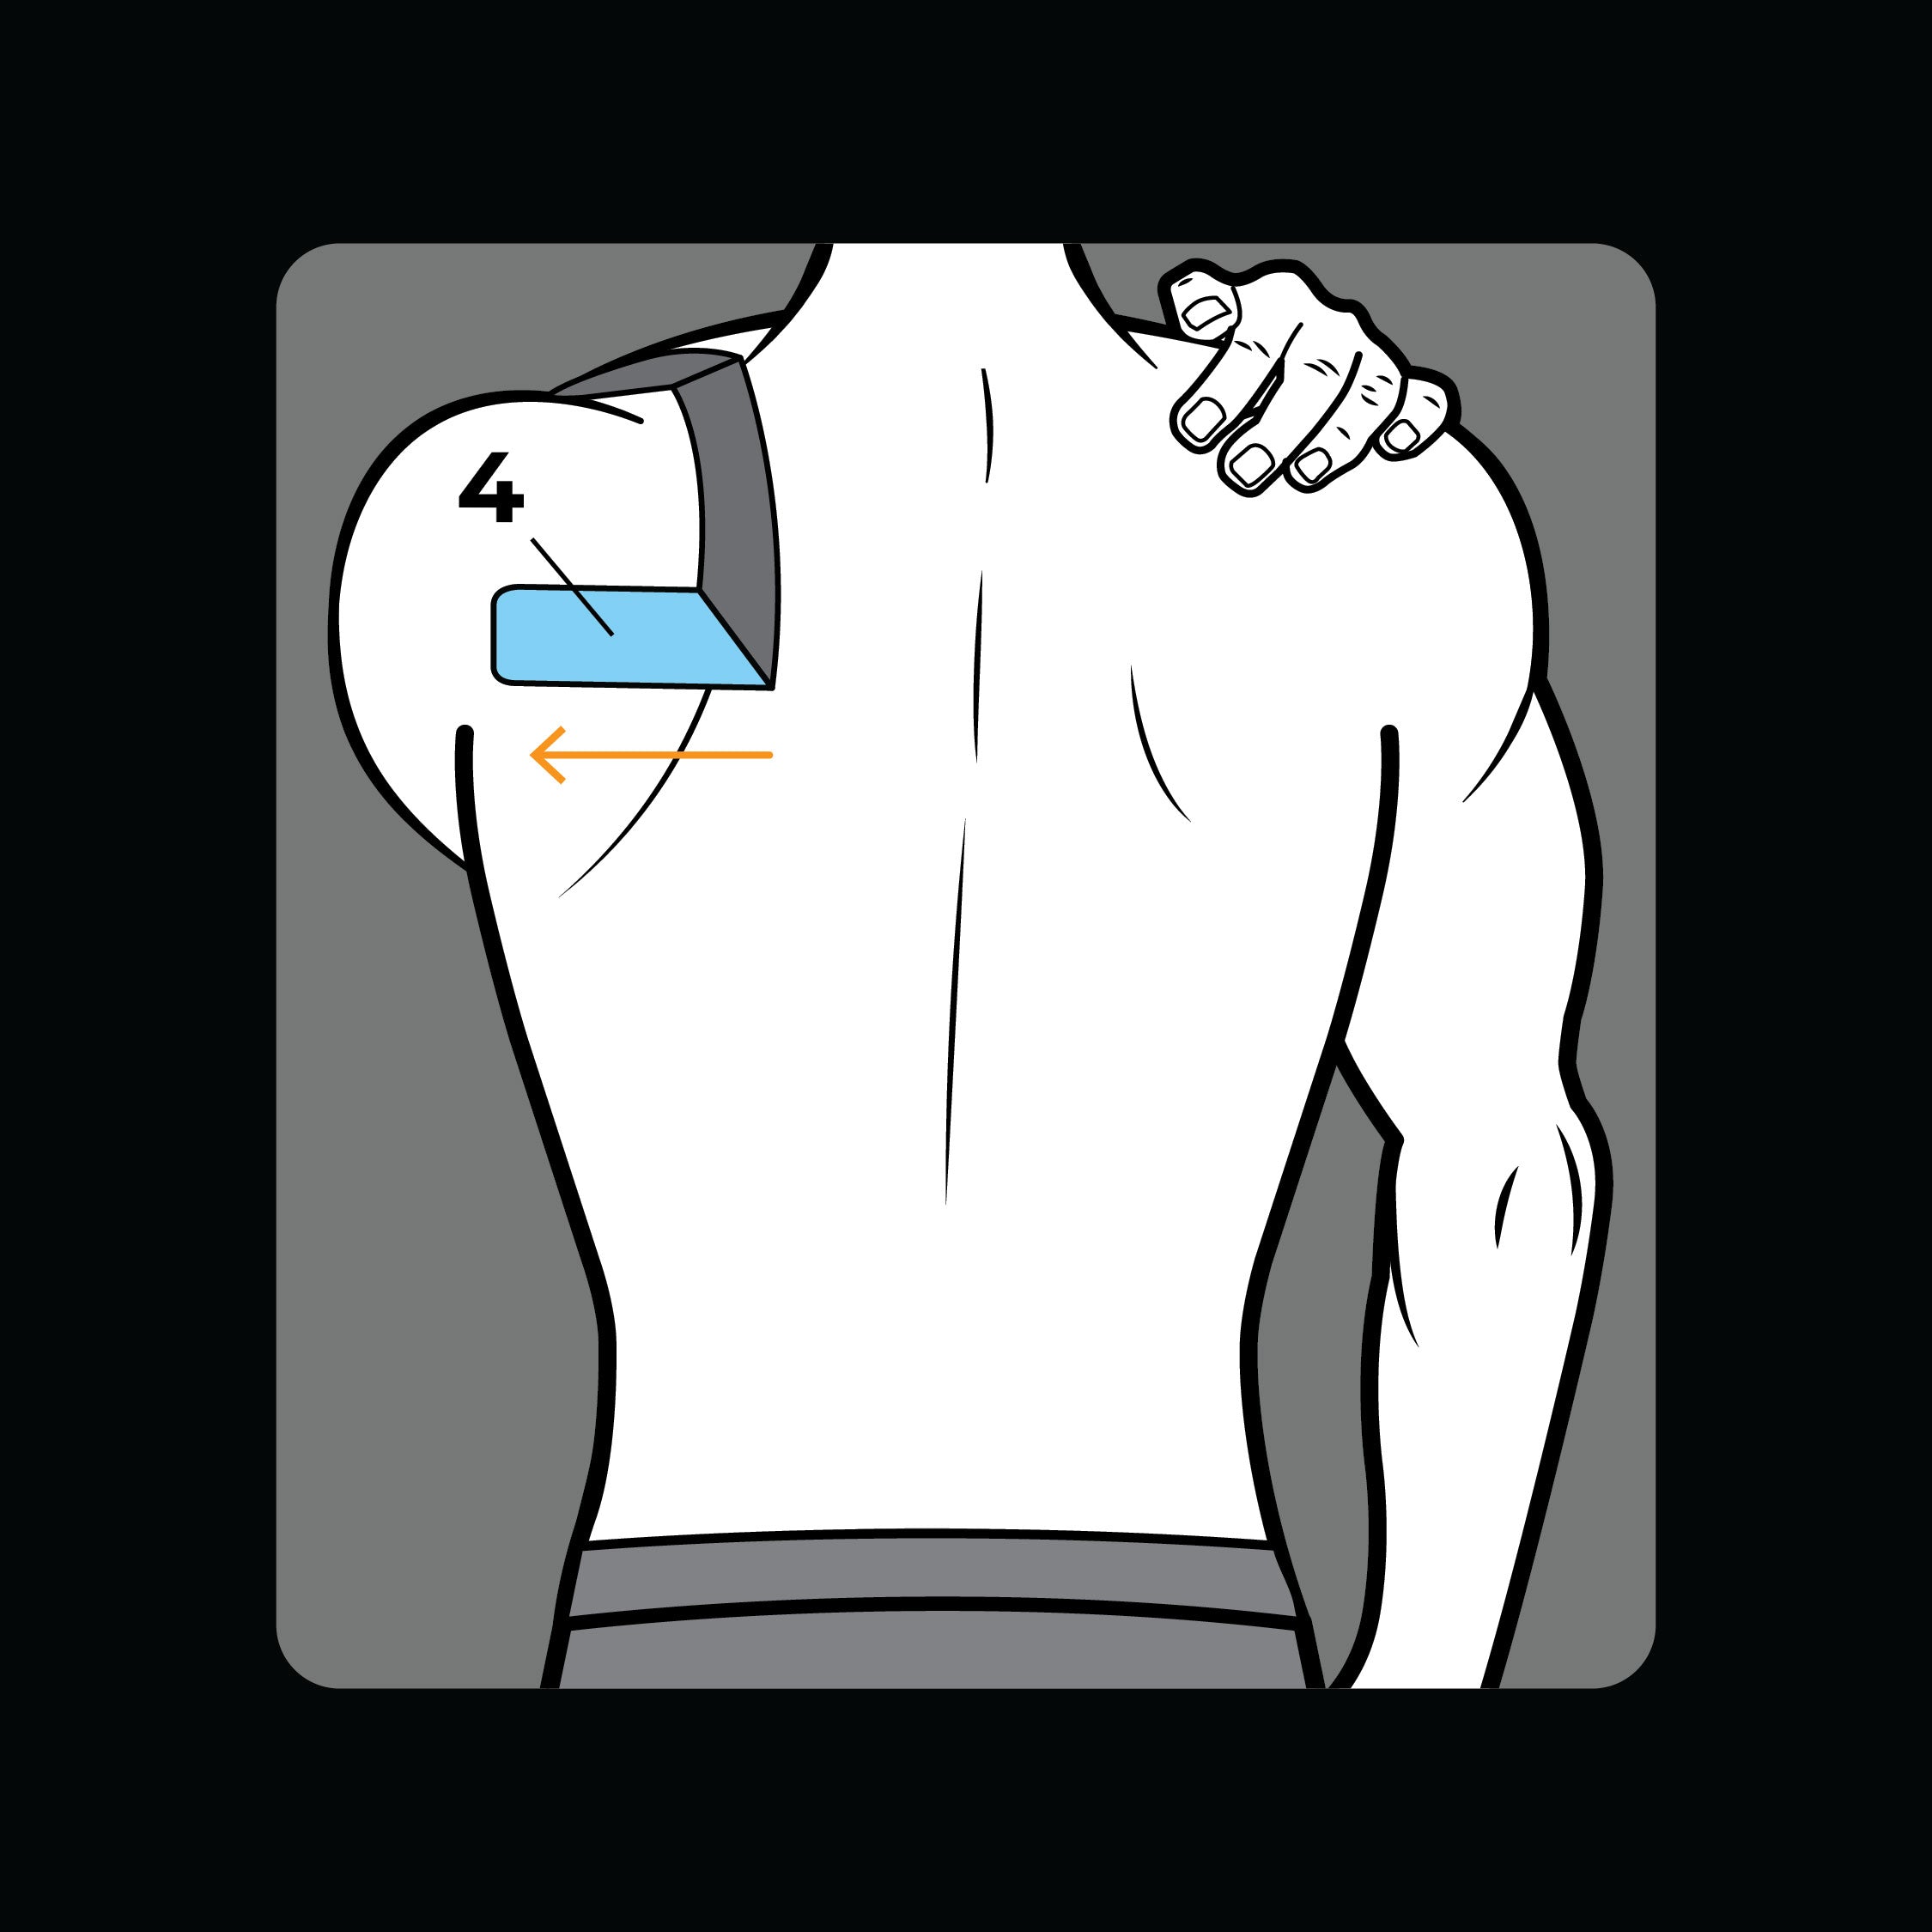
Step 4
Place left hand on opposite shoulder and apply section 4 across shoulder blade.
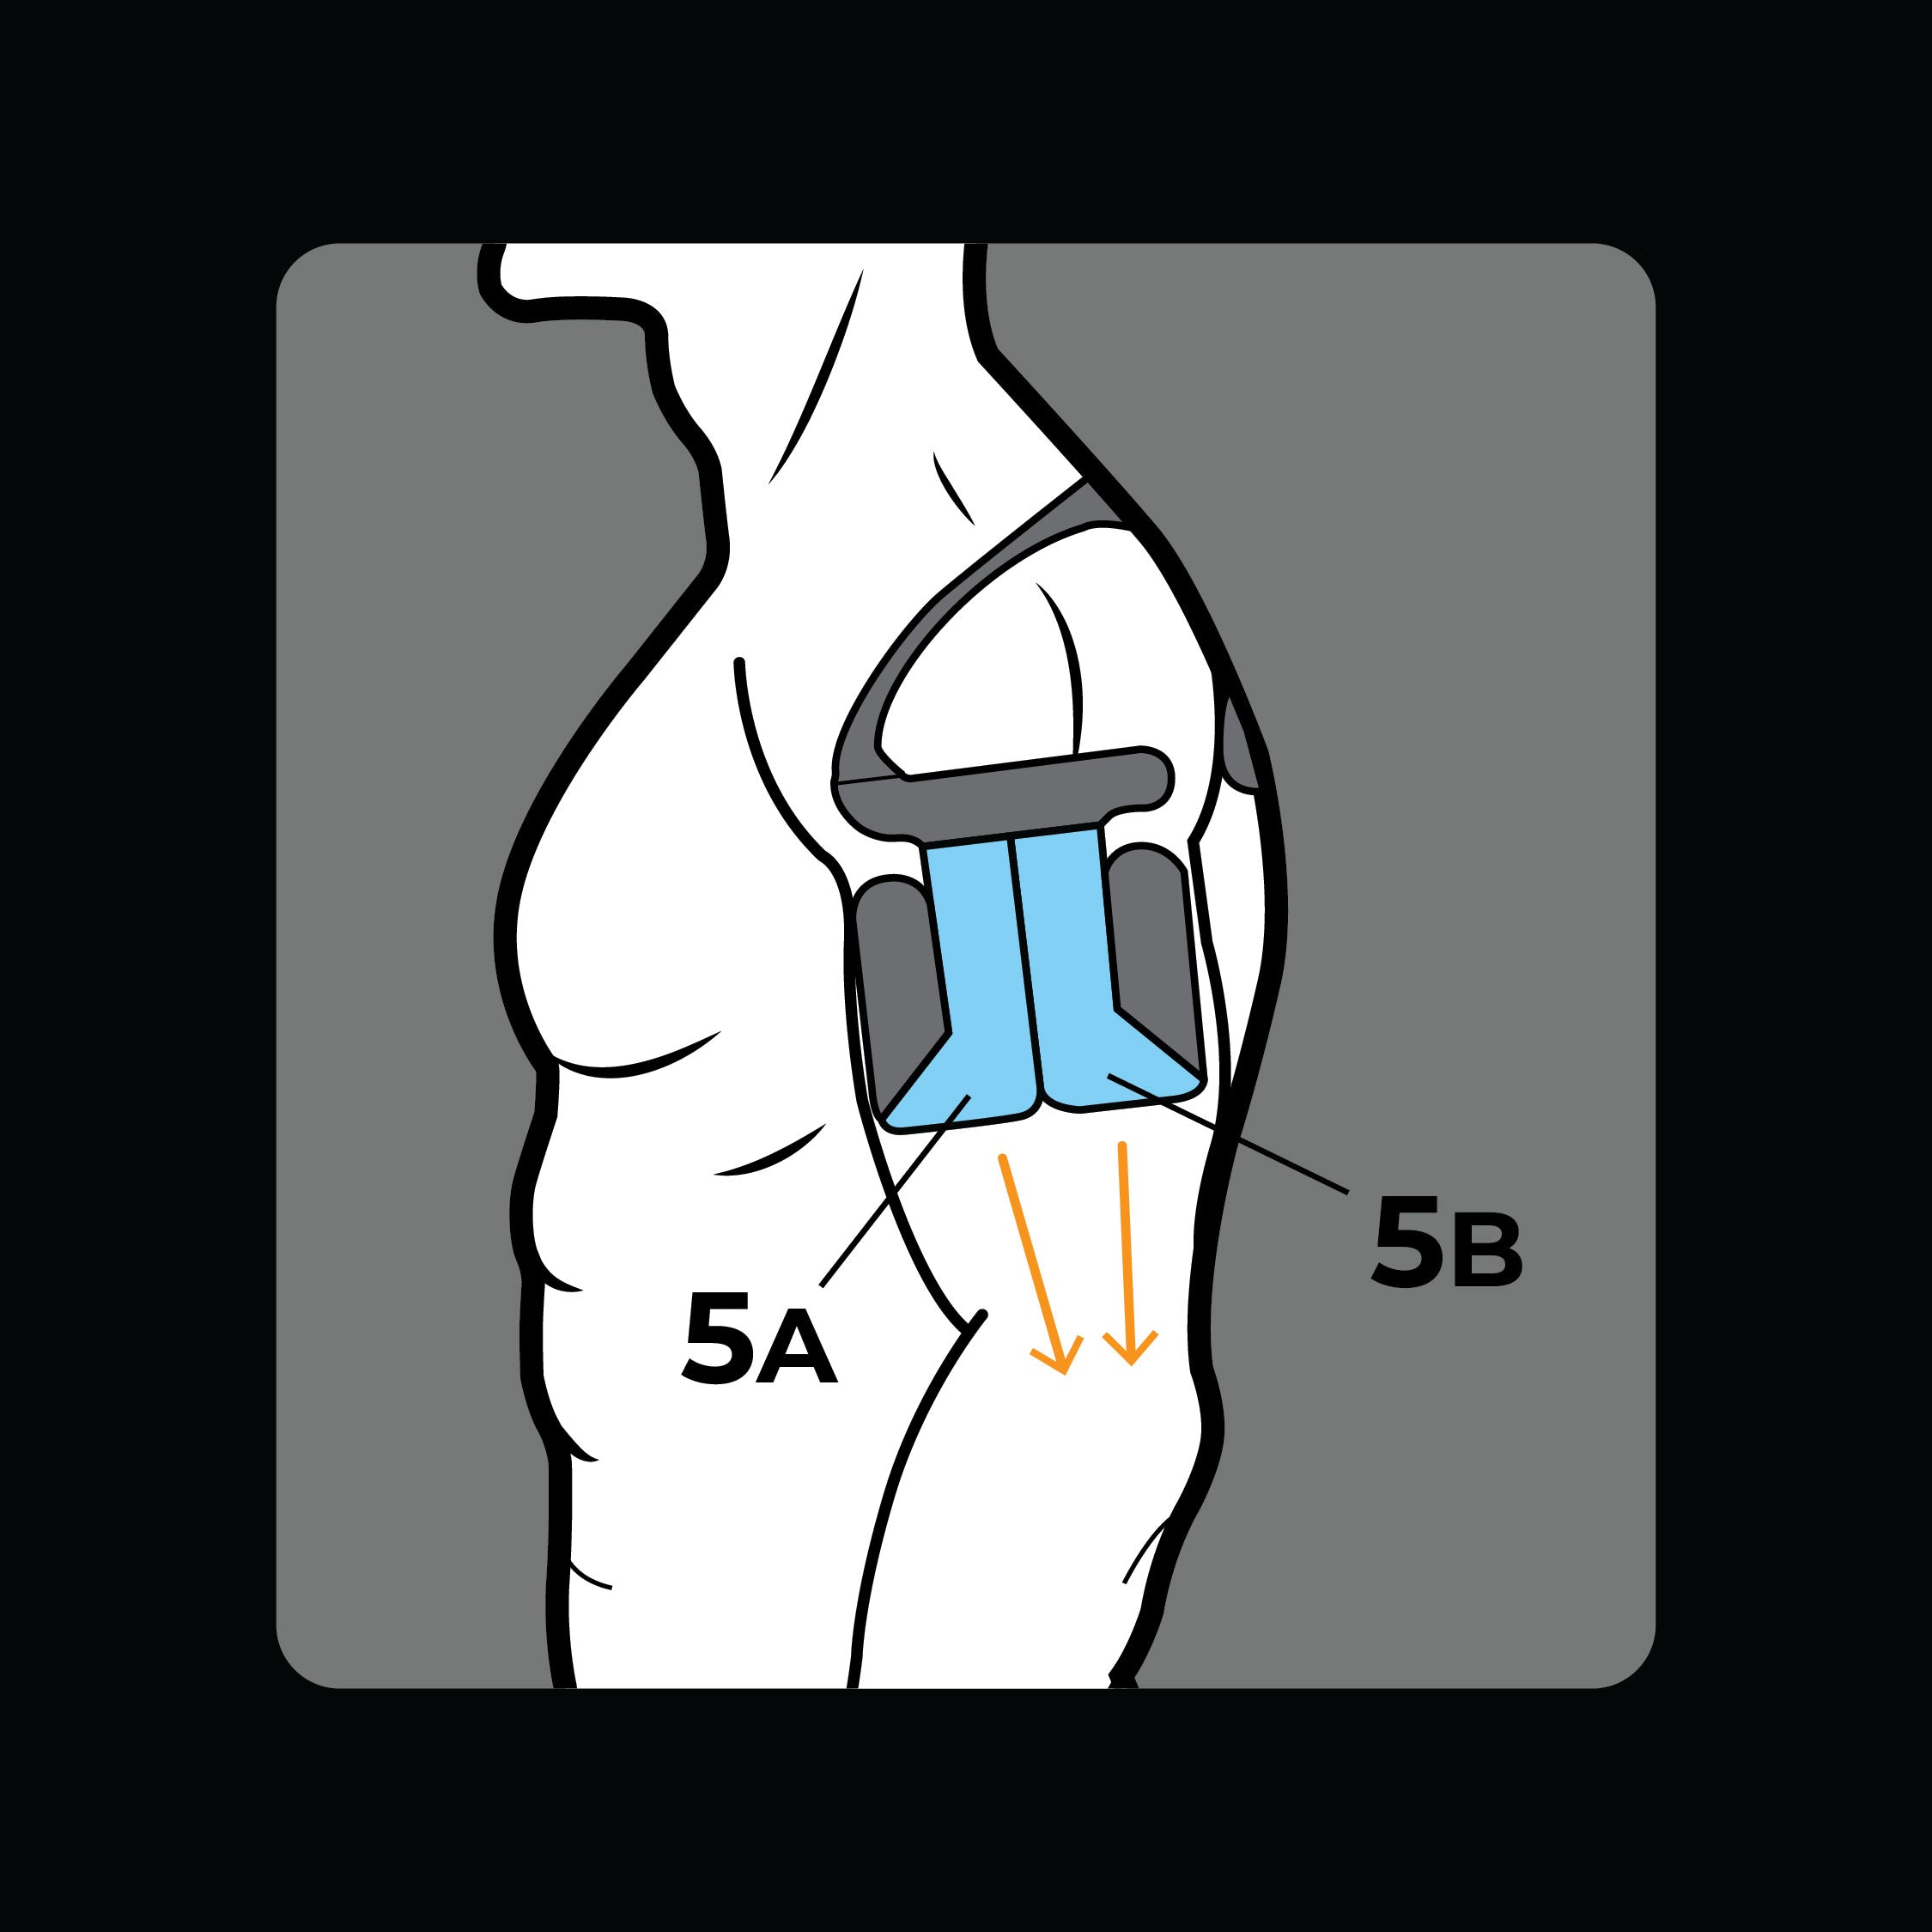
Step 5
Place arm relaxed at side of body. Apple section 5A and 5B towards elbow.
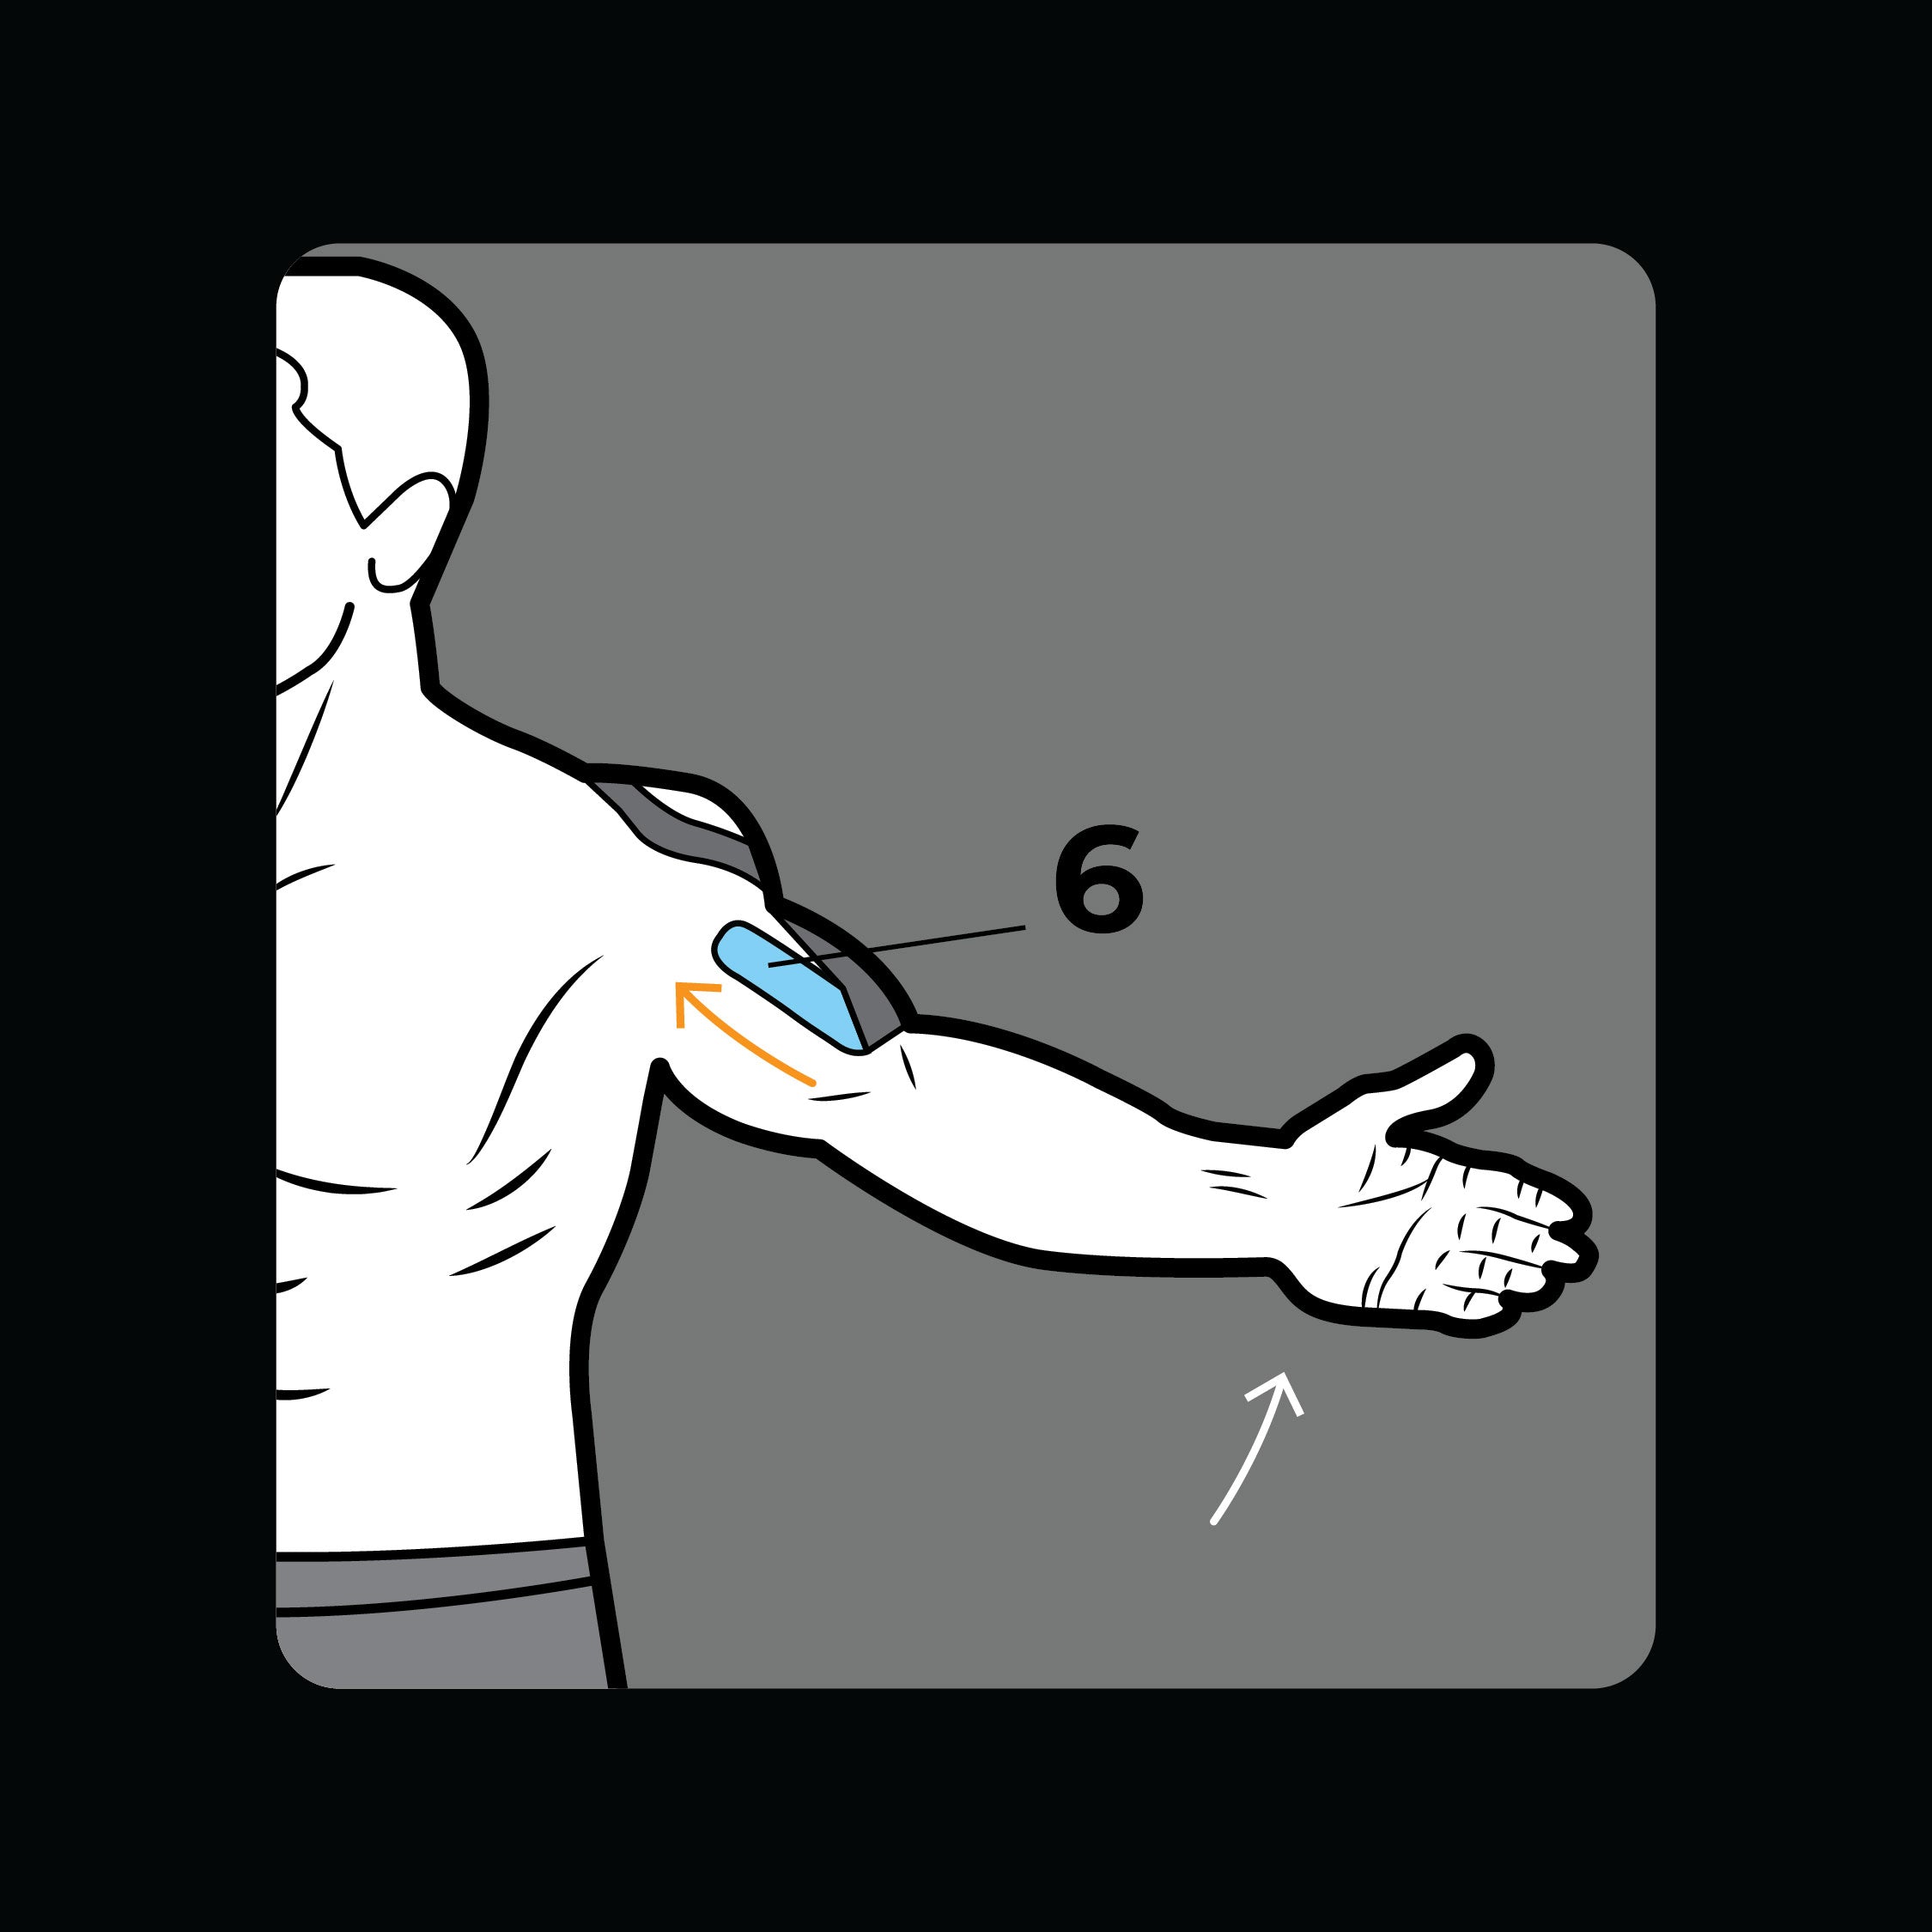
Step 6
Have arm at shoulder height, with palm forward. Apply section 6 towards shoulder.
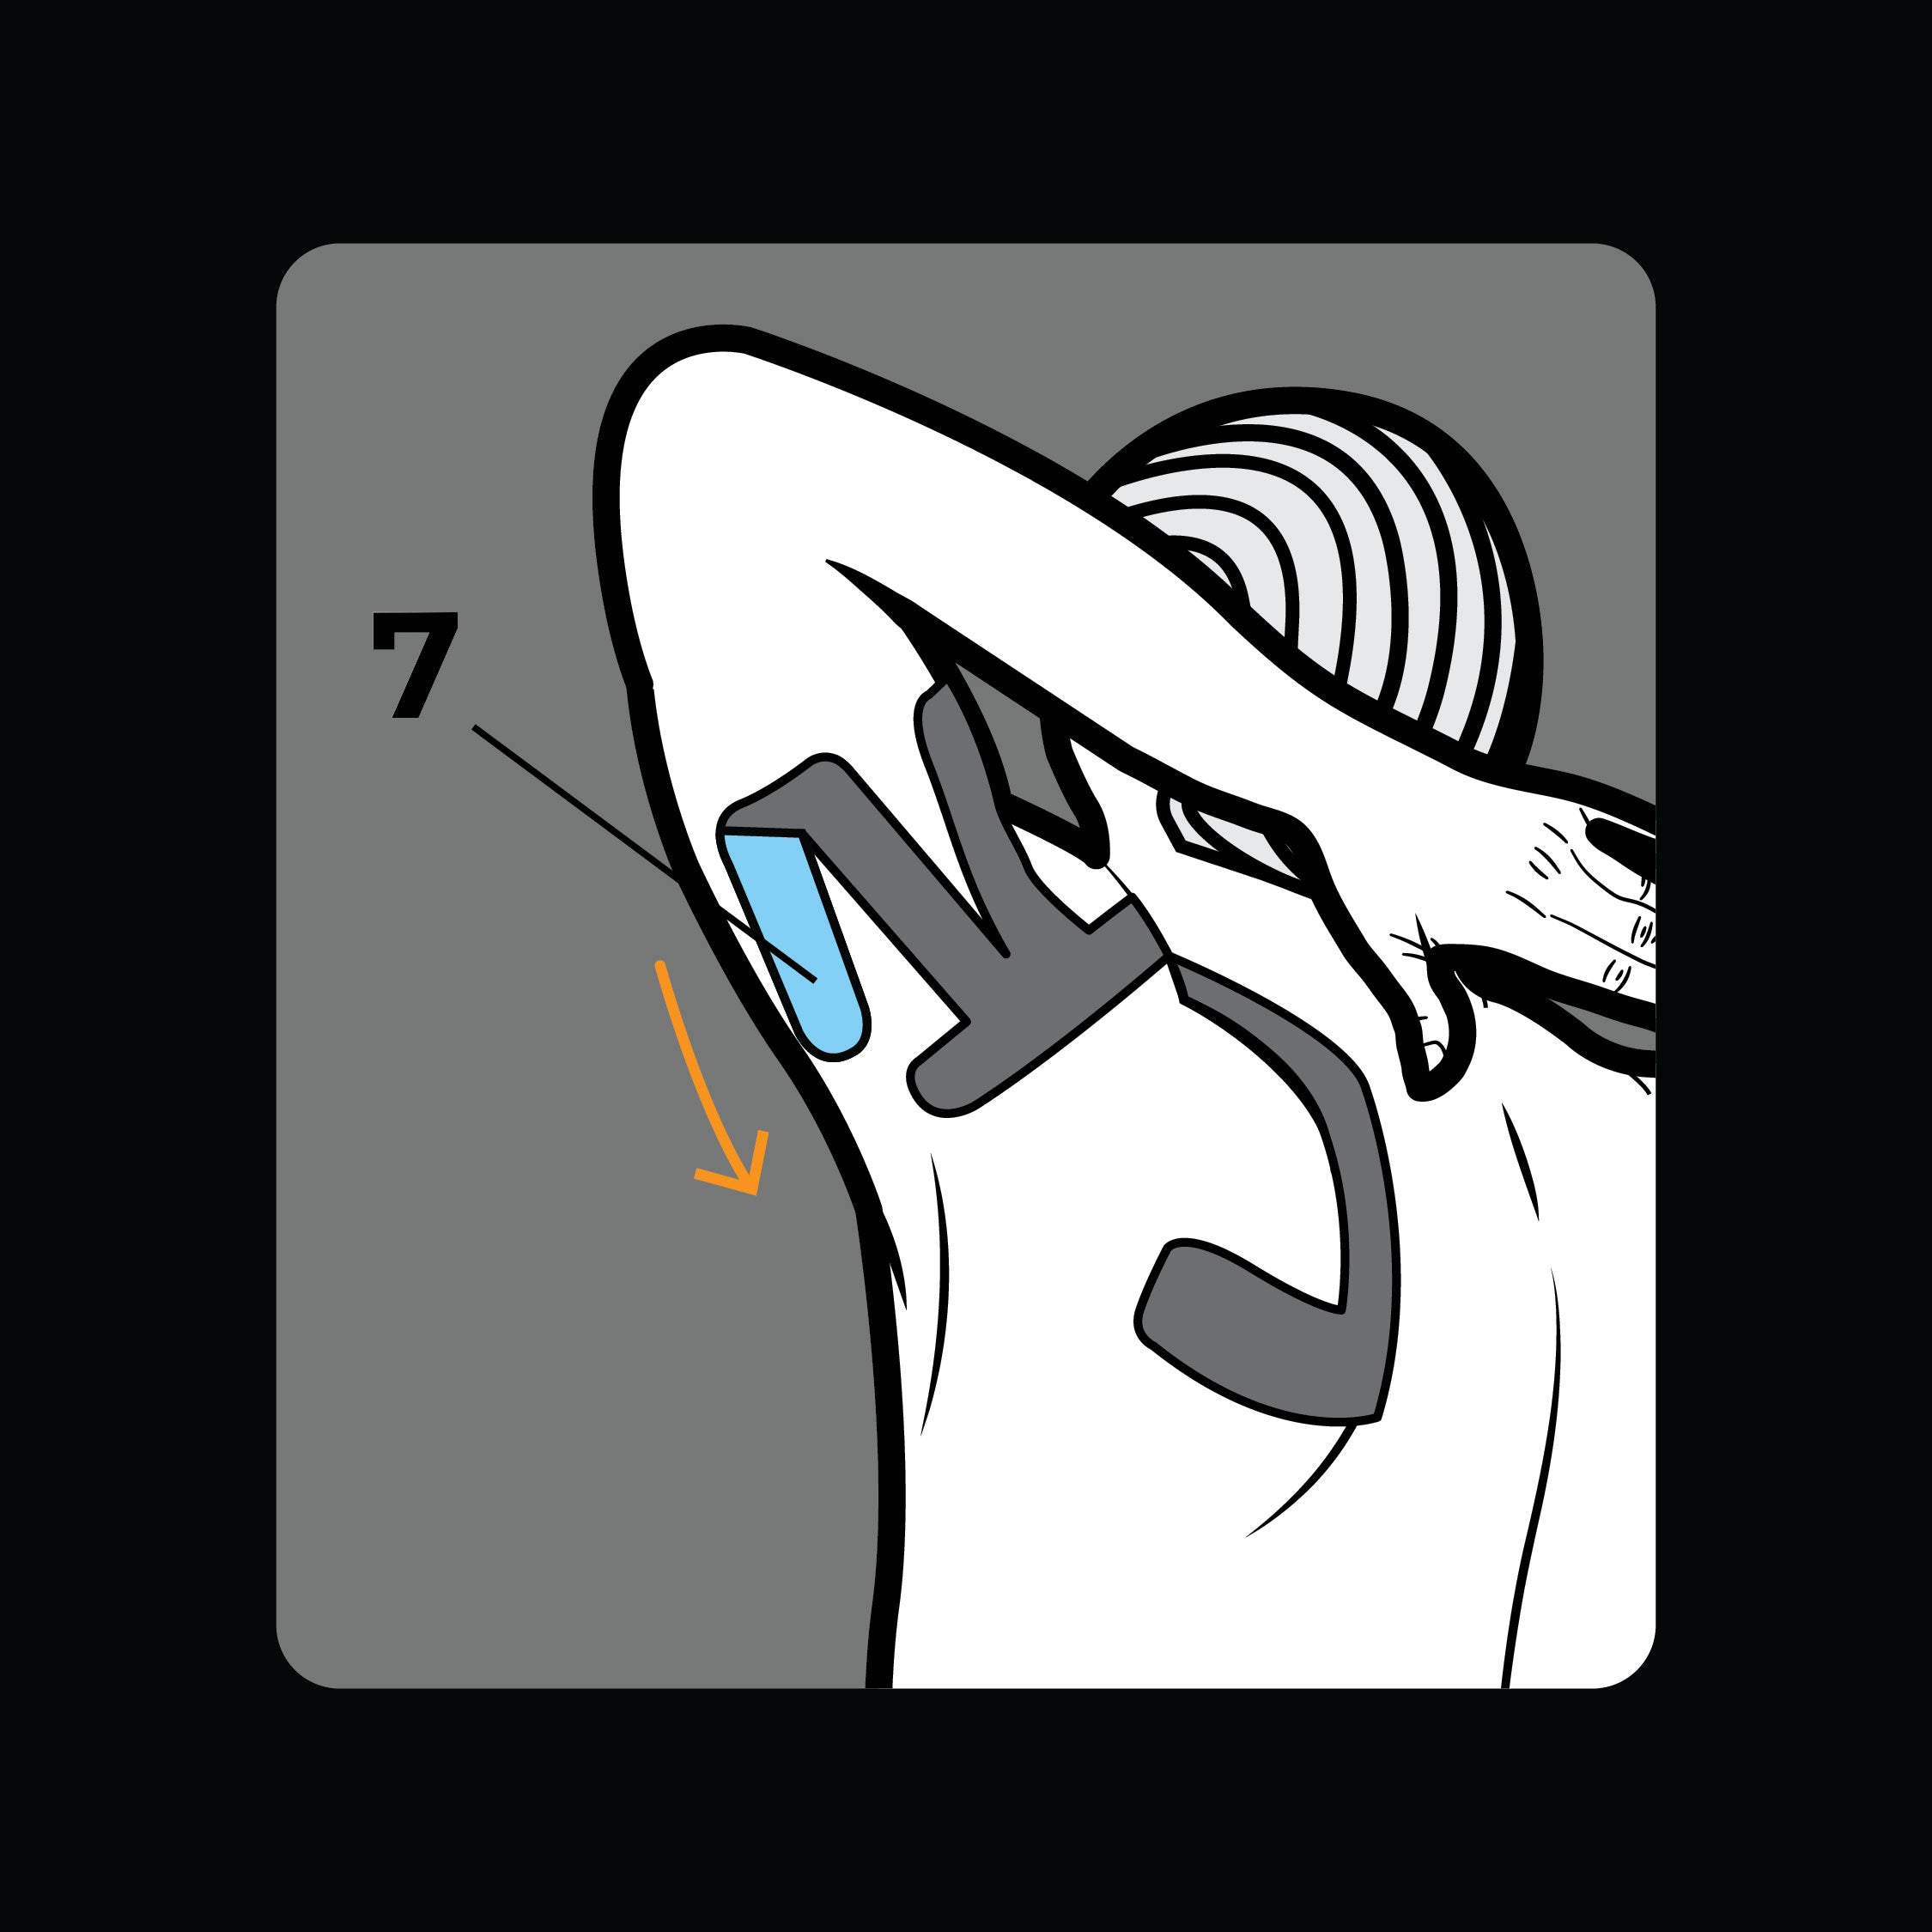
Step 7
Lift hand above head and bend elbow. Apply section 7 towards shoulder.
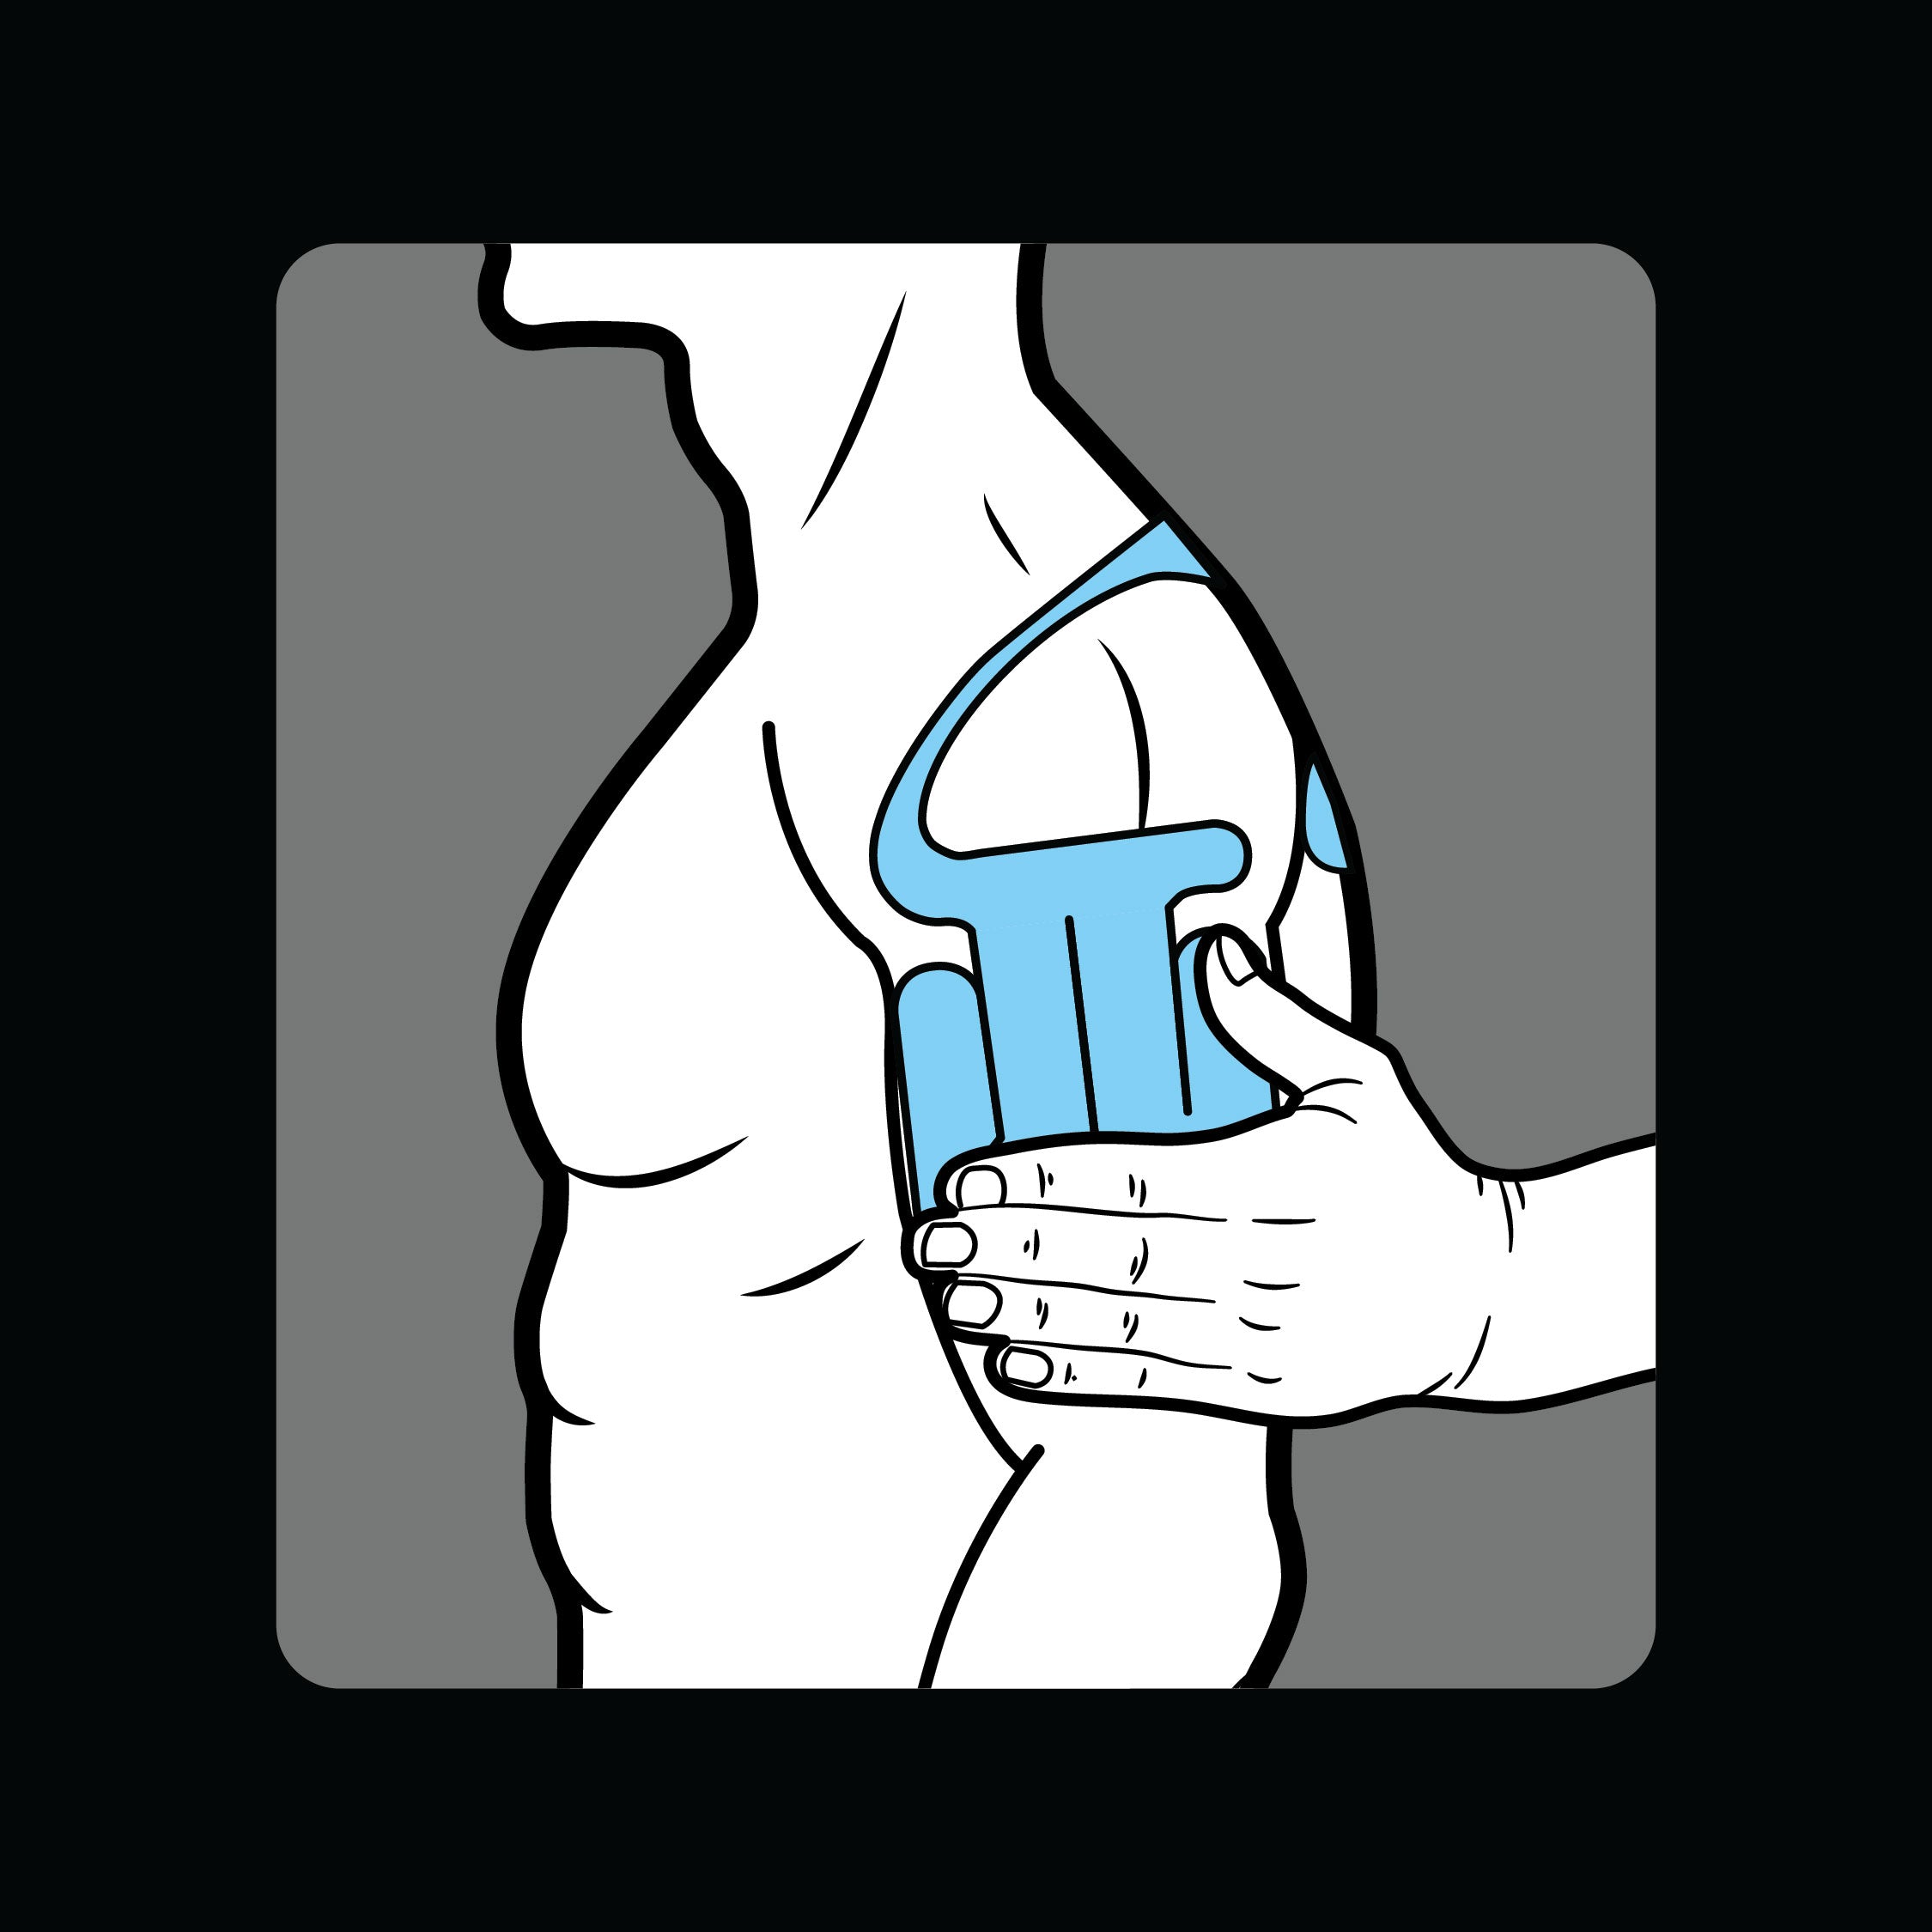
Step 8
Go back to relaxed position. Gently rub to activate adhesive.
Application Troubleshooting
Applying kinesiology tape is a unique process that may require some practice. Here are the most common issues people encounter and our expert solutions to help you apply the tape effectively and with confidence.
What do I do if the tape sticks to itself during application?
If your tape sticks to itself or has wrinkles during application, gently stretch the tape until it releases from itself and then continue with your application.
How can I get the most out of my tape application?
Here are a few tips to help your tape stay on longer:
- Remove hair, oils, and lotions.
- Apply tape only to clean, dry, undamaged skin.
- Ensure there is little to no stretch in your tape (stretch the muscle, not the tape).
- Rub the tape to activate the adhesive.
How can I avoid touching the adhesive during application?
When removing the backing paper to expose each individual tab, do not remove the entire tab. Leave about an inch that you can use to hold on to the tape and ensure it is applied in the perfect spot.
Contact Support
For more answers to your questions, please email info@spidertech.com. We would be happy to help you further.
🔥 Bestseller




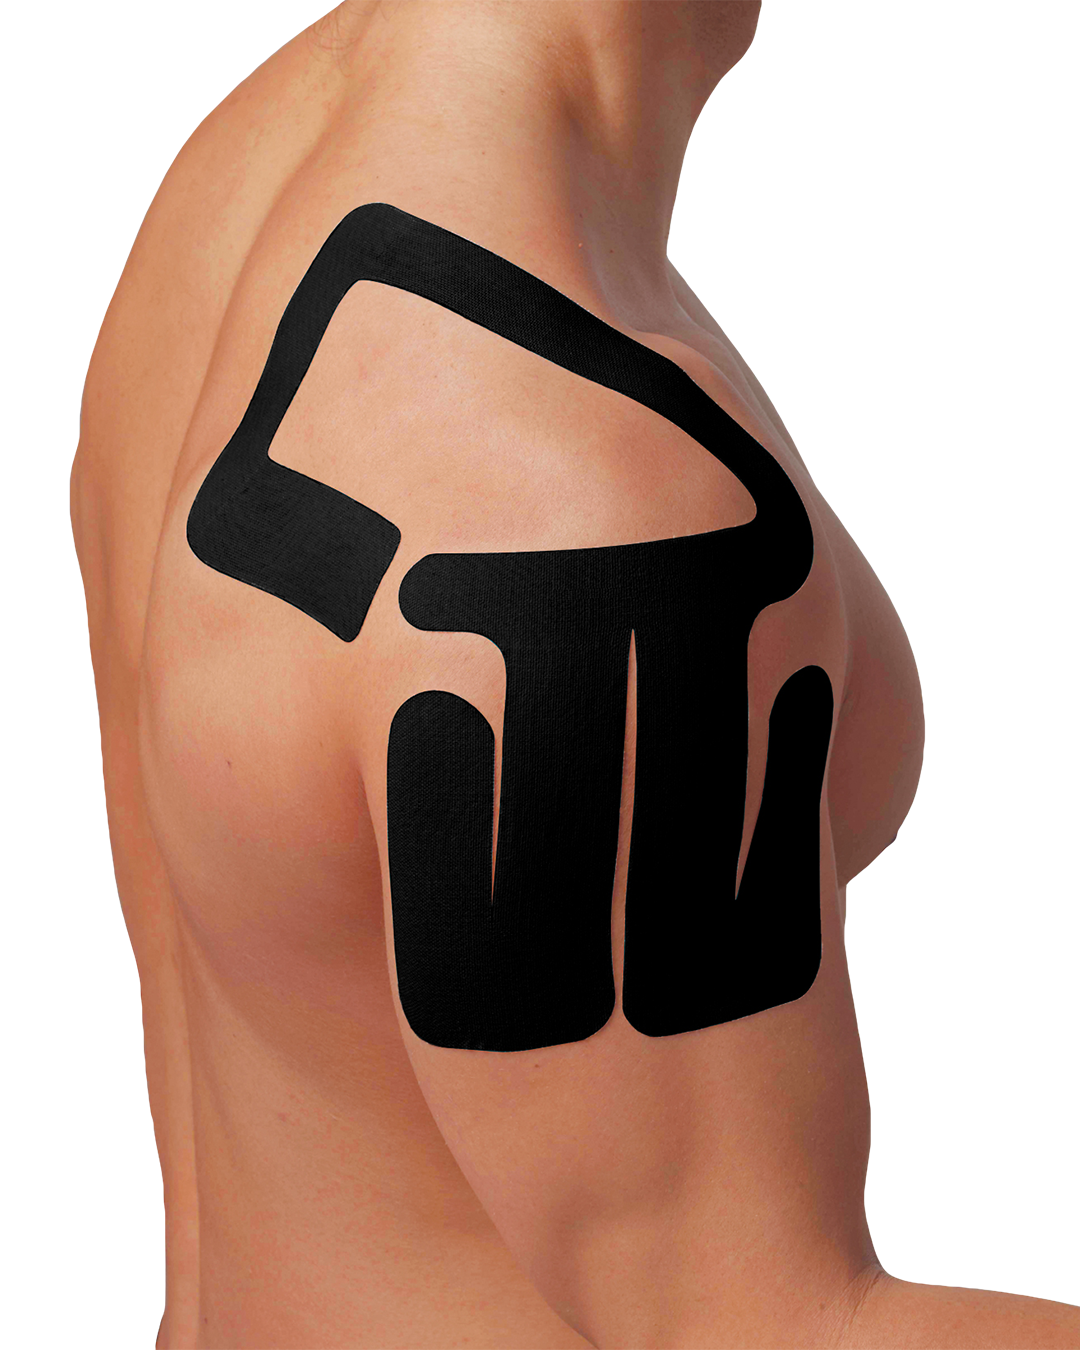
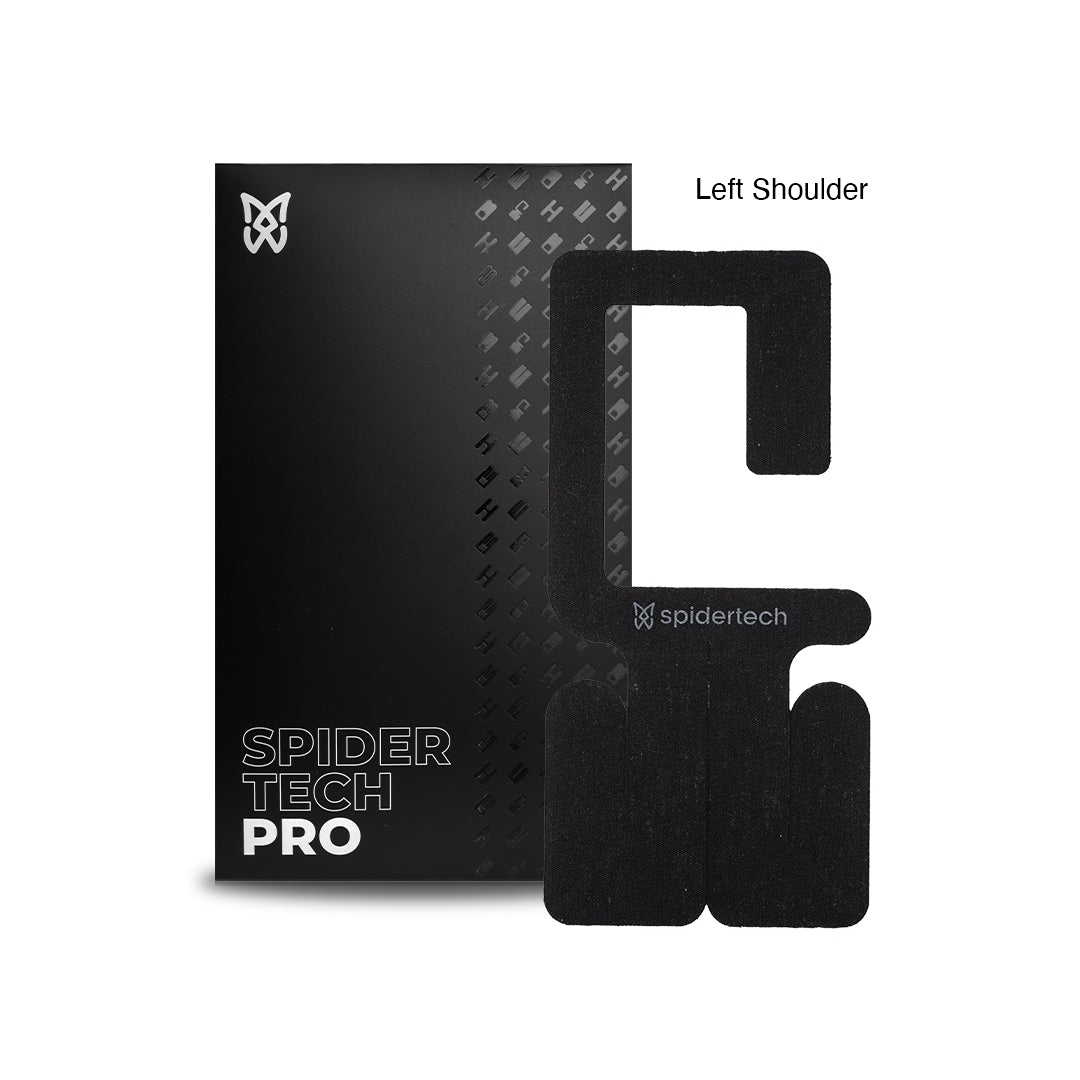
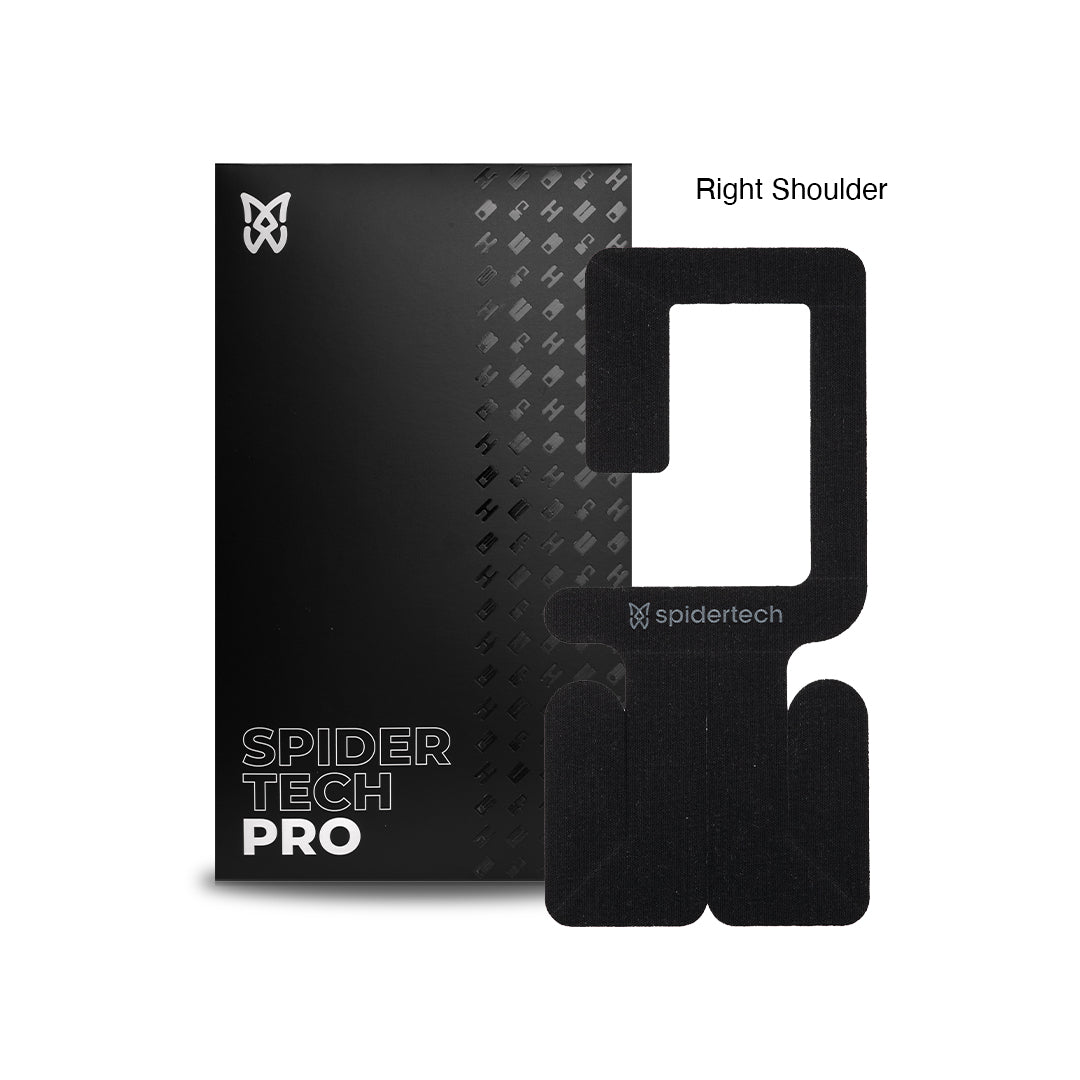


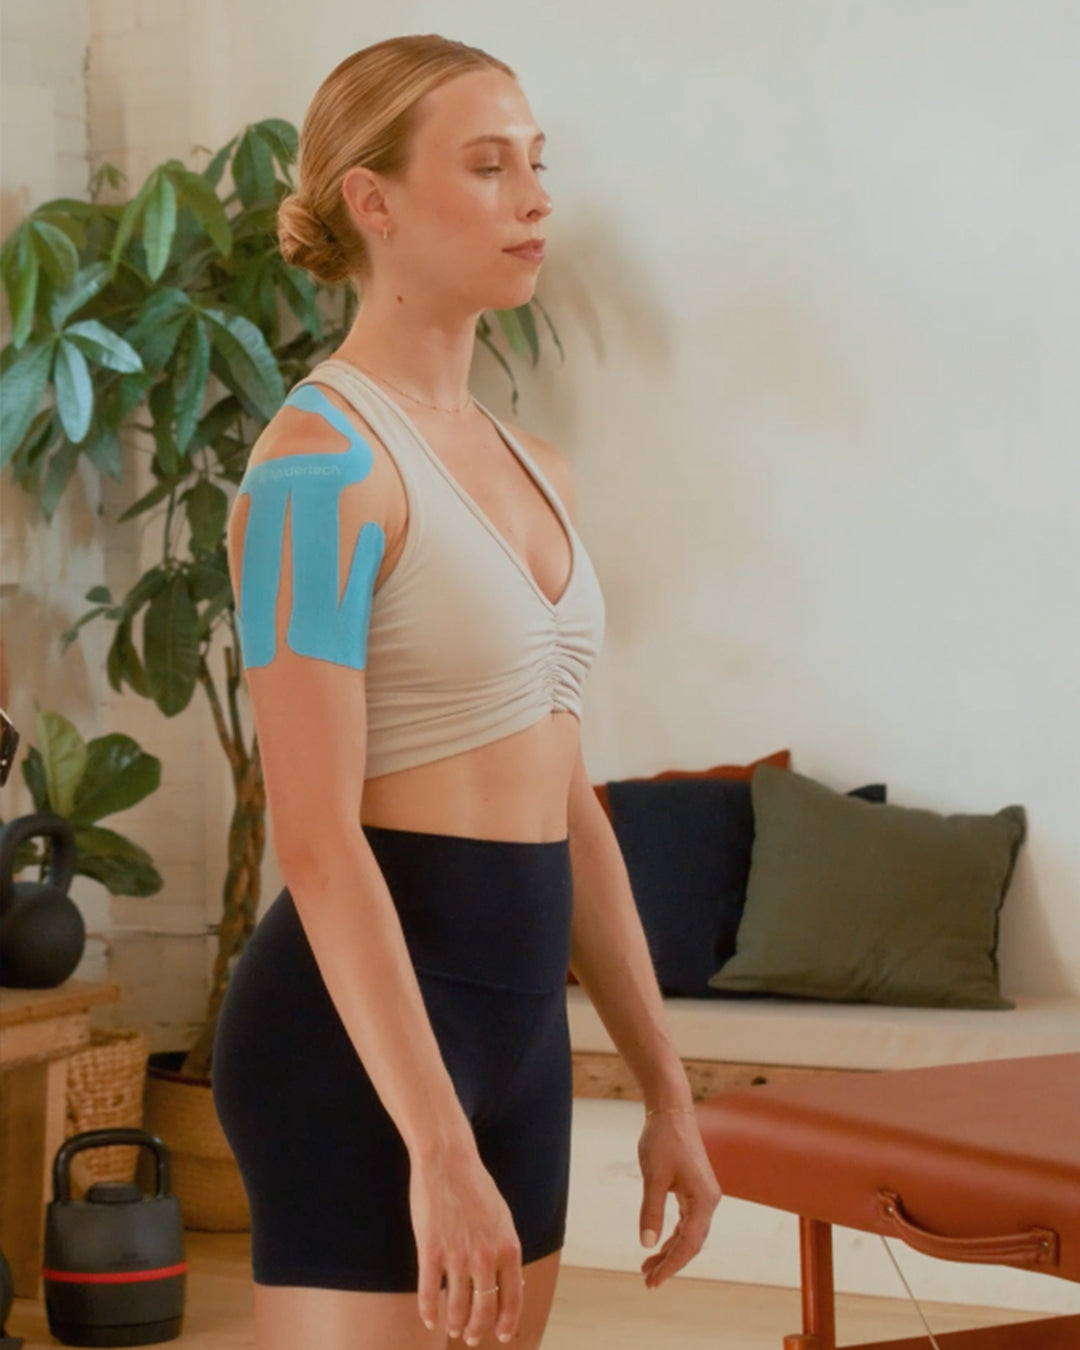
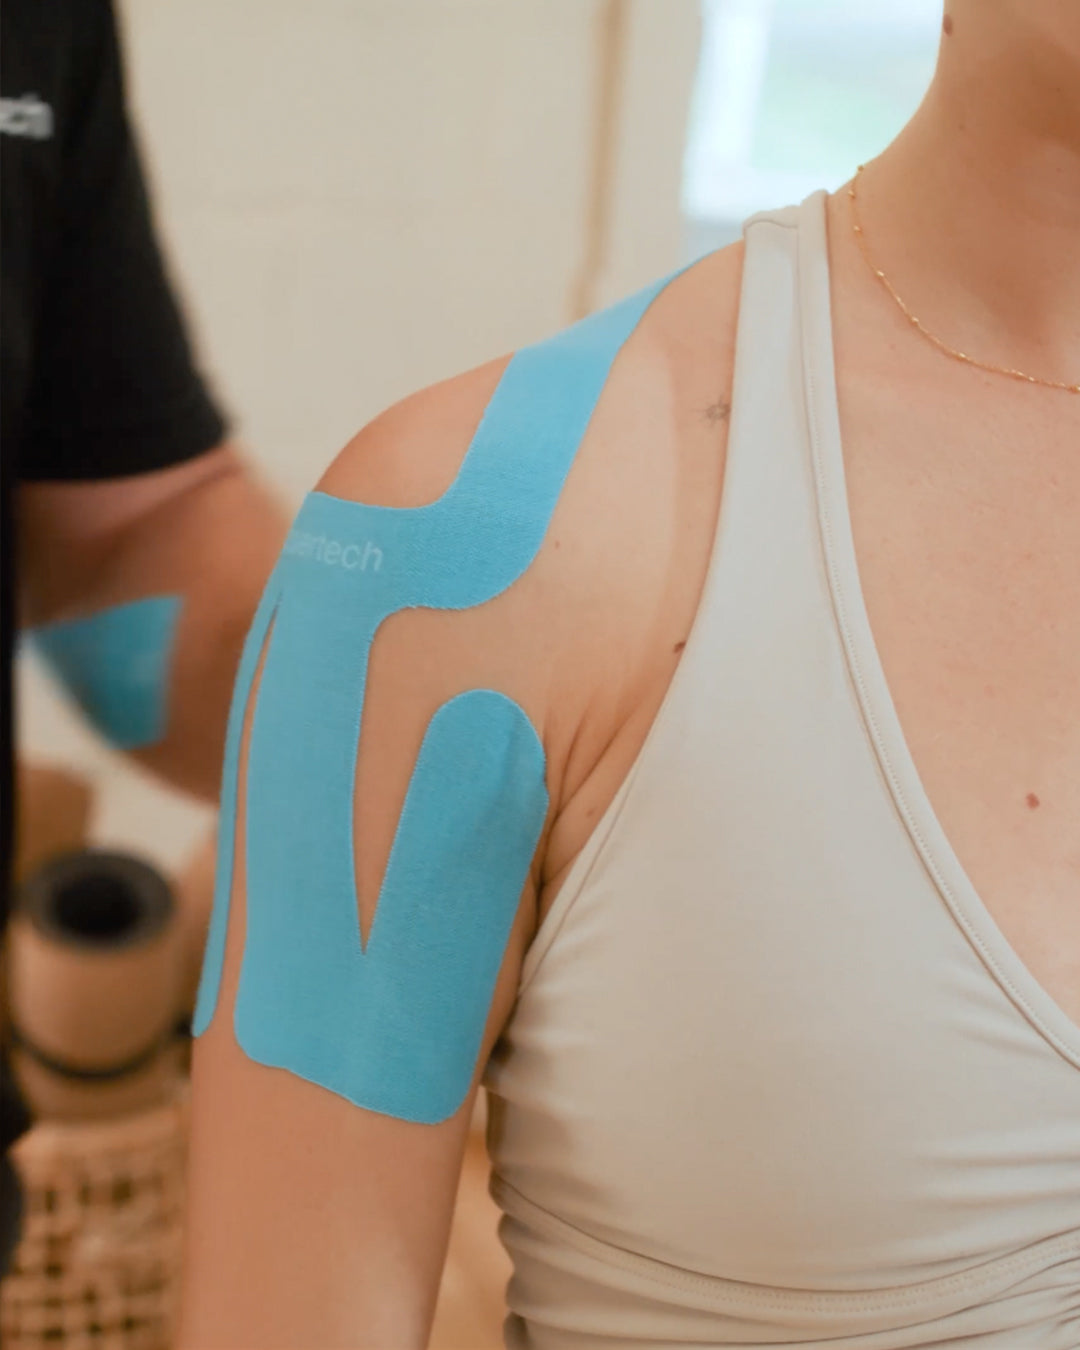
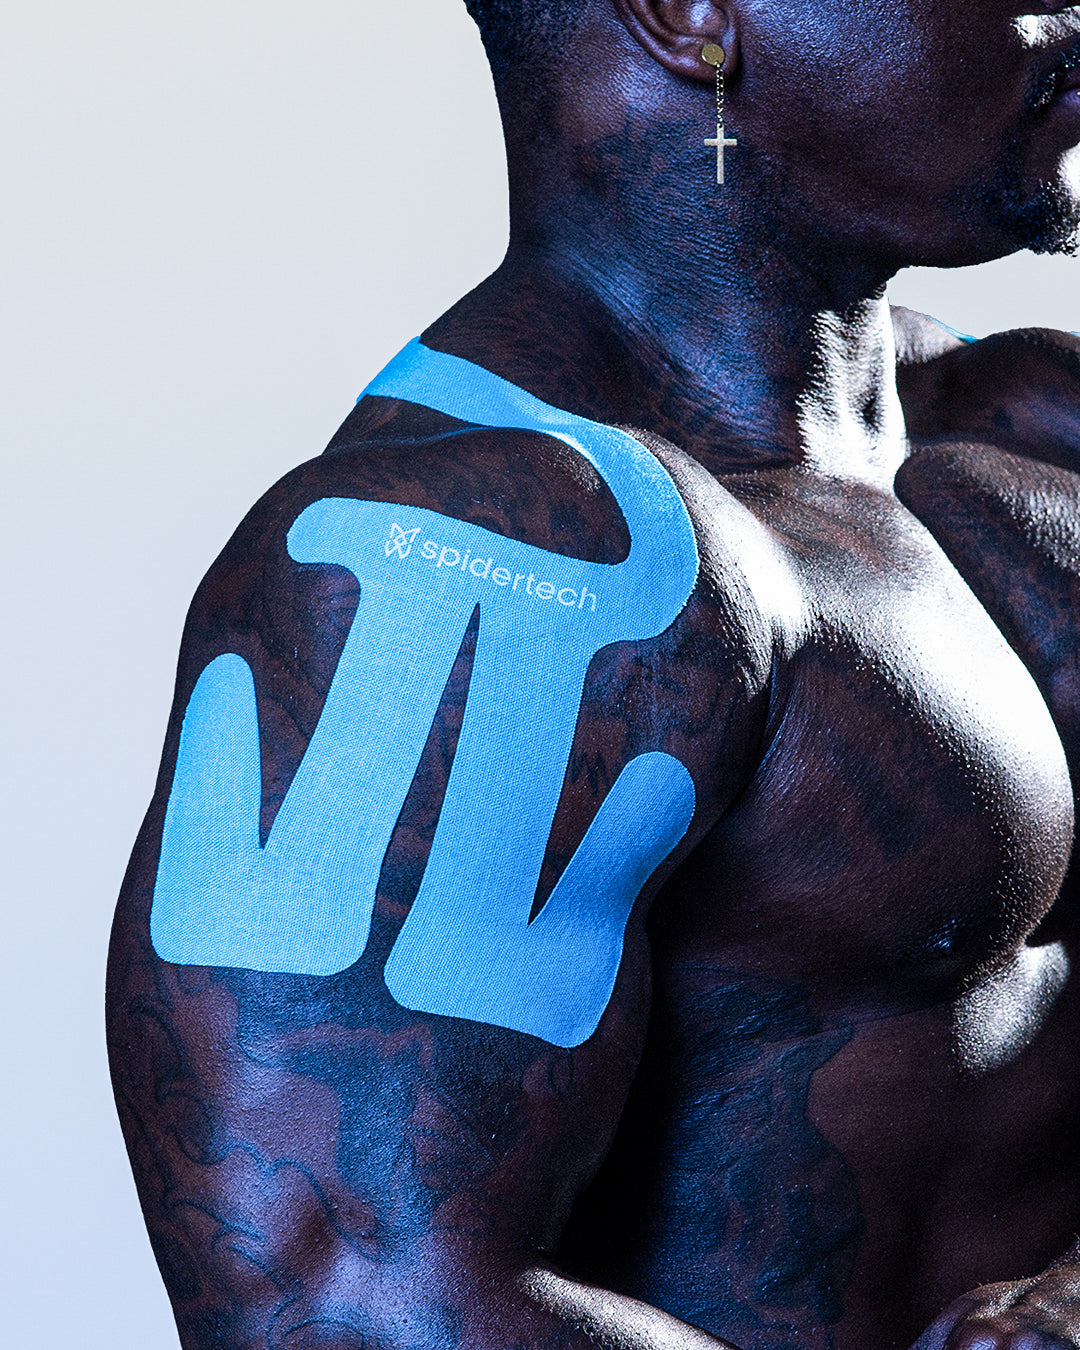
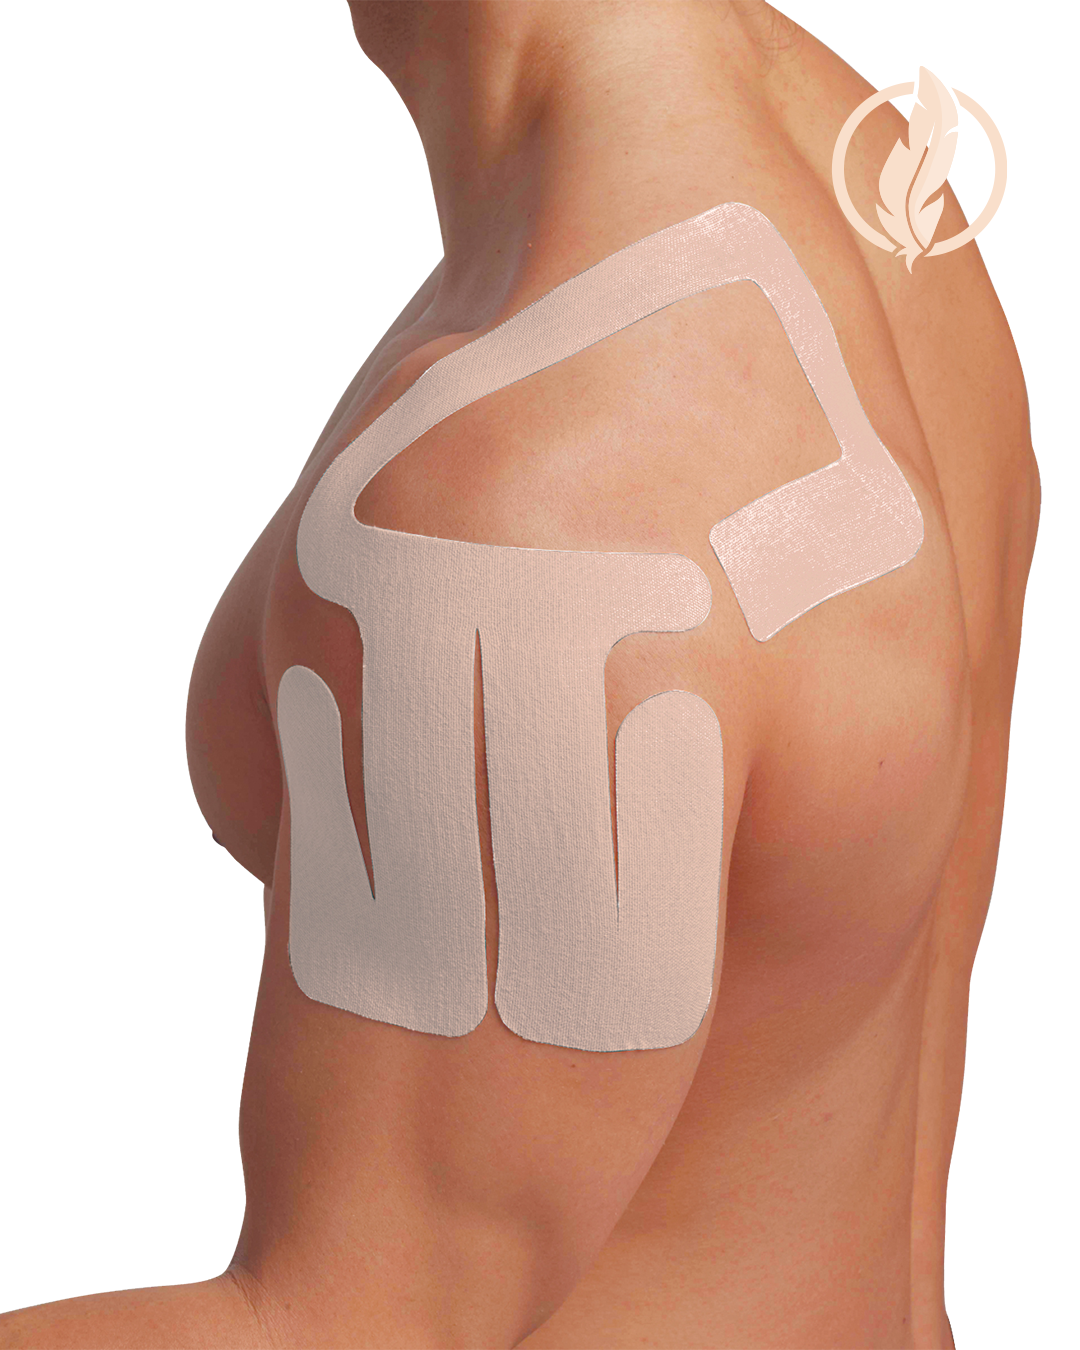
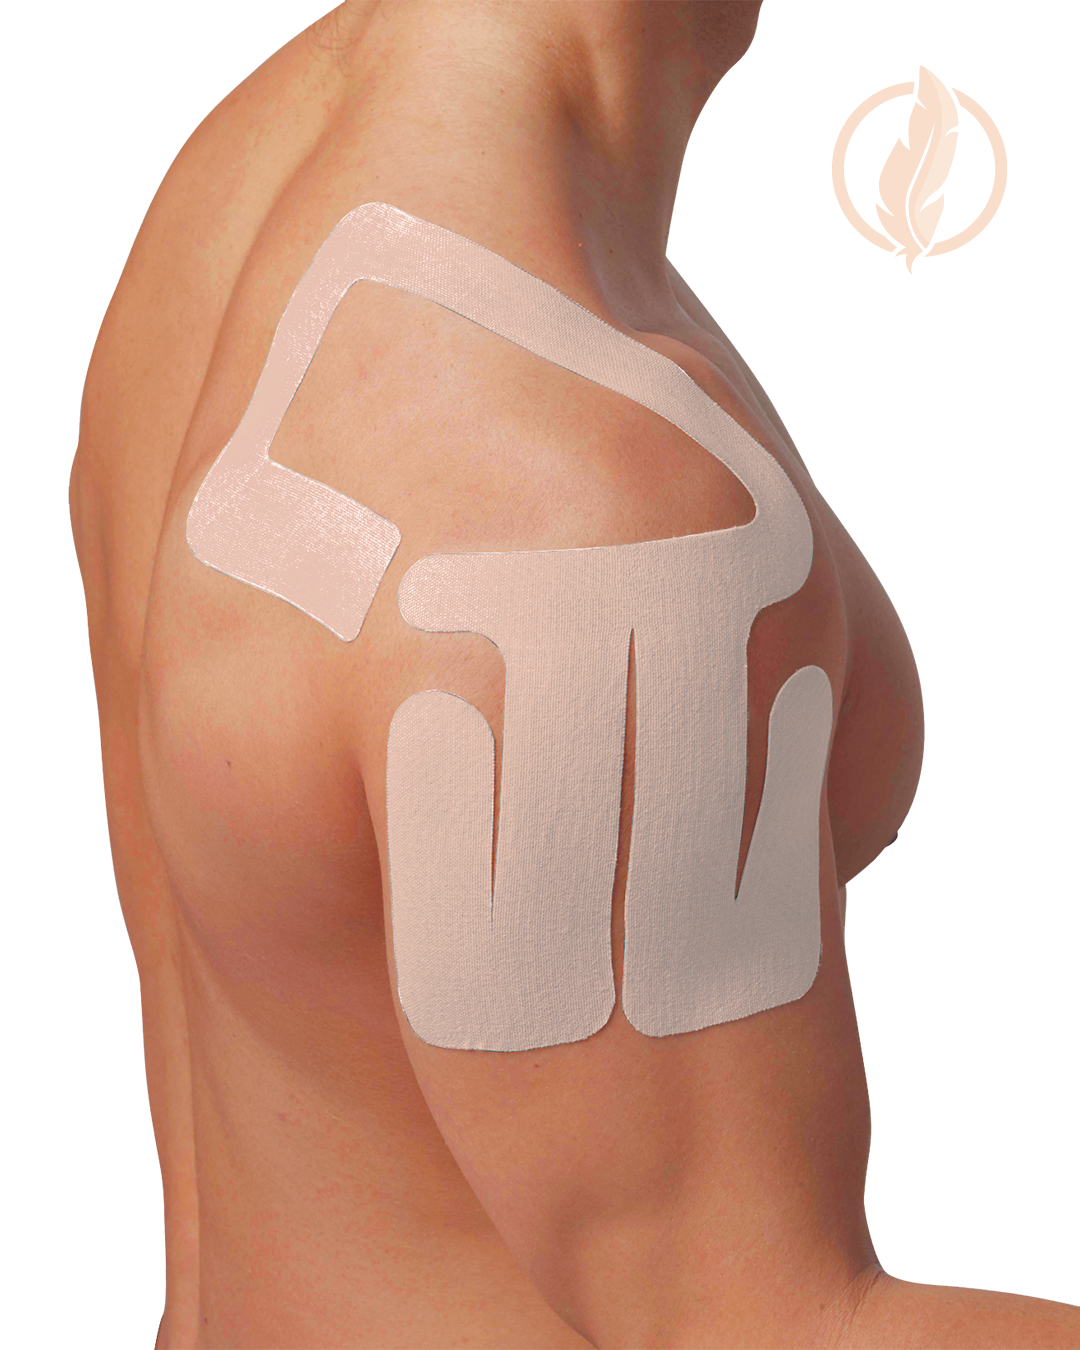
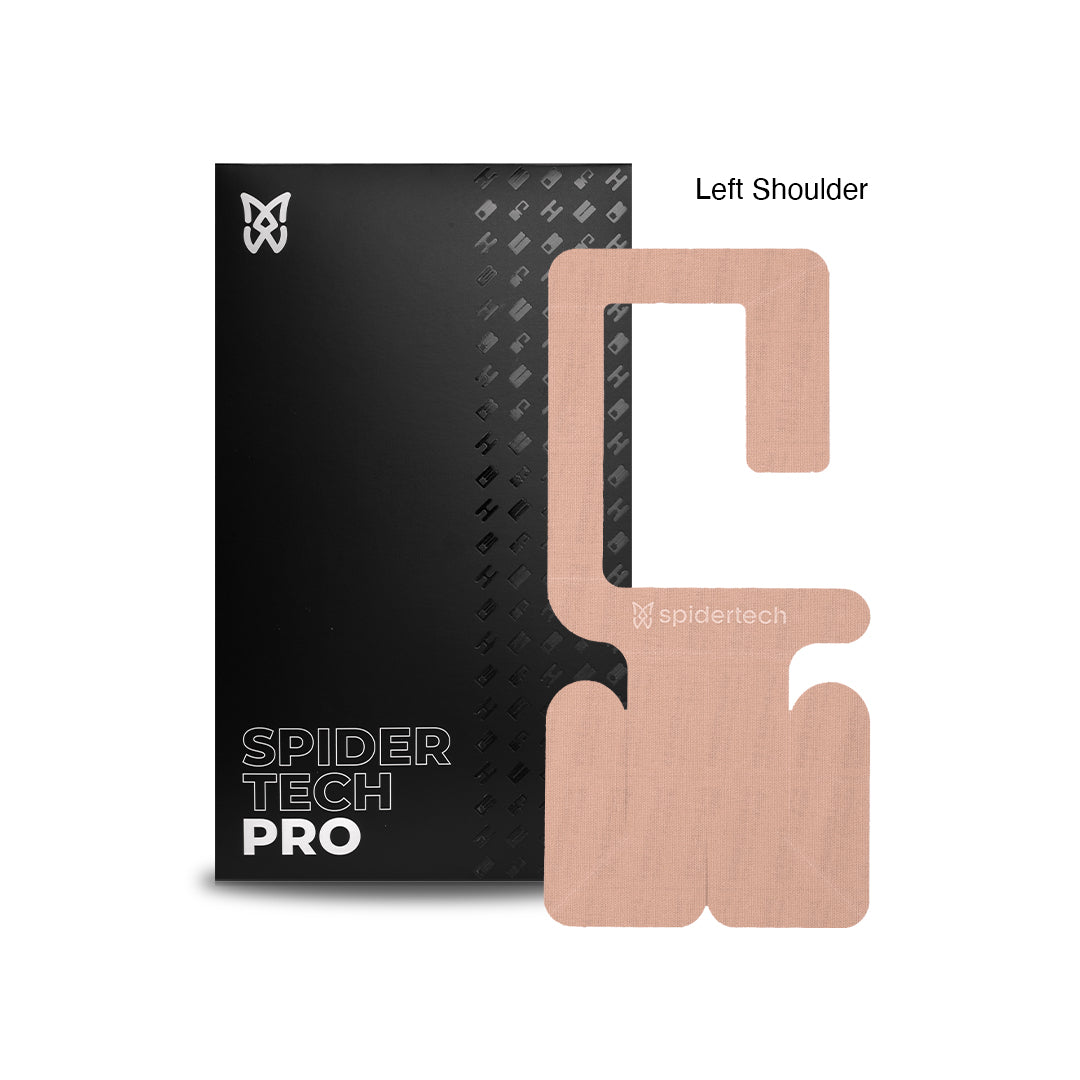
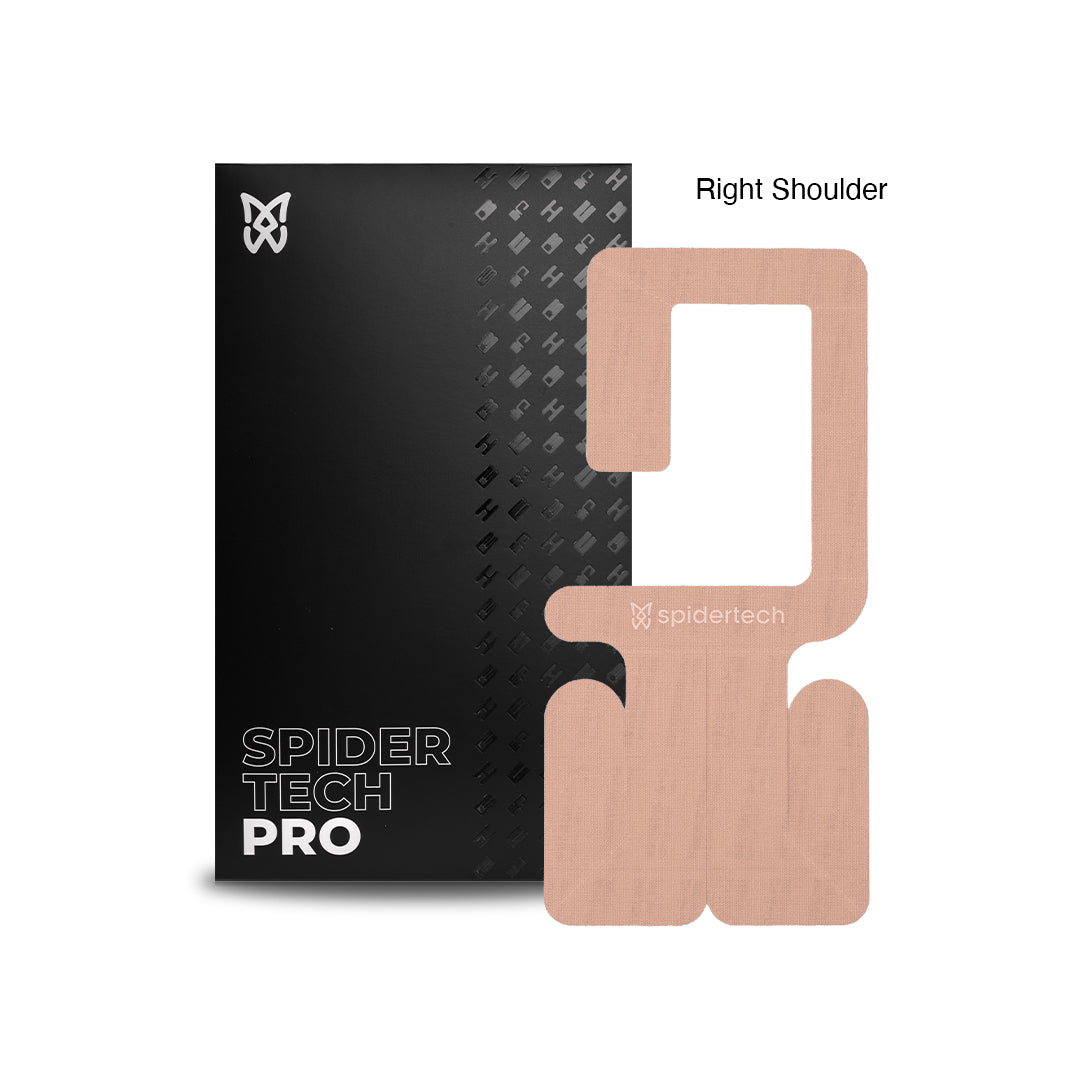
Pro Shoulder
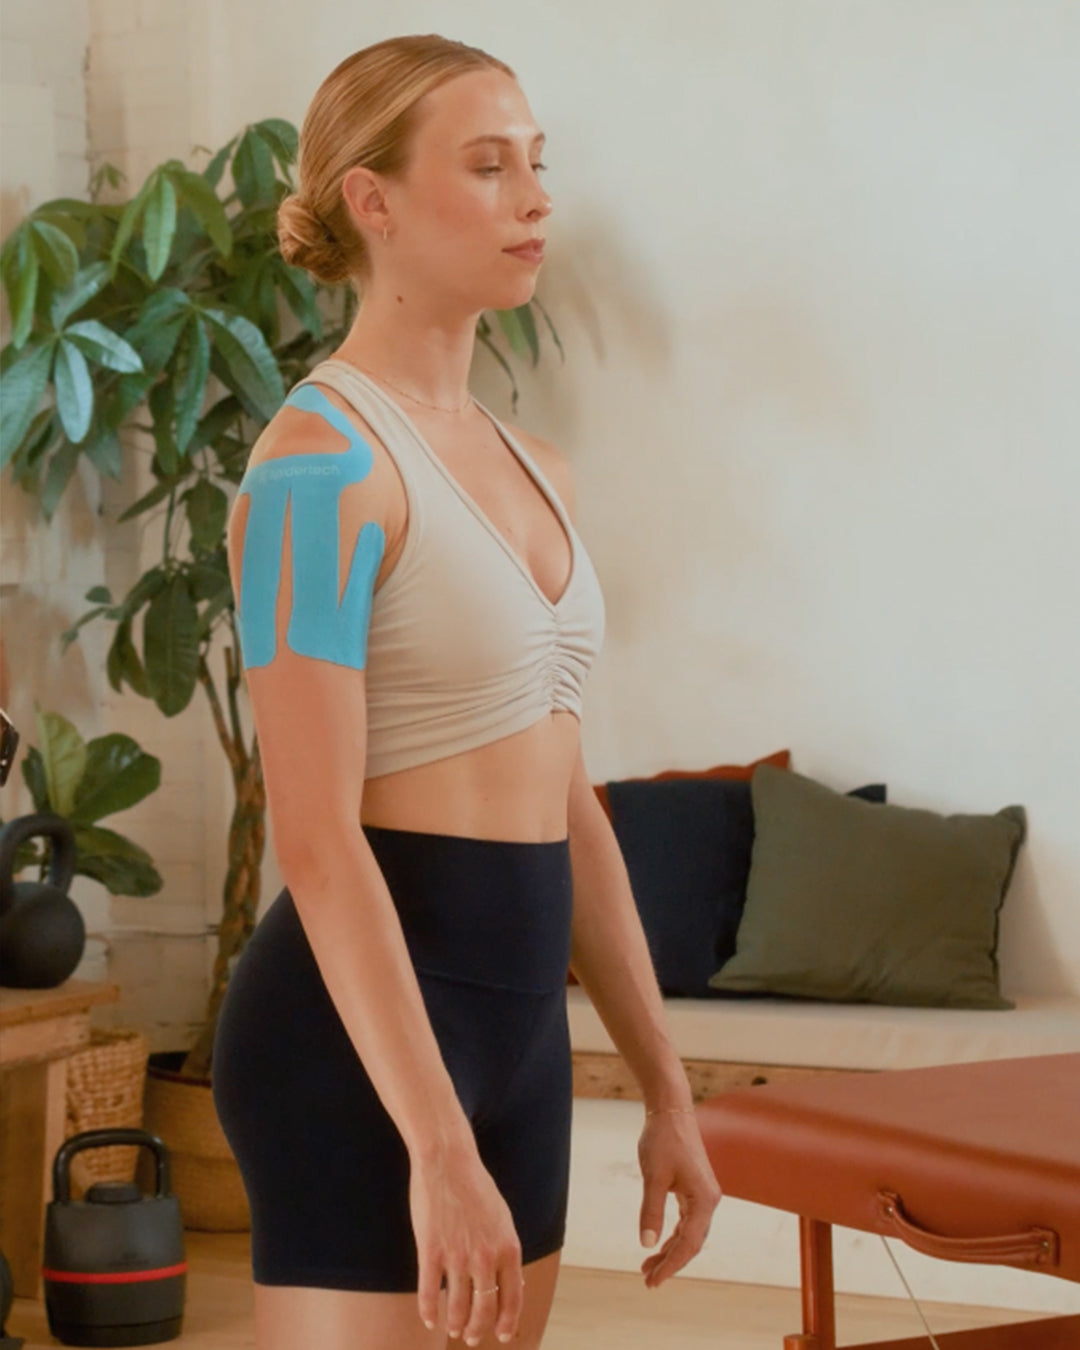
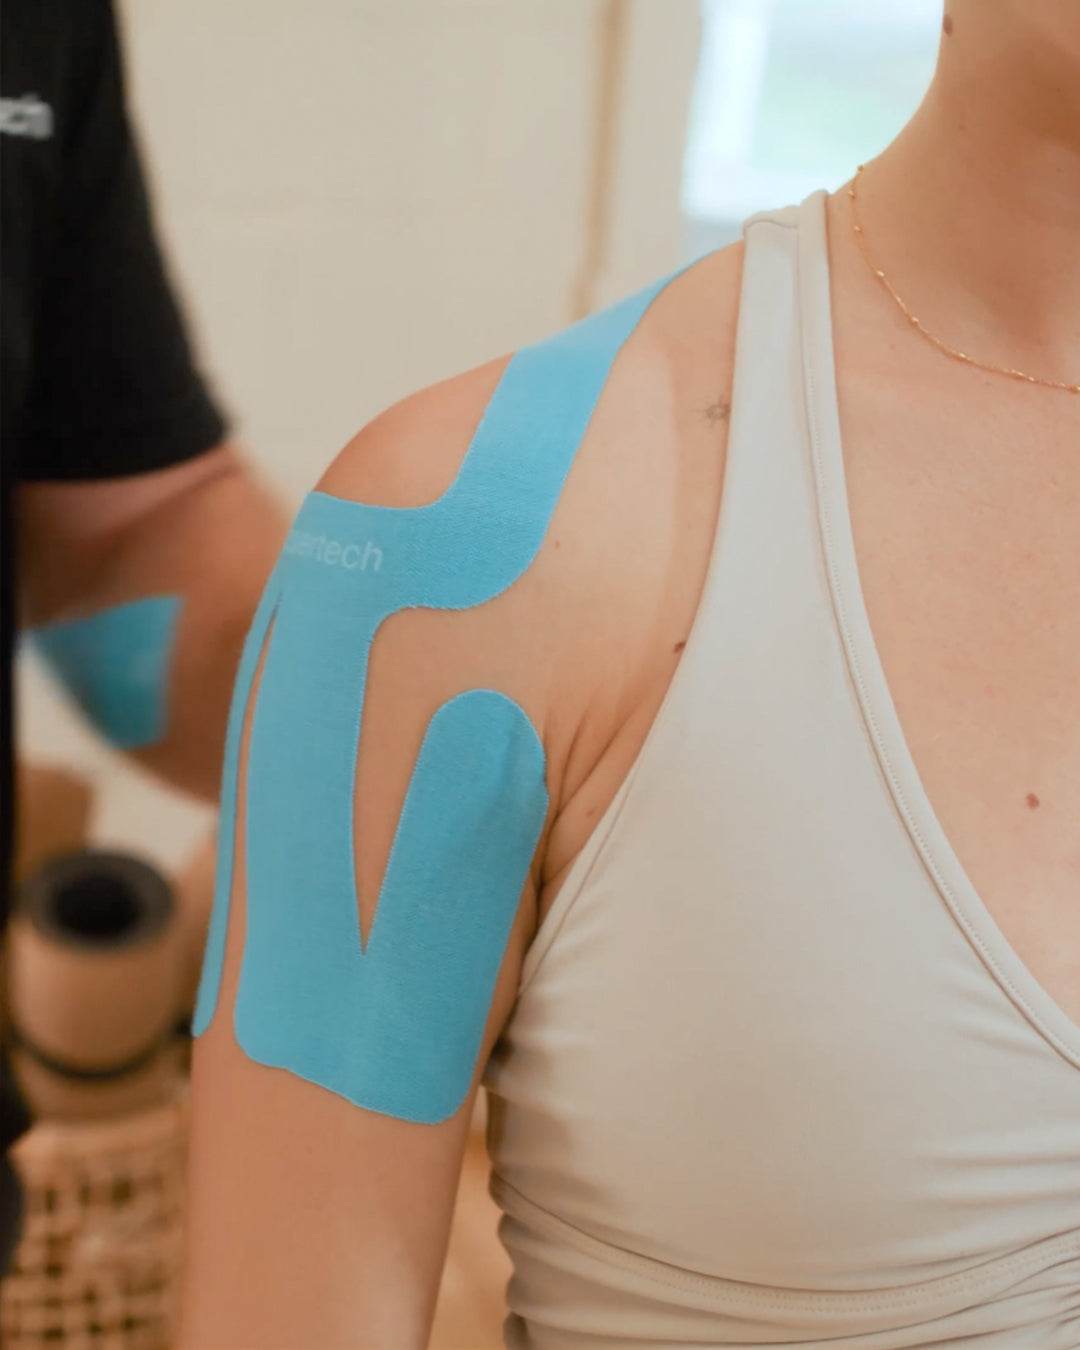
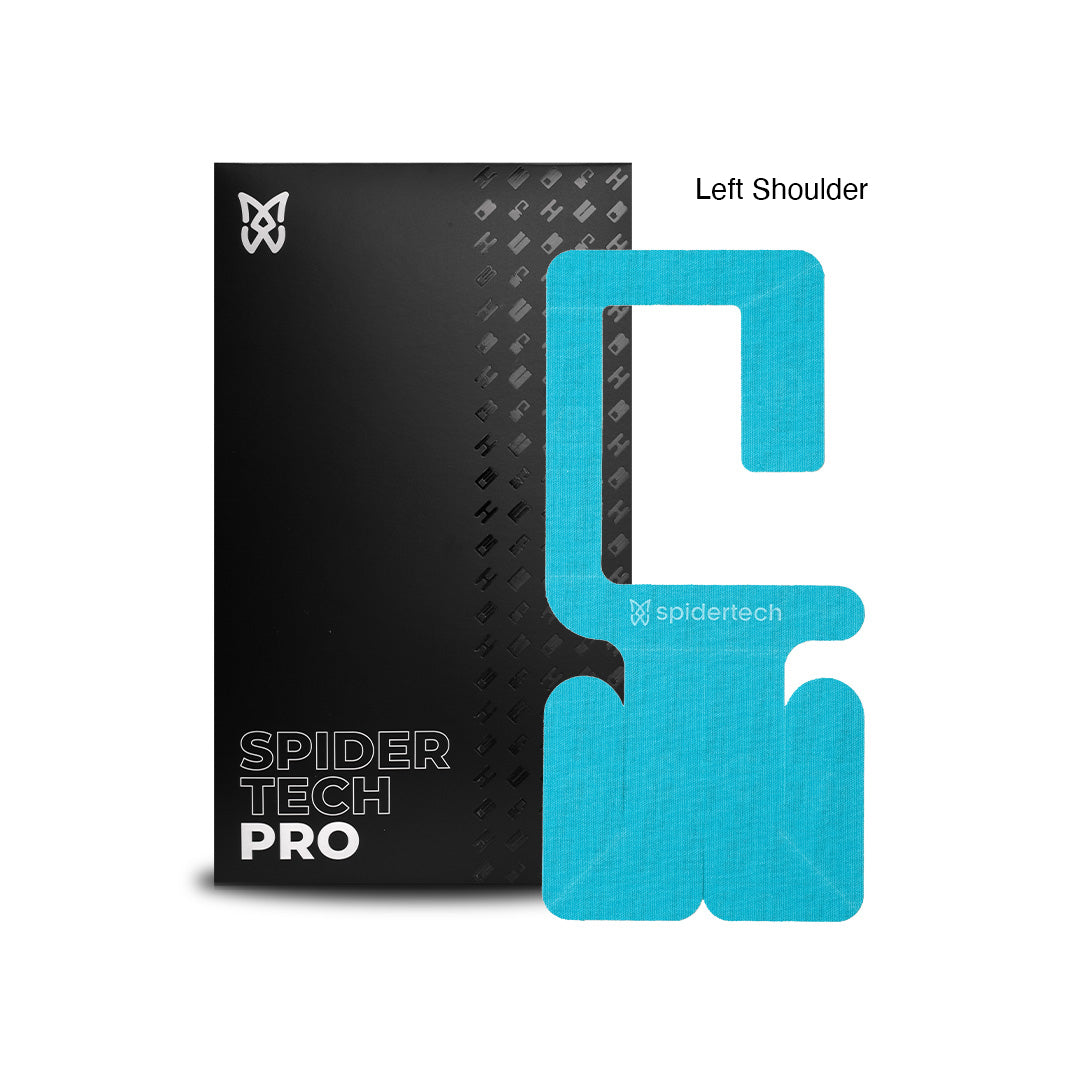
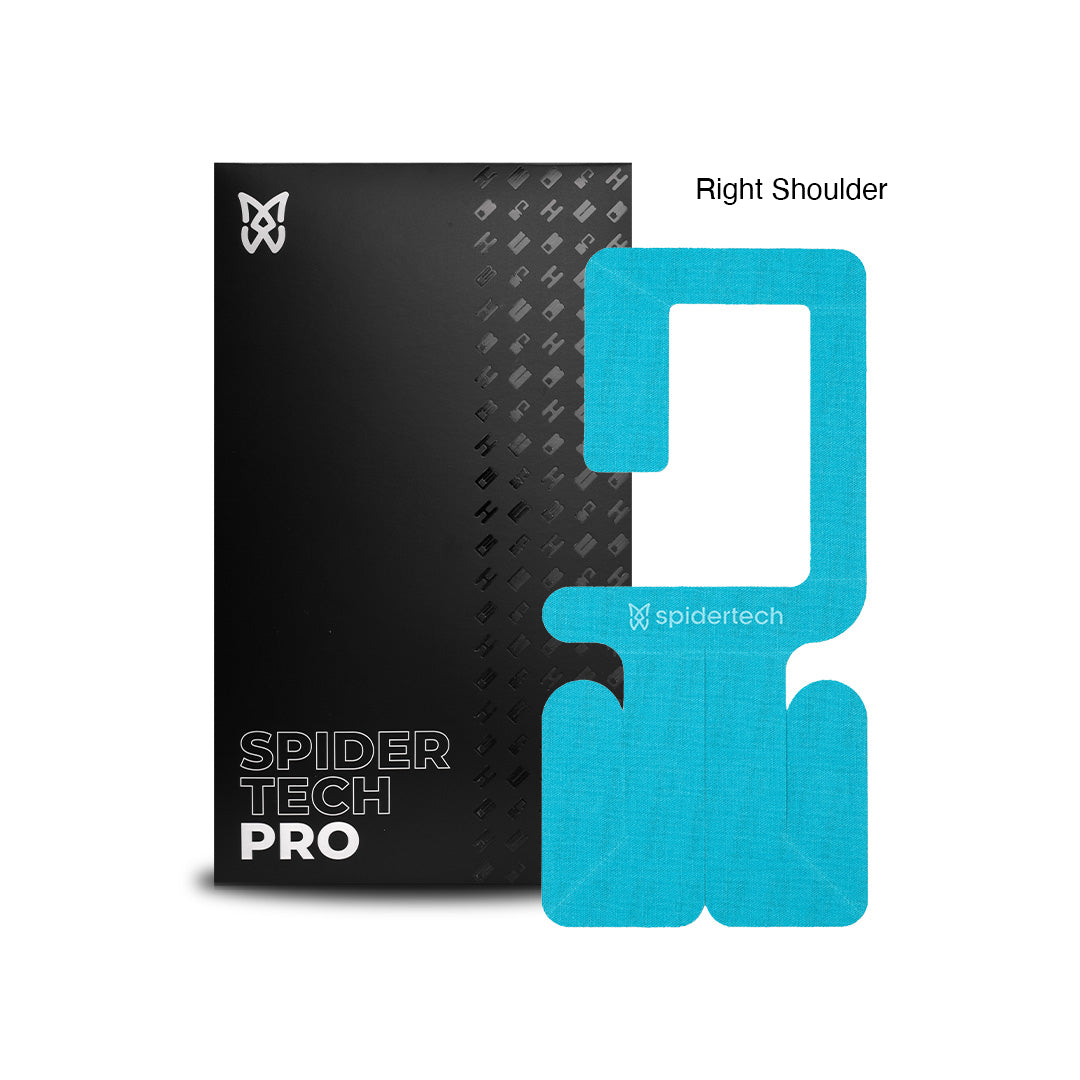
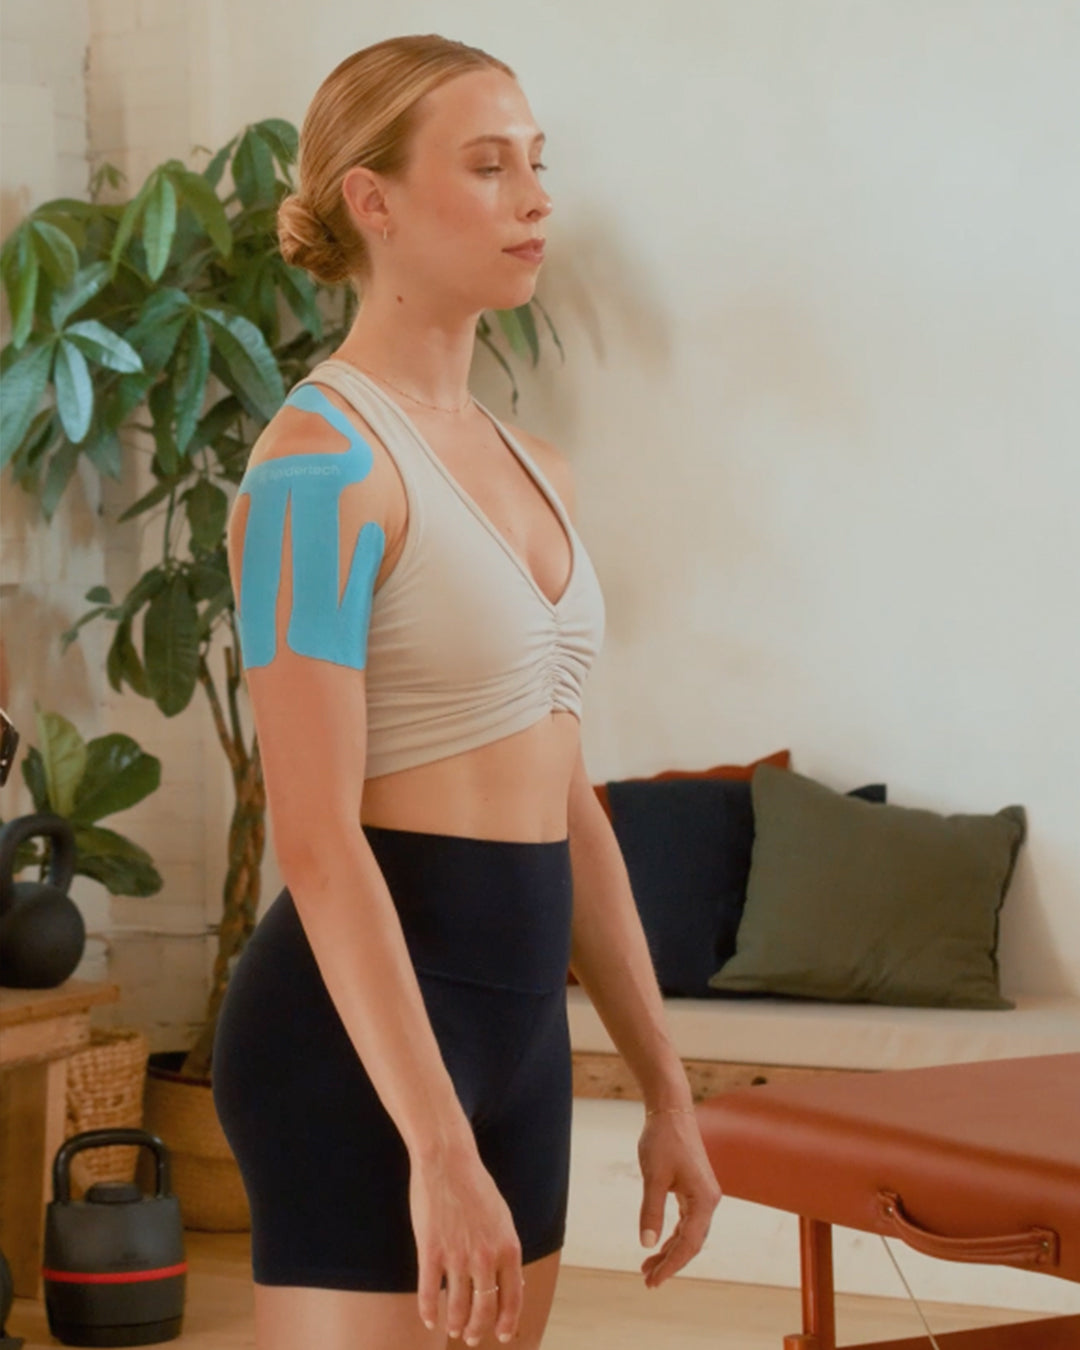
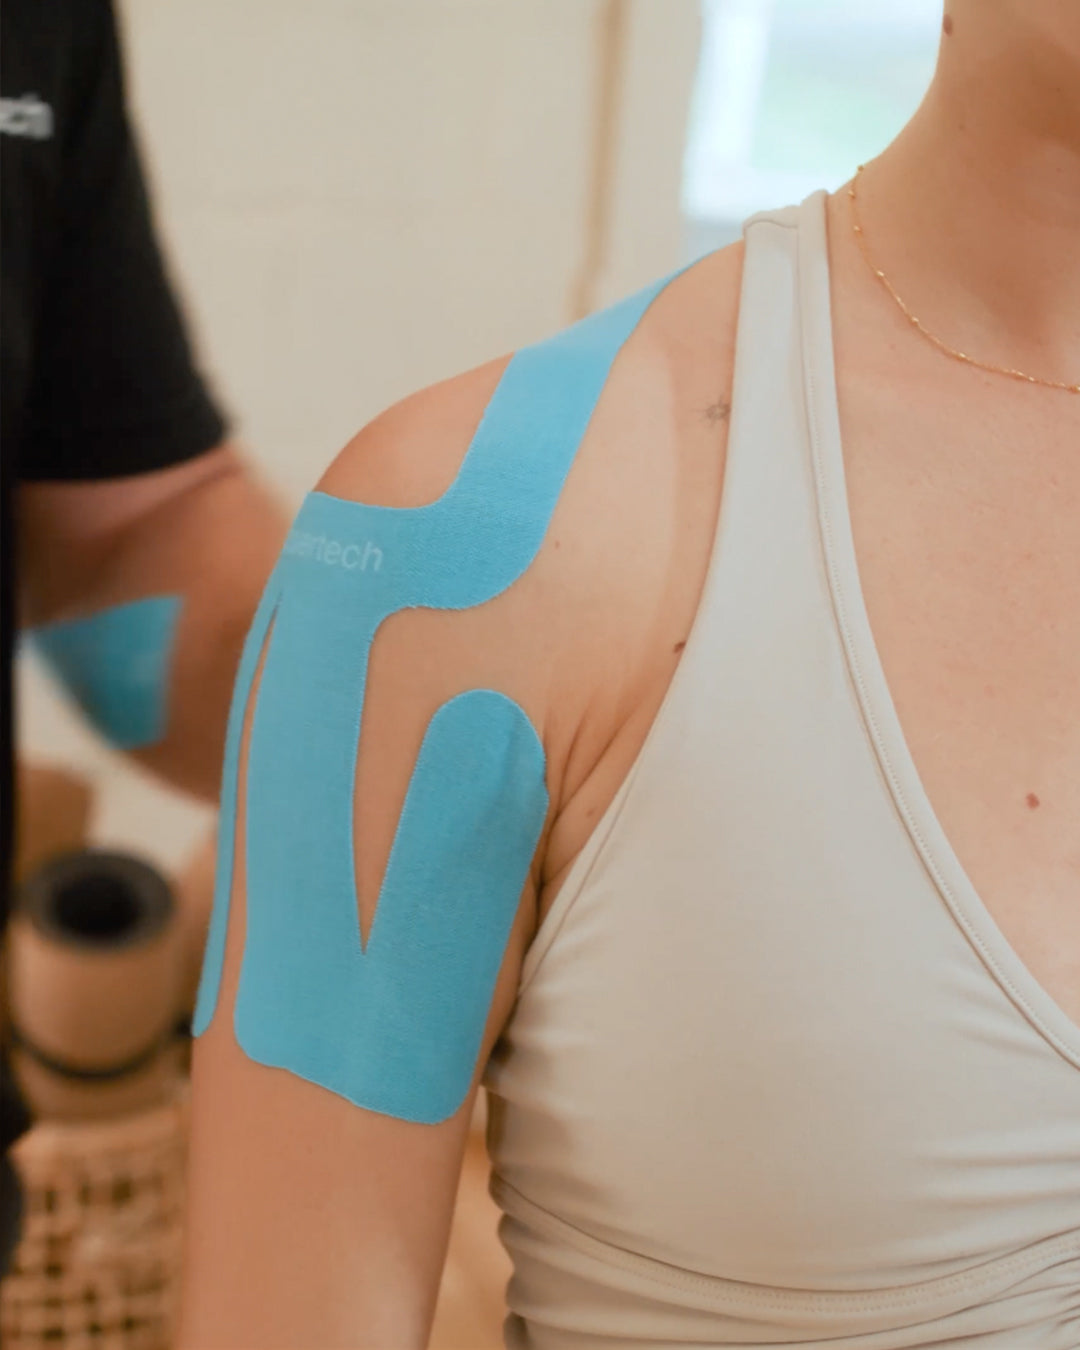
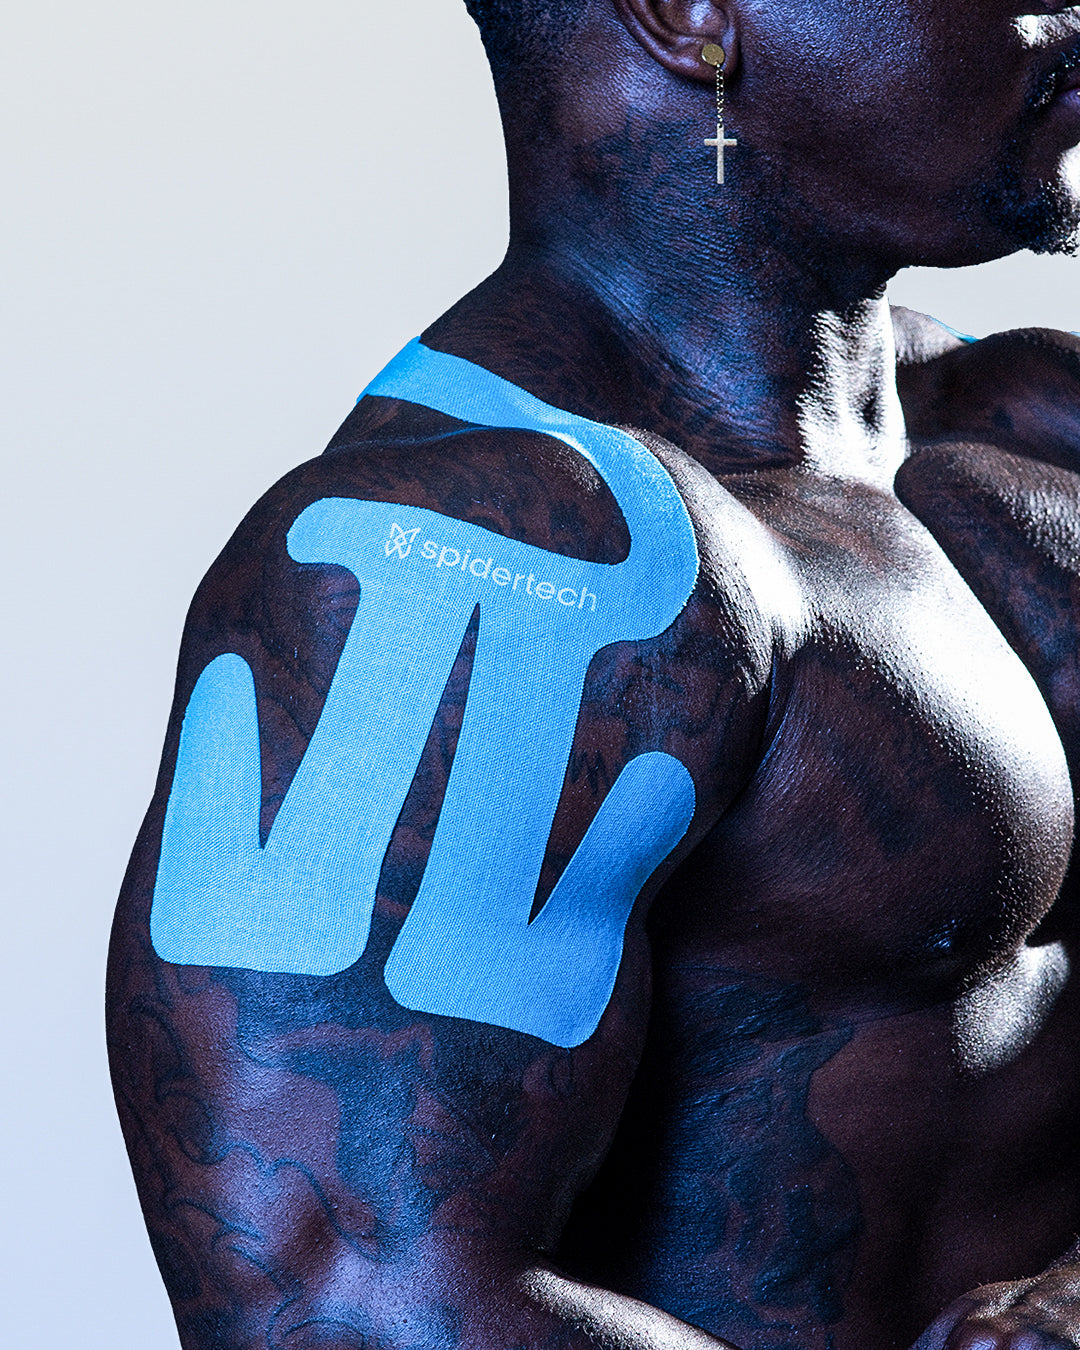
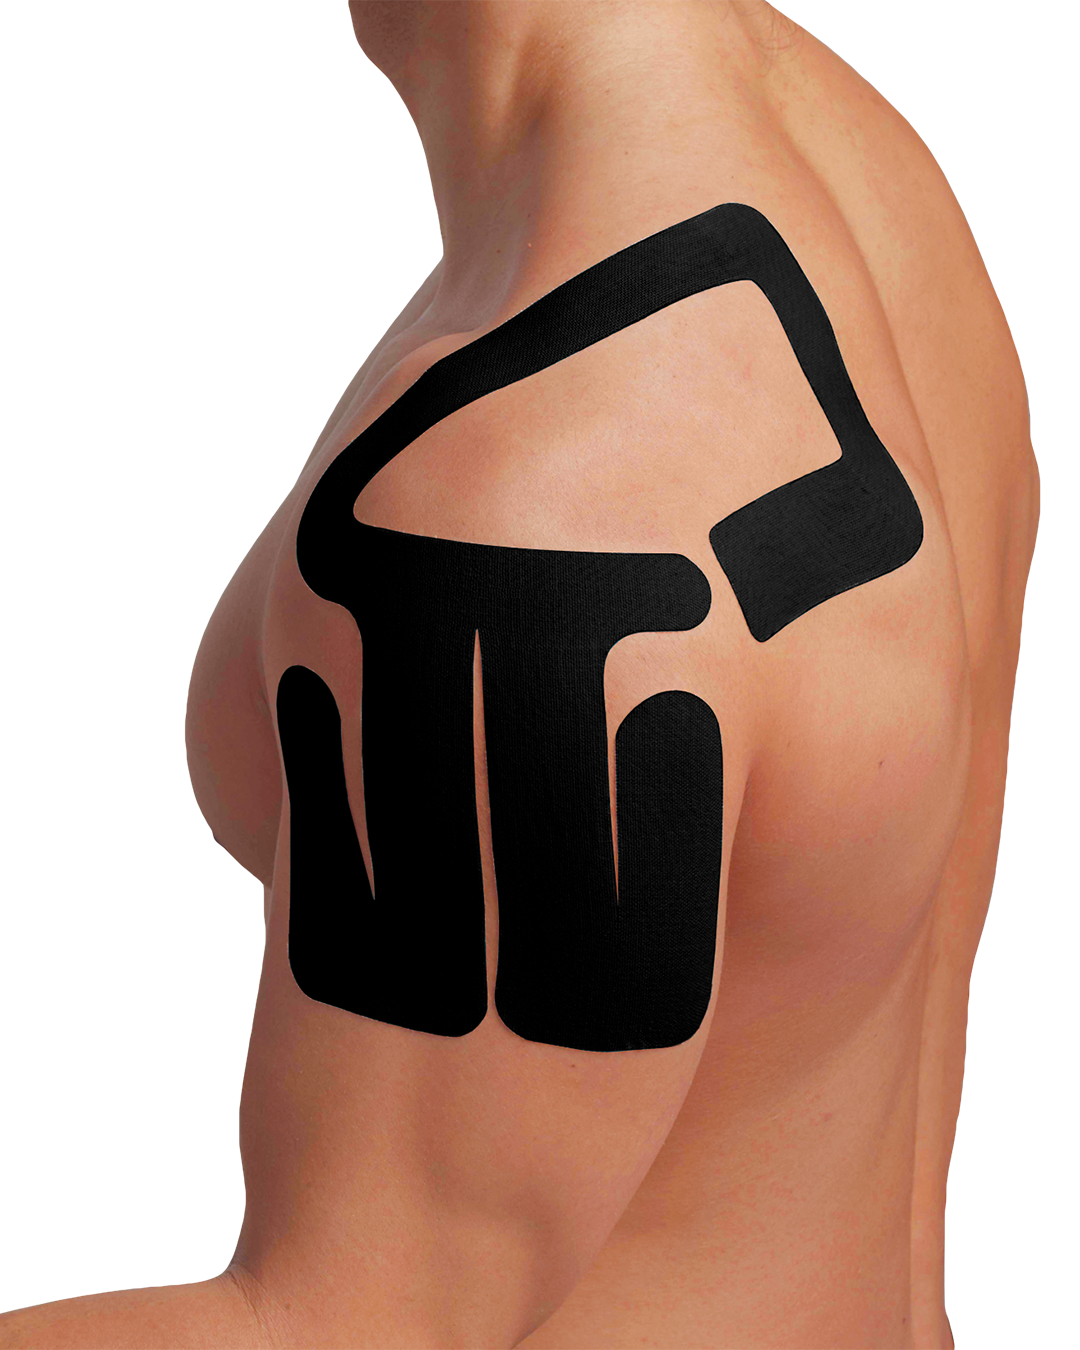
The Pro Shoulder pre-cut kinesiology tape is designed to cover the entire shoulder region, providing targeted pain relief and total shoulder support for conditions such as chronic shoulder pain, rotator cuff injuries, and shoulder impingement.
Designed to be one size fits all, hypoallergenic, and crafted with medical-grade adhesive to ensure maximum comfort and safety.


